Why Install a Remote Start for Your RV Generator?
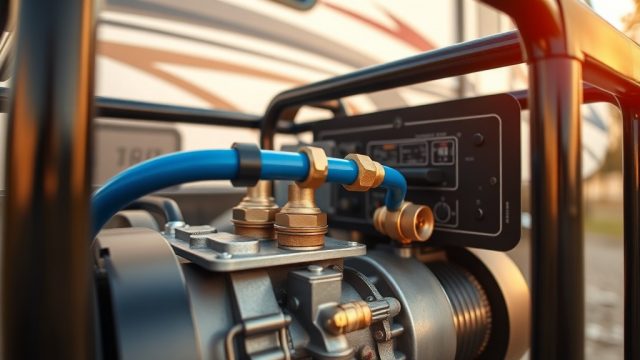
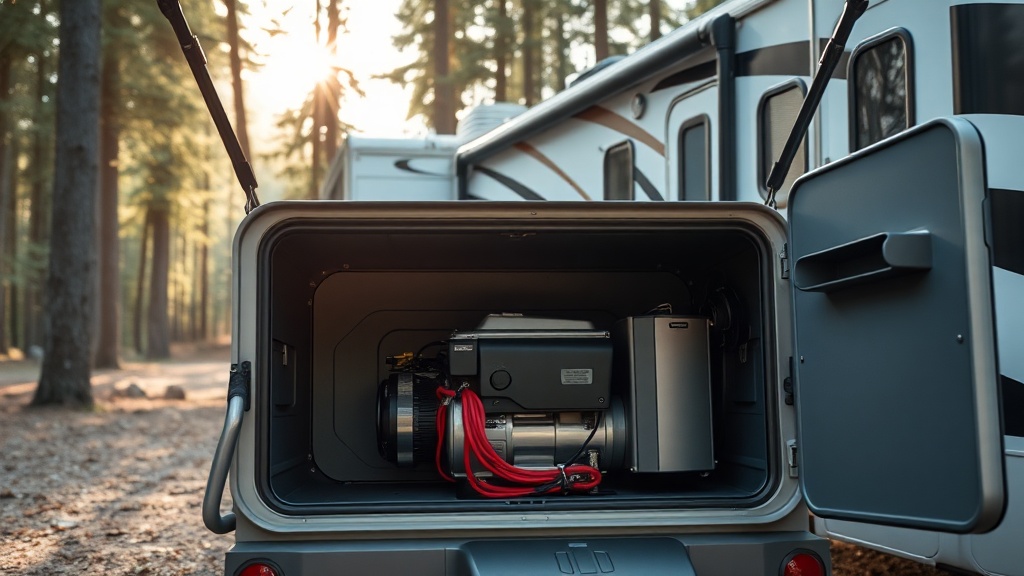
An RV generator remote start system adds a layer of convenience that transforms how you interact with your power source. Instead of walking outside to your RV’s exterior compartment—often in rain, sweltering heat, or darkness—you can start or stop the generator from inside the coach, the driver’s cab, or even via a smartphone app. For full-time RVers and weekenders alike, this upgrade reduces hassle and increases safety when managing power needs.
Remote start kits typically work with standard onboard generators like Onan Cummins, Generac, or Honda units. They interface with your generator’s starter solenoid and control circuitry, allowing remote activation through a wired or wireless remote module. The installation is a moderate DIY project for those comfortable with 12-volt DC electrical work, saving you $150-$300 in professional labor costs.
What Tools and Materials Do You Need for Remote Start Installation?
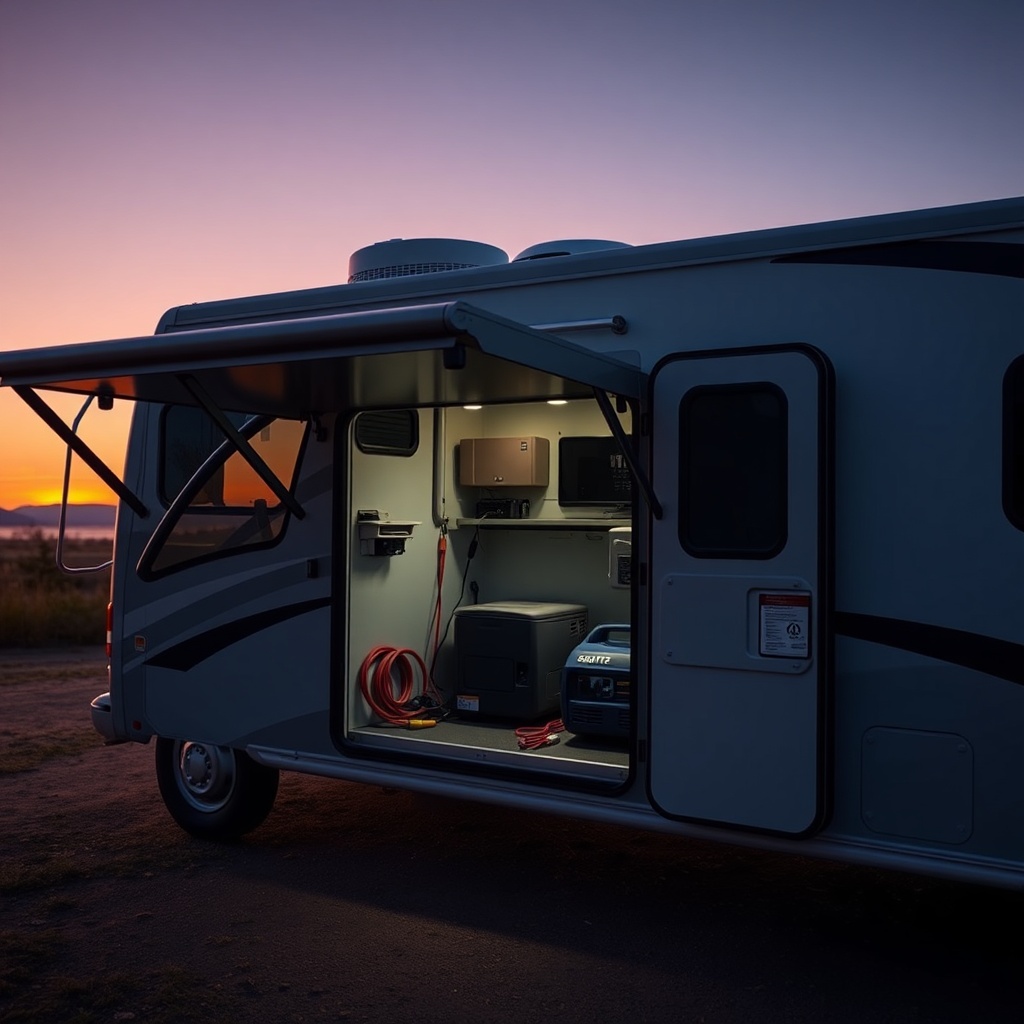
Before starting, gather the right tools and components. Most remote start kits include the main control module, a keyfob or wired remote, wiring harness, and instructions. You’ll need additional supplies from a local hardware store or auto parts retailer.
Tools Required
- Wire strippers and crimpers (for 12-18 AWG wire)
- Multimeter (for testing voltage continuity)
- Socket set (typically 8mm, 10mm, and 13mm for generator and battery terminals)
- Drill with step bit (for mounting the remote module)
- Fuse holder with a 5A or 10A fuse (depending on kit specification)
- Heat-shrink tubing and a lighter or heat gun
- Electrical tape and zip ties
- Screwdrivers (Phillips and flathead)
Materials You Might Need to Purchase Separately
- Remote start kit (compatible with your generator model; prices range from £60 to £200)
- 12 AWG stranded wire (if kit wires are too short for your setup)
- Ring terminals and butt connectors
- Battery disconnect switch (optional, for safety during work)
- Label maker or permanent markers for marking wires
Check the instruction manual for your specific generator model. Onan unit owners often need adapter harnesses (sold separately for around £15-£30). Always verify warranty terms before modifying any generator; some manufacturers require professional installation to keep the warranty valid.
How Do You Prepare the Generator for Remote Start Wiring?
Preparation is critical to avoid damaging the generator or the RV’s house battery system. Follow these steps in order.
Step 1: Safety First
Disconnect the RV’s house battery bank (typically 12V or 24V) and the starter battery to eliminate any power sources. Confirm with a multimeter that no voltage is present at the generator’s control panel wires. Wear safety glasses and insulated gloves—12V systems can cause sparks or shorts if you accidentally ground a live wire.
Step 2: Locate the Generator Control Panel
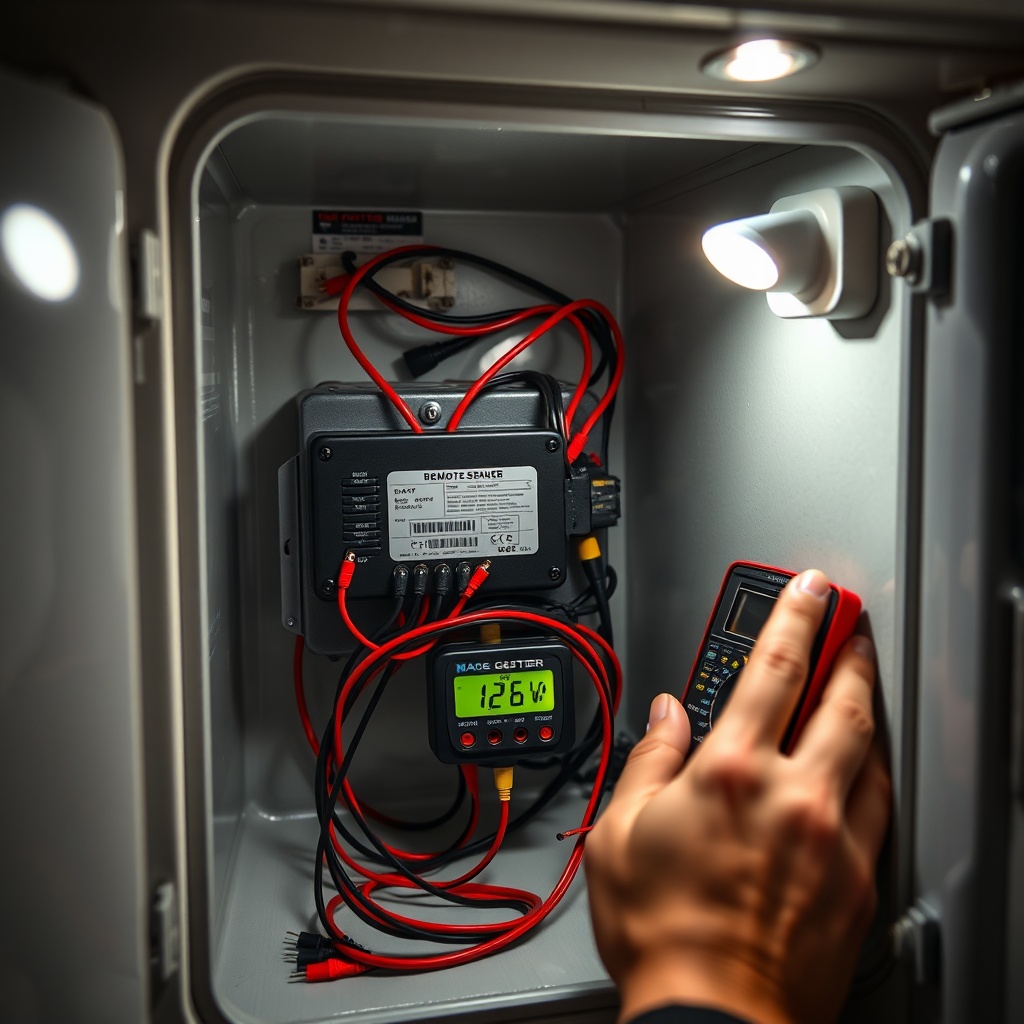
Access the generator compartment (usually through an exterior door or interior cabinet). Find the control unit, which is a small box with multiple wire terminals. Common models include Onan’s remote start terminal block (labeled with R, S, B+, Ground, etc.) or Generac’s harness with similar color codes. Take a photo of the wiring before disconnecting anything for reference.
Step 3: Identify Connections
| Terminal Label | Function | Wire Color (Typical) | Voltage (DC) |
|---|---|---|---|
| R (Remote Start) | Signal wire to start generator | Yellow | 12V when switched |
| S (Stop) | Signal wire to stop generator | White | Ground when switched |
| B+ (Battery Positive) | Constant 12V power supply | Red | 12V continuous |
| Ground | Negative return path | Black or Bare Copper | 0V |
A mismatch in labeling could fry your control module. If in doubt, use a multimeter to test continuity to ground for the S wire and measure voltage at B+ when the house battery is reconnected temporarily (with caution). For inverters or transfer switch integration, refer to our guide on RV Generator Transfer Switch Installation: Step-by-Step Guide to avoid cross-wiring.
How Do You Install the Remote Start Module Step by Step?
With the prep work complete, install the remote start module. This process applies to most wired and wireless kits. Wireless kits add a receiver unit that communicates with a keyfob or smartphone app via Bluetooth or RF signal.
Step 1: Mount the Remote Module
Choose a location inside the generator compartment that is dry and accessible. Drill pilot holes, then secure the module with screws provided in the kit. Avoid placing it near heat sources (like the generator’s exhaust manifold).
Step 2: Connect the Control Wires
Run the kit’s harness from the module to the generator’s terminal block. Connect:
- Wire from module “B+” to generator B+ terminal (using a ring terminal)
- Wire from module “Ground” to generator ground terminal
- Wire from module “Start” to generator R terminal
- Wire from module “Stop” to generator S terminal
Use butt connectors and heat-shrink tubing for weatherproofing. Some kits require a momentary switch on the start wire—confirm with the manual.
Step 3: Install the Fuse
Inline fuse the B+ wire near the battery connection (or generator terminal) with a 5A or 10A fuse. This protects the module from shorts during operation.
Step 4: Route the Remote Wire (for wired remotes)
If using a wired remote, drill a small hole through the RV’s floor near the driver’s cab or living area. Use a grommet to protect the wire from chafing. Secure the remote button panel with adhesive or screws. For wireless kits, pair the keyfob following the manufacturer’s instructions (usually by holding a pairing button for 5 seconds).
Step 5: Test the System
Reconnect the house battery. Turn the generator’s main switch to “Remote” position. Press the start button on your remote—you should hear the generator crank and start after 2-3 seconds. Test the stop function. If the generator doesn’t start, verify connections with a multimeter and check for blown fuses. For persistent issues, our RV Generator Frequency Stability: Troubleshooting and Solutions article can help identify control circuit problems.
How Do You Integrate a Battery Charger for Optimal Performance?
A remote start system relies on a healthy starter battery. Without proper charging, you might find the generator won’t start when you need it. Many RV owners pair the remote start installation with a solar or converter-based battery charger setup. This ensures the battery remains topped off, especially during dry camping where the generator is the primary power source.
Consider adding a dedicated battery charger that maintains the generator starter battery separately from the house bank. The DIY RV Generator Battery Charger Setup: Step-by-Step Installation Guide covers this perfectly—detailing how to wire a 3-stage charger to keep your battery at 100% while in storage or active use. This integration prevents the remote start from failing due to a dead battery at the wrong moment.
What Do Owners Say About the Upgrade?
RV owners who’ve installed remote start systems consistently report high satisfaction. On RV forums like iRV2 and Reddit’s r/GoRVing, common themes include “game changer for lazy mornings” and “no more fumbling in the dark.” Many note that the installation takes most DIYers 2-4 hours on the first attempt, with a small learning curve for wiring identification.
“I did mine on a Friday afternoon while camping—the hardest part was finding the ground terminal on my Onan 4000,” writes Mark T., a full-timer from Devon. “Now I start the genny from bed to run the coffee maker before I even get up. Best £80 I spent.” Another owner, Sarah K., mentions, “I paired it with a Bluetooth remote so I can start it from the tow vehicle. Makes boondocking stops much smoother.”
Critics point out that wireless range can be limited (typically 30-50 feet), and some units don’t work through RV walls made of aluminum. However, most agree that the convenience outweighs the occasional need to walk closer. For those running inverter generators, adding a proper inverter setup further improves power quality—check the RV Generator Inverter Installation: Step-by-Step Guide for Clean Power for seamless integration.
Frequently Asked Questions About RV Generator Remote Start
1. Can I install a remote start on any RV generator?
Most portable and built-in generators with electric start capability can accept a remote start module. However, old pull-start units or generators with a manual choke typically cannot. Check your generator owner’s manual or consult the manufacturer’s compatibility list before purchasing a kit.
2. Will a remote start void my generator warranty?
It depends on the manufacturer and how the installation is done. Some brands like Onan require professional installation to keep the warranty intact; others allow DIY modifications as long as you follow instructions and don’t damage original wiring. Document your work with photos and receipts in case of warranty claims.
3. How much does a professional installation cost in the UK or US?
In the UK, professional installation ranges from £100 to £200 for labour, plus the kit cost. In the US, expect $150 to $300. DIY installation can save 50-70% of that cost, but you’ll need basic electrical skills.
4. What should I do if the generator doesn’t start after installation?
Check all connections with a multimeter. Ensure the generator’s main switch is set to “Remote” (not “On” or “Off”). Verify the remote module’s fuse isn’t blown. If using a wired remote, test continuity of the start wire. If still failing, examine the RV Generator Frequency Stability: Troubleshooting and Solutions for control circuit insights.
5. Can I use ethanol-free fuel with a remote start generator?
Yes, and it’s often recommended. Ethanol-free fuel reduces gumming and starting issues, which is especially important for a generator that may sit unused for months. For tips on sourcing it, see our RV Generator Ethanol-Free Fuel Guide: Benefits and Sourcing Tips.
6. Does the remote start work with an inverter generator for clean power?
Yes, many modern inverter generators come with built-in remote start options or can be retrofitted. Pairing a remote start with an inverter setup ensures you get clean, stable power for sensitive electronics like laptop chargers and medical devices. For full integration steps, refer to the RV Generator Inverter Installation: Step-by-Step Guide for Clean Power.