What Is an RV Generator Battery Charger Setup and Why Does It Matter?
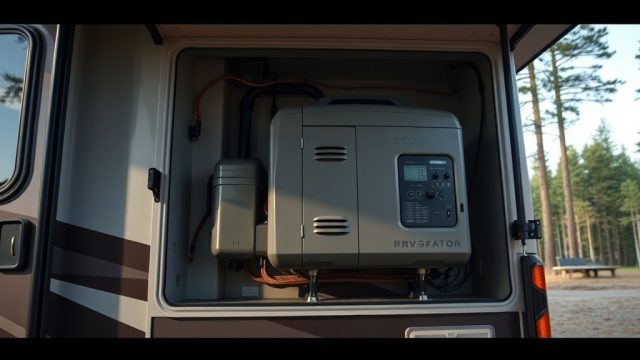
An RV generator battery charger setup is the electrical integration that allows your onboard generator to recharge the house batteries while dry camping or during extended boondocking sessions. Without a properly wired and configured system, you risk draining batteries to dangerous levels or overcharging them, leading to premature failure. This guide walks through the step-by-step installation process, covering wiring, converter selection, and safety checks to ensure reliable power delivery wherever you park.
How Do You Select the Right Battery Charger for Your RV Generator?
Choosing the correct battery charger depends on your battery bank size, chemistry (lead-acid, AGM, or lithium), and generator output. Most RV generators produce between 3,000 and 7,000 watts, with typical converter/charger units rated at 30 to 60 amps. For a standard 200Ah lead-acid bank, a 40-amp charger is sufficient, while lithium banks benefit from higher amperage—up to 80 amps—to reduce charging time. Always match the charger’s input voltage to your generator’s output (120V AC in North American RVs).
| Battery Bank Capacity (Ah) | Lead-Acid/AGM (Amp Charger) | Lithium (Amp Charger) |
|---|---|---|
| 100–150 | 30 | 40 |
| 200–250 | 40 | 60 |
| 300–400 | 60 | 80 |
What Tools and Components Do You Need for Installation?
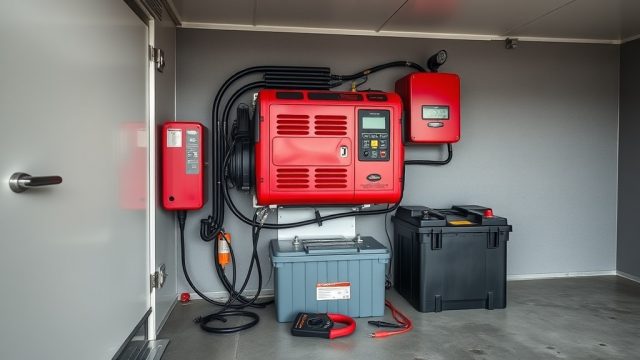
You’ll need a multimeter, wire cutters/strippers, crimping tool, 4-gauge or 6-gauge battery cables, ring terminals, a fuse holder with a 100A or 150A fuse (check charger specs), a battery charger/converter unit, and zip ties. For the generator side, ensure you have a 30-amp or 50-amp RV-rated transfer switch if one isn’t already installed—this prevents backfeeding when shore power is connected. If you’re working with a propane conversion, see our guide on RV Generator Propane Conversion Kit Installation: Step-by-Step Guide for fuel system considerations.
Step-by-Step Installation Guide for the Battery Charger Setup
Step 1: Safety First—Disconnect All Power Sources
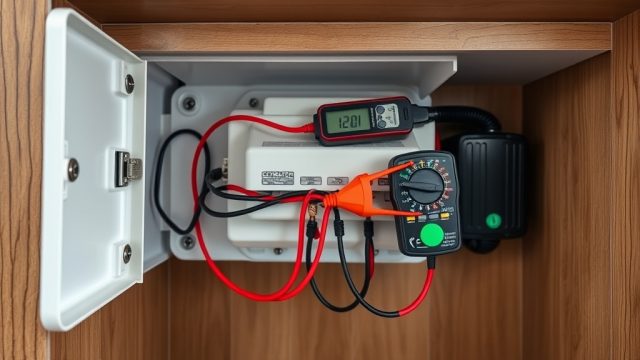
Turn off the generator, disconnect shore power, and remove both negative battery terminals. Use a multimeter to verify zero voltage at the battery posts and generator output. This prevents accidental shorts during wiring.
Step 2: Mount the Charger in a Ventilated Location
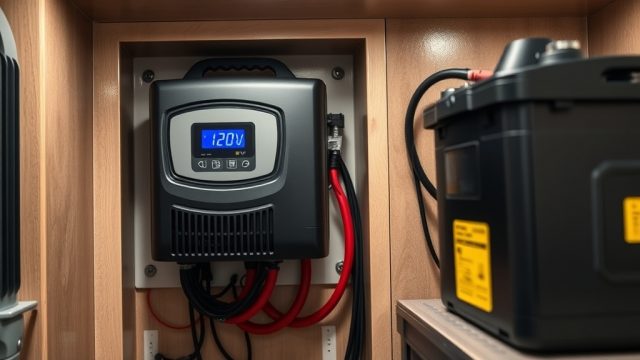
Choose a dry area near the battery bank but away from flammable materials. Use stainless steel screws to secure the charger flat, ensuring cooling vents remain unobstructed. Typical placements include a compartment adjacent to the battery box or under a dinette seat—avoid engine compartments due to heat.
Step 3: Route and Connect AC Input from Generator to Charger
Run a 12/2 AWG cable from the generator’s AC output (usually a 120V receptacle) to the charger’s AC input terminals. If your generator has a 30-amp RV outlet, use a weathertight plug and receptacle setup. Secure the cable with zip ties along chassis rails, avoiding sharp edges. If you’re operating at high elevation, refer to RV Generator Altitude Performance: Tuning and Adjustments for High Elevations to adjust fuel mixture for consistent charging.
Step 4: Wire DC Output to Battery Bank
Connect the charger’s positive output to the battery bank positive bus bar using 4-gauge cable and a inline fuse rated at 150A (or per charger manual). The negative output goes to the battery negative bus bar or common ground. Crimp ring terminals tightly and cover with heat shrink. Double-check polarity—reversing will damage the charger.
Step 5: Install a Voltage Regulator and Inline Protection
Although modern chargers have internal regulation, adding an external voltage regulator (like a Progressive Dynamics PD4600 series) provides surge suppression and maintainer modes. For testing your regulator, see RV Generator Voltage Regulator Testing: How to Diagnose and Fix Issues to ensure stable charging.
Step 6: Test the System
Reconnect batteries, start the generator, and use a multimeter to confirm charger output at 13.2V to 14.6V (depending on battery chemistry). Check for heat at connections after 15 minutes. If voltage fluctuates, inspect the RV Generator Throttle Body Cleaning: Step-by-Step Guide for a dirty throttle body affecting RPM stability.
What Are Common Installation Mistakes to Avoid?
Oversizing or undersizing cables is the most frequent error—too thin cables cause voltage drop and overheating. Another mistake is placing the charger near heat sources, shortening its lifespan. Also, skipping the transfer switch can create a dangerous backfeed scenario when shore power is active. Finally, forgetting to test under load—run a microwave or AC unit while charging to ensure the generator can handle total draw.
What Owners Say About Their RV Generator Battery Charger Setup
Many owners report that installing a dedicated charger with automatic temperature compensation cuts battery charging time by 30% versus using the stock converter. One Forum regular on a 2023 Jayco noted: “After adding a 60-amp charger, my lithium batteries reach full charge in under two hours while the generator only runs at half load.” Another owner with a 2007 diesel pusher shared that proper cable sizing eliminated a chronic dimming issue when starting the generator. However, some caution that cheap “universal” chargers can fail within a season—stick with brands like Magnum or Victron. For longevity, follow RV Generator Inverter Maintenance: Simple Steps to Extend Its Life to keep the whole system reliable.
Frequently Asked Questions
1. Can I use a standard battery charger with my RV generator?
Yes, but only if it’s an RV-grade converter/charger designed for deep-cycle batteries. Automotive chargers may not handle prolonged charging cycles or may overheat.
2. How many amps should my charger be for a 400Ah lithium bank?
For 400Ah lithium, use an 80-amp charger to charge fully in about 5 hours. Anything smaller may not maximize generator runtime.
3. Do I need a transfer switch if I only use the generator for charging?
Yes, if you ever connect to shore power. A transfer switch prevents both sources from being live simultaneously, protecting your equipment.
4. What size wire for a 50-amp charger at 10 feet?
Use 6 AWG copper wire for both positive and negative runs to minimize voltage drop. For longer runs, upgrade to 4 AWG.
5. My generator stalls when the charger kicks in—what’s wrong?
This indicates an undersized generator for the charger’s inrush current. Reduce charger amperage or upgrade to a larger generator. Also check for dirty throttle body; cleaning it may help, as detailed in RV Generator Throttle Body Cleaning: Step-by-Step Guide.
6. How often should I replace the air filter in a generator used for charging?
Every 100 hours of runtime or once per season, whichever comes first. A clogged filter starves the engine, reducing charging efficiency. See RV Generator Air Filter Replacement: Step-by-Step Maintenance Guide for instructions.