Why Is Your Norcold N8X Refrigerator Door Seal Failing?
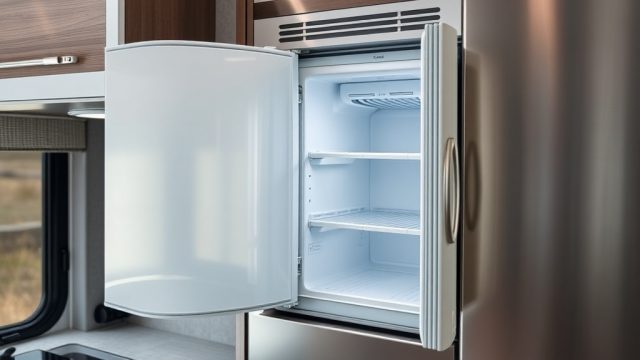
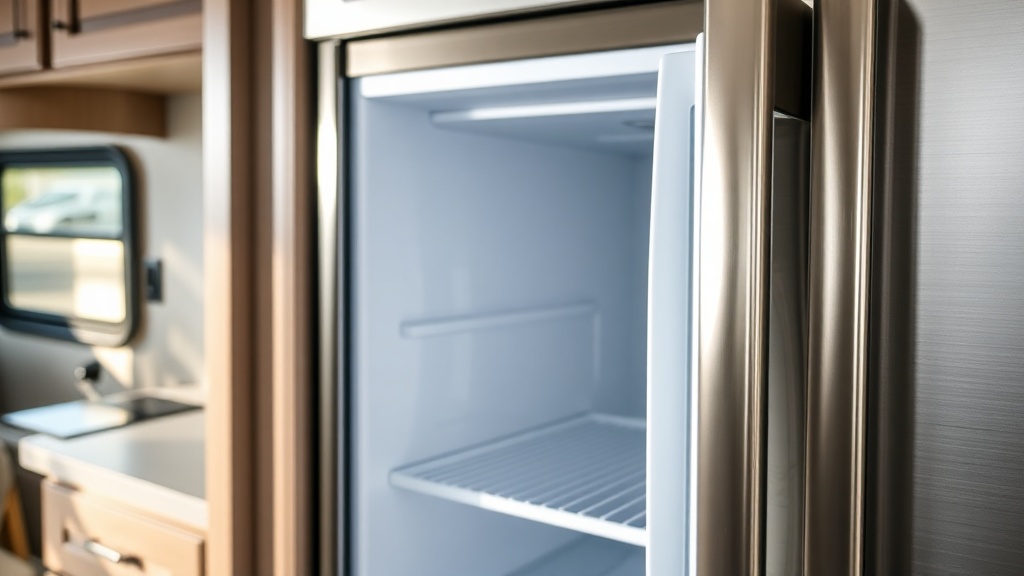
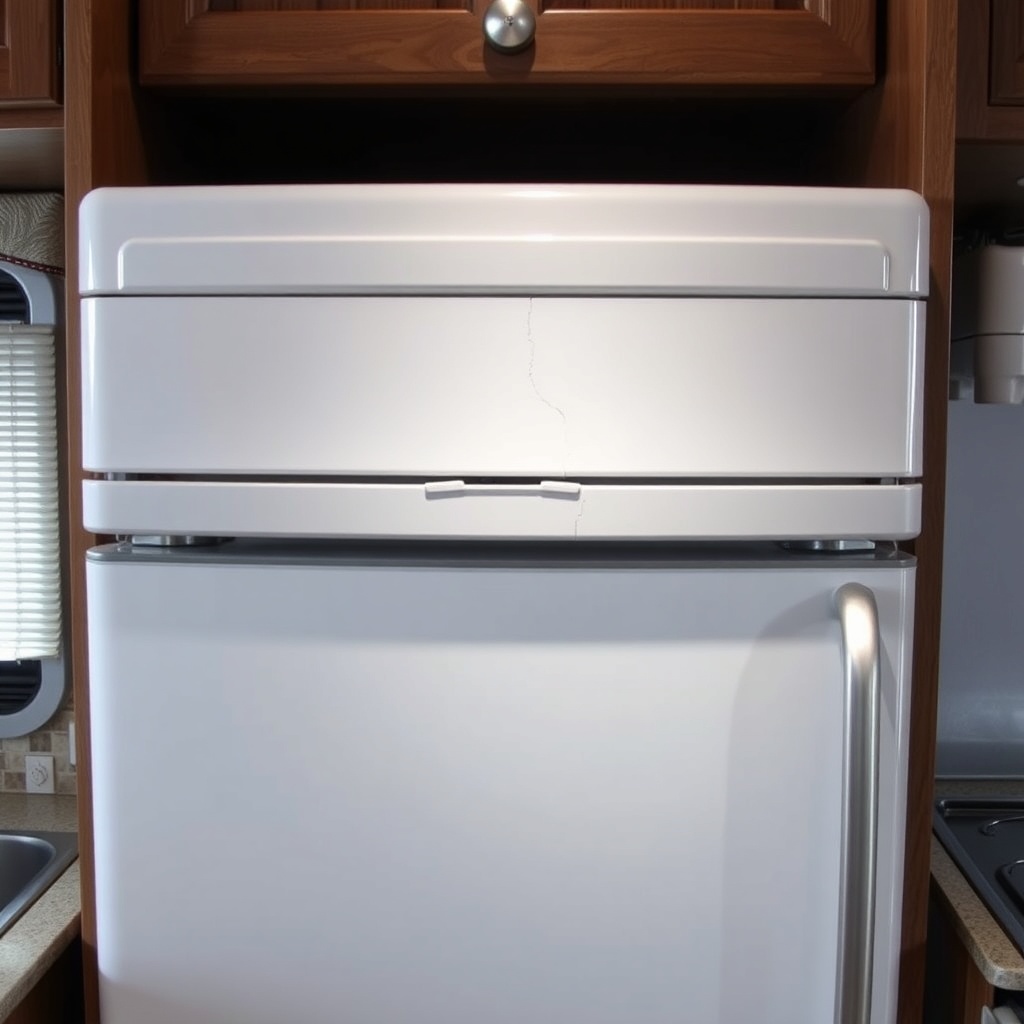
The Norcold N8X Series, a popular absorption refrigerator found in many RVs and motorhomes, relies heavily on its door seal to maintain efficient cooling. Over time, the flexible magnetic gasket can crack, harden, or lose its grip, leading to warm air infiltration and increased energy consumption. When owners notice frost buildup, condensation, or a refrigerator that struggles to keep food at safe temperatures, a warped or damaged door seal is often the culprit.
Replacing the door seal on an N8X model is a straightforward repair that can restore performance without the cost of a new unit. This guide covers the diagnosis, tools needed, step-by-step replacement, and tips to avoid common mistakes. Whether you own a 10-cubic-foot or 8-cubic-foot N8X variant, the process is largely identical.
How Do You Know If the Norcold N8X Door Seal Needs Replacement?
Before replacing the seal, confirm that the gasket is the problem. A simple “dollar bill test” works well: close the door on a piece of paper and slide it out. If the paper moves with minimal resistance, the seal is weak. Another sign is visible light inside the fridge when the door is closed. Look for tears, flat sections, or a gasket that feels hard and brittle rather than pliable.
Temperature inconsistency is another clue. If the interior temperature fluctuates despite a working cooling unit, check the seal. For more complex issues like error codes or electrical faults, see our detailed guide on Norcold N8X Series Error Codes: Troubleshooting Guide.
What Tools and Parts Do You Need to Replace the Norcold N8X Door Seal?
To replace the seal, you will need a new genuine Norcold N8X door gasket. Expect to pay between £35 and £55 (approximately $45 to $70 USD or €40 to €60) for a genuine OEM part. Third-party seals are available around £20–£30 but may not fit as precisely.
| Tool | Purpose | Estimated Cost |
|---|---|---|
| New Norcold N8X door seal | Primary replacement part | £35–£55 |
| Phillips screwdriver (#2) | Remove door panel screws | £5–£10 |
| Trim removal tool | Pry off plastic trim without damage | £8–£15 |
| Isopropyl alcohol (70%) | Clean gasket channel | £3–£5 |
| Heat gun or hairdryer | Softens stubborn seal | £15–£30 |
Optional: a small flat-blade screwdriver and silicone lubricant for the hinge area. Always work with the refrigerator turned off and the door open for easier access.
What Is the Correct Procedure to Remove the Old Norcold N8X Door Seal?
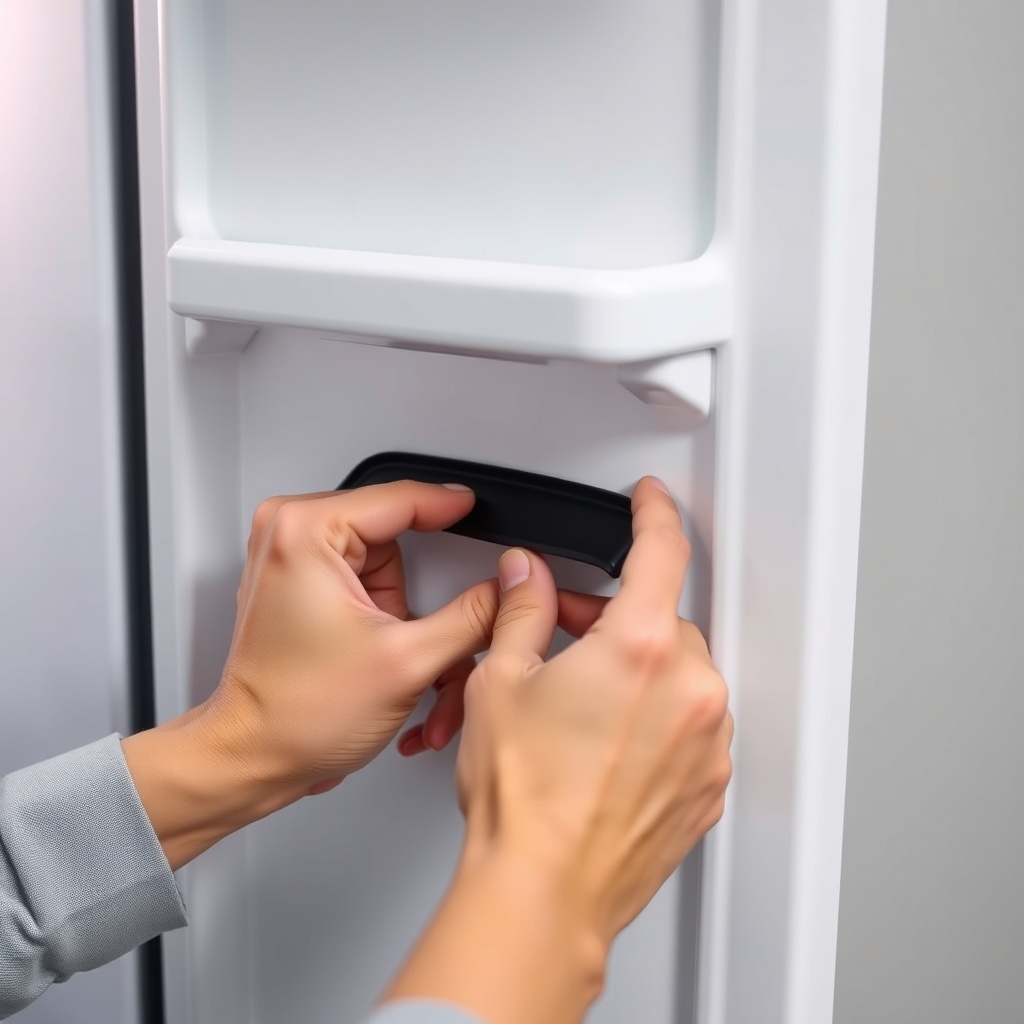
Removing the old seal requires patience to avoid damaging the door panel. Start by opening the refrigerator door fully. Locate the four or six screws on the inside edge of the door trim (usually covered by plastic caps). Use the Phillips screwdriver to remove them, and set them aside in a cup. Gently pry off the inner door panel using the trim removal tool—it is held by spring clips. Work from the bottom up.
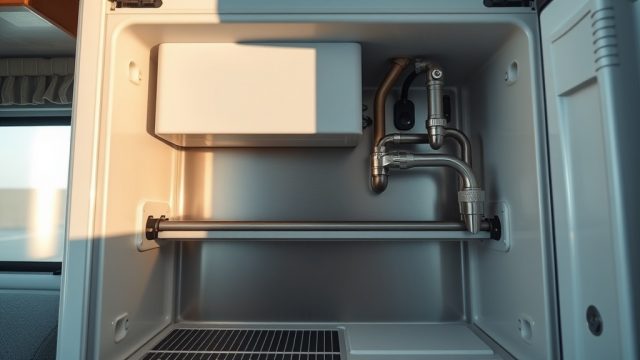
Once the panel is off, you will see the gasket tucked into a channel around the door. On most N8X models, the seal is not glued; it is retained by the plastic trim. Carefully pull the old gasket out from the channel, starting at the top corner. If the seal is stuck, apply gentle heat from a hairdryer to soften it. Remove the entire gasket and discard it. Clean the channel thoroughly with isopropyl alcohol and a lint-free cloth to remove debris and old adhesive residue.
While the door is disassembled, inspect the latch and hinge screws. For a broader comparison of N8X performance against other brands, read our analysis in Norcold N8X vs Dometic DM2672: Which RV Refrigerator Is Best?.
How Do You Install the New Door Seal on a Norcold N8X?
Installation of the new seal is the reverse of removal. Begin by inserting the new gasket into the channel. Most N8X seals have a slit that fits over the door edge. Start at the top center, then work down each side. Ensure the magnet side faces outward. The seal should sit flush without gaps—press it firmly into the channel. Do not stretch the seal; if it’s too long, trim the excess with scissors but leave a 1-inch overlap.
Once the seal is seated, reattach the inner door panel by aligning the clips. Press down with even pressure until the trim clicks into place. Reinstall the screws, but do not overtighten them—just snug. Use the dollar bill test again to verify the seal. Close the door and check for any gaps. If the door is misaligned, adjust the hinge brackets slightly. A properly installed seal should allow the paper to slide out with noticeable drag.
What Are Common Mistakes When Replacing the Norcold N8X Door Seal?
Mistakes during seal replacement can lead to poor cooling or a door that doesn’t close. The most common error is using a non-OEM seal that does not match the original dimensions—this often results in gaps at the bottom corners. Another frequent issue is not cleaning the channel properly; old adhesive or dirt prevents the new seal from seating correctly, causing air leaks.
Rushing the screw removal process can strip the plastic threads, requiring a larger screw or epoxy repair. Do not use excessive heat on the seal; it can warp the rubber magnet. Finally, failing to test the seal before turning the fridge back on can lead to spoiled food. Always run the refrigerator for 24 hours and monitor the temperature after replacement.
What Do Owners Say About Norcold N8X Door Seal Replacement?
Owners of Norcold N8X refrigerators generally report that seal replacement is an achievable DIY task, with most completing it in 45 minutes to an hour. On RV forums, many praise the clarity of Norcold’s service manuals, though some note that the plastic trim clips are fragile and recommend ordering spares (costing about £2–£4 each).
Common feedback includes satisfaction with OEM seals for better longevity compared to aftermarket parts. One owner noted on a camping forum: “After replacing the seal on my N8X, the fridge temp dropped from 45°F to 36°F within 12 hours. Worth every penny of the £40 gasket.” Others caution that if the door itself is warped (rare on N8X models), a new seal won’t fix the issue. For further reliability data, consult our error code guide: Norcold N8X Series Error Codes: Troubleshooting Guide.
Frequently Asked Questions
How often should I replace the door seal on my Norcold N8X?
Most owners replace the seal every 3-5 years, depending on climate and usage. Harsh temperatures or frequent door opening may shorten this interval.
Can I use a generic refrigerator door seal instead of a Norcold-specific one?
It is not recommended. Generic seals rarely match the exact channel dimensions and magnetic strength of Norcold N8X models. OEM seals cost £35–£55 but ensure a proper fit.
What is the cost of a genuine Norcold N8X door seal in the UK?
A genuine Norcold N8X door gasket retails for approximately £35 to £55, plus shipping. Local RV dealers or online retailers like Amazon UK stock them.
Will a faulty door seal cause error codes on my Norcold N8X?
No, a leaking seal typically causes inconsistent cooling or frost buildup, not error codes. Error codes usually relate to electrical or cooling unit failures. See our dedicated guide for code troubleshooting.
Do I need to remove the entire door to replace the seal?
No. The seal can be replaced with the door attached. Only the inner plastic panel of the door needs to be removed to access the gasket channel.
How do I know if the problem is the seal or the cooling unit?
Perform the dollar bill test and inspect for condensation. If the seal seals tightly and temperature issues persist, the cooling unit may be failing. See our comparison article for more details: Norcold N8X vs Dometic DM2672: Which RV Refrigerator Is Best?.