What Makes a Generator Inverter Essential for Modern RV Power?
An RV generator is the backbone of off-grid living, providing the electricity needed to run air conditioners, refrigerators, and entertainment systems. However, traditional generators produce “dirty” power that can harm sensitive electronics like laptops, smartphones, and modern RV appliances. This is where an RV generator inverter installation becomes a game-changer. By converting the generator’s AC output into clean, stable sine wave power, an inverter ensures your devices operate safely and efficiently, without flickering lights or unexpected shutdowns. In this step-by-step guide, we’ll walk through the entire process of installing a generator inverter in your RV, covering everything from selecting the right unit to wiring and testing.
How Does an RV Generator Inverter Differ from a Standard Generator?
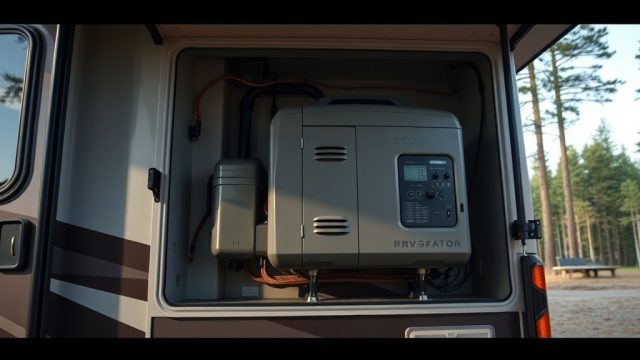
Before diving into installation, it’s crucial to understand the fundamental difference between a standard RV generator and an inverter-equipped model. A standard generator produces AC power directly from the engine, often with fluctuations in voltage and frequency that can damage delicate electronics. In contrast, an inverter generator first converts the AC power to DC, then reinverts it to clean AC power, typically with a total harmonic distortion (THD) of less than 3%. This results in a pure sine wave output that is grid-quality, making it safe for all RV appliances. Additionally, inverter generators are more fuel-efficient because they automatically adjust engine speed based on load, reducing noise and extending runtime.
When selecting an inverter for your existing generator, you’re essentially adding this technology to your power system. The market offers standalone inverter units that can be connected to your generator’s output, as well as all-in-one generator-inverter combos. For most RV owners, a standalone inverter rated at 2,000–3,500 watts is sufficient for powering essential loads like a refrigerator, microwave, and several outlets. It’s important to note that the inverter must match or exceed your generator’s continuous wattage rating to avoid overloading.
What Tools and Materials Are Needed for the Installation?
A successful RV generator inverter installation requires careful preparation. Here’s a comprehensive list of tools and materials you’ll need, with realistic costs in US dollars (USD). Note that prices can vary based on brand and retailer.
| Item | Purpose | Estimated Cost (USD) |
|---|---|---|
| RV generator inverter (2,000–3,500W) | Converts generator AC to clean power | $400–$800 |
| Transfer switch (30A or 50A) | Automatic switching between generator and shore power | $100–$200 |
| Battery bank (deep-cycle AGM or lithium) | Stores DC power for inverter operation | $200–$600 |
| Copper battery cables (AWG 2/0 or 4/0) | High-current connections | $50–$100 |
| DC fuse or circuit breaker (200–300A) | Overcurrent protection for battery cables | $20–$40 |
| AC conduit and wire (10 AWG or 12 AWG) | Wiring inverter output to RV panel | $30–$60 |
| Multimeter | Testing voltage and continuity | $20–$50 |
| Wire strippers and crimpers | Making secure connections | $15–$30 |
| Battery terminal connectors | Connecting cables to battery | $10–$20 |
| Heat shrink tubing | Insulating connections | $5–$10 |
It’s strongly recommended to invest in high-quality components, especially the inverter and transfer switch, as they directly impact safety and reliability. For example, brands like Victron Energy, Xantrex, and Samlex are well-regarded in the RV community for their durability and clean power output. You may also need an extra set of hands for lifting heavy components—most inverters weigh between 20–40 pounds.
Step-by-Step Installation Process: What’s the Correct Procedure?
Follow these steps precisely to ensure a safe and code-compliant installation. Always disconnect the RV from shore power and turn off the generator before starting. If you’re unfamiliar with electrical work, consider hiring a certified RV technician.
Step 1: Mount the Inverter
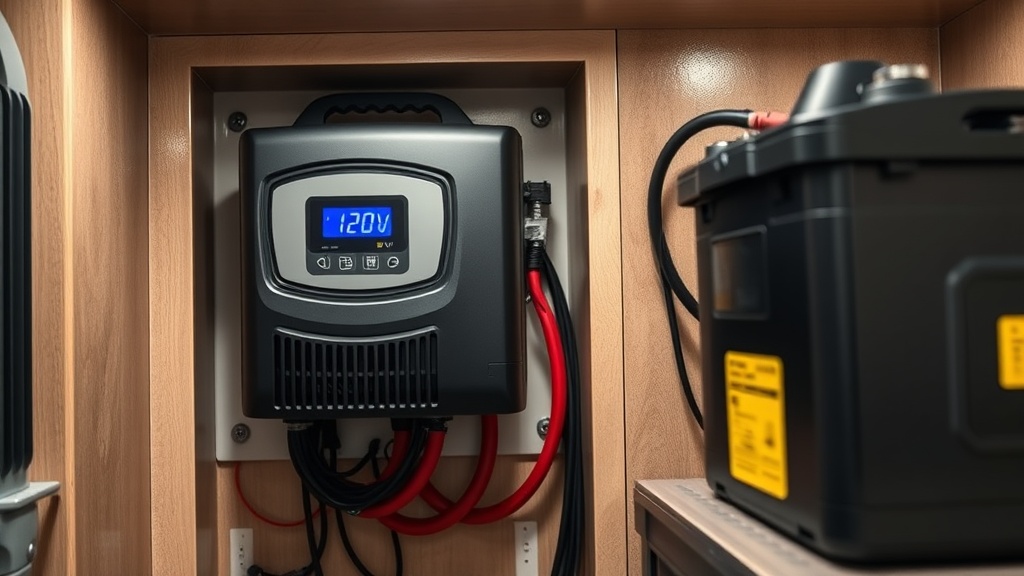
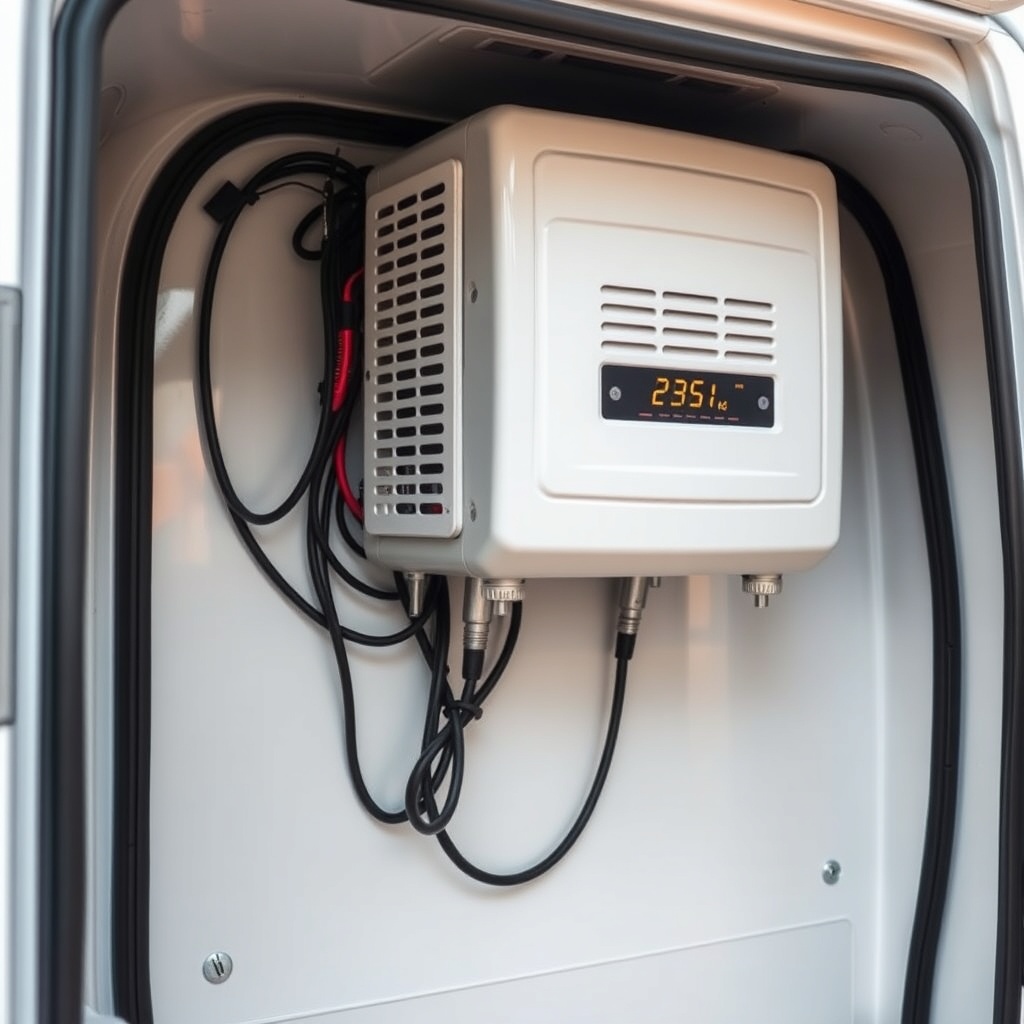
Choose a dry, well-ventilated location near the battery bank and generator. Common spots include an RV compartment, under a bed, or in a dedicated electronics cabinet. Use vibration-dampening mounts to reduce noise. Ensure the inverter has at least 6 inches of clearance on all sides for airflow. Secure it with stainless steel bolts.
Step 2: Install the Transfer Switch
The transfer switch automates switching between generator power and shore power. Mount it near the main AC distribution panel. Wire the generator output to the switch’s “generator” inputs, shore power to the “shore” inputs, and the RV panel to the “load” outputs. Follow the manufacturer’s wiring diagram closely. For a 30A system, use 10 AWG wire; for 50A, use 8 AWG.
Step 3: Connect the Battery Bank
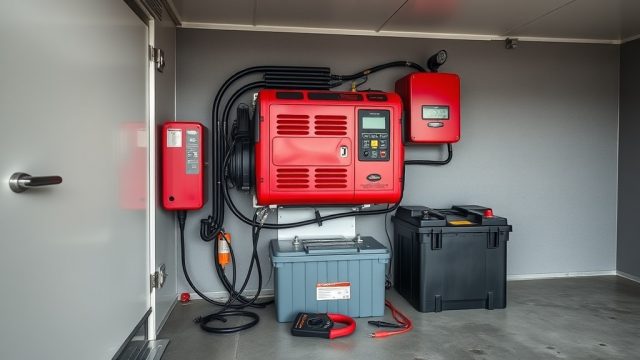
Connect the deep-cycle battery bank to the inverter using heavy-gauge copper cables. Always connect positive to positive and negative to negative. Install a DC circuit breaker or fuse within 12 inches of the battery positive terminal. This protects against short circuits. Use torque wrench to tighten connections to specifications (typically 10–12 Nm).
Step 4: Wire the Inverter AC Output
Run AC wiring from the inverter’s output terminals to the “load” side of the transfer switch. Use conduit for physical protection. Connect the inverter’s ground wire to the RV chassis ground bus. For pure sine wave inverters, ensure the neutral conductor is bonded to ground as per local electrical code.
Step 5: Test the System
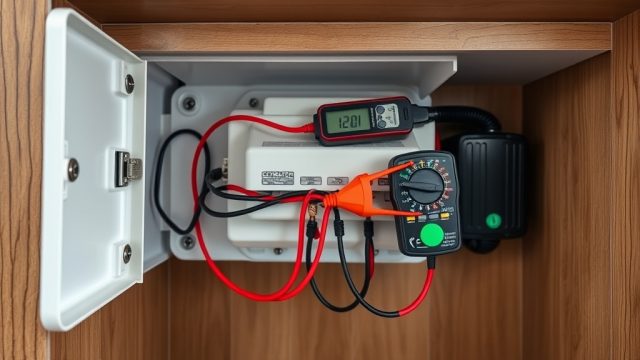
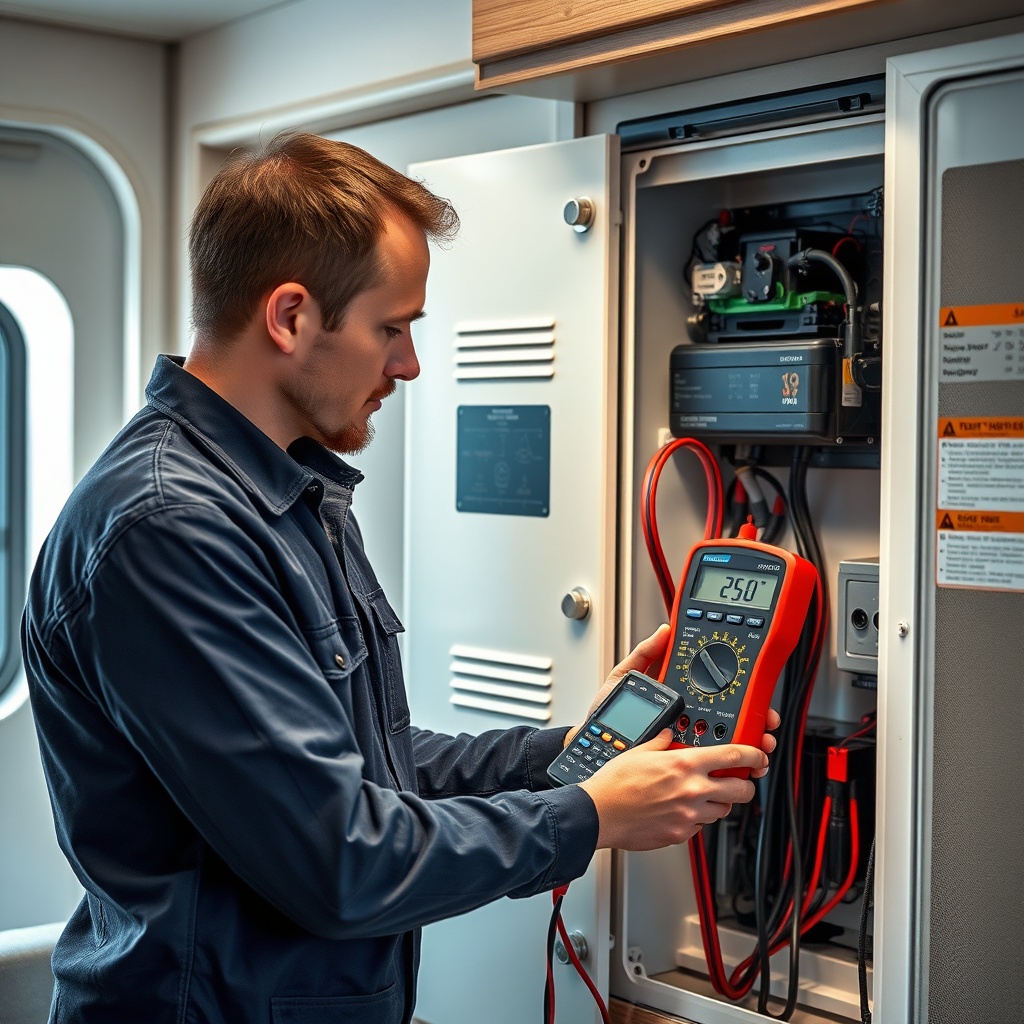
Reconnect shore power and turn on the transfer switch. Verify that voltage at the RV panel reads 110–120V AC with a multimeter. Then, disconnect shore power and start the generator. Check that the inverter activates and clean power is supplied. Test with a sensitive appliance like a laptop charger to confirm stable voltage.
How to Avoid Common Installation Mistakes?
Many DIY installers encounter pitfalls that can compromise performance or create safety hazards. Here are the five most frequent errors and how to avoid them:
- Undersized Battery Bank: Inverters draw high current during startup. For a 2,000W inverter, you need at least 200Ah of battery capacity. Using smaller batteries leads to voltage drops and premature inverter shutdown.
- Incorrect Wire Gauge: Using too-thin battery cables causes overheating and voltage drop. For a 2,000W inverter, use 2/0 AWG copper wire for runs under 5 feet. Longer runs require 4/0 AWG.
- Skipping the Transfer Switch: Manually switching between generator and shore power is dangerous and inconvenient. A quality transfer switch ensures seamless operation and prevents backfeeding, which can kill a technician working on the grid.
- Poor Ventilation: Inverters generate heat during operation. Mounting them in sealed compartments causes thermal shutdown or permanent damage. Always include a ventilation fan if the compartment lacks airflow.
- Ignoring Grounding: An ungrounded inverter can produce stray voltage, damaging appliances and posing a shock risk. Ensure the inverter chassis is bonded to the RV ground bus and the battery negative terminal.
For deeper troubleshooting of voltage issues, check out our guide on RV Generator Voltage Drop: Troubleshooting and Solutions, which covers common power problems after inverter installation.
What Owners Say About Their RV Generator Inverter Installations?
Real-world experiences from RV owners highlight the transformative effect of a clean power setup. John from Texas installed a 3,000W inverter on his 30-foot Class A and reports, “Now I can run my microwave and air conditioner simultaneously without any flicker. The pure sine wave is a lifesaver for my CPAP machine.” He estimates the installation cost him $650 in parts and took a weekend to complete.
Samantha, a full-time RVer in Colorado, chose a Victron Energy inverter and says, “The fuel savings alone paid for the upgrade within a year. My generator runs at lower RPMs, and I can even run it at night without bothering neighbors.” She emphasizes the importance of proper battery sizing: “I started with 100Ah AGM and upgraded to 200Ah lithium for better discharge depth.”
Mike, a retired electrical engineer, installed a Samlex inverter on his fifth wheel. He notes, “The transfer switch integration was the tricky part, but after following a RV Generator Voltage Regulator Replacement: Step-by-Step Guide for parallel work, it all came together.” He cautions about overloading: “Never exceed 80% of the inverter’s continuous rating—it will overheat quickly.”
These stories underscore that while the installation requires diligence, the payoff in power quality and efficiency is substantial. Many owners also pair their inverters with an DIY RV Generator Battery Charger Setup: Step-by-Step Installation Guide to maximize battery life.
Frequently Asked Questions About RV Generator Inverter Installation
Q1: Can I install an inverter on an older generator?
Yes, as long as the generator’s output voltage and frequency are stable enough for the inverter to process. Most modern inverters can handle some fluctuation, but it’s best to test with a multimeter. If THD exceeds 10%, consider upgrading the generator or adding a voltage regulator. See RV Generator Voltage Regulator Replacement: Step-by-Step Guide for more details.
Q2: How long does a full installation take?
For a first-time installer, expect 6–10 hours over a weekend. Experienced DIYers can complete the job in 4–6 hours. Rushing can lead to mistakes, so plan to work methodically.
Q3: Do I need a professional electrician for this job?
If you’re comfortable with DC and AC wiring, have a multimeter, and understand electrical codes, it’s achievable. However, if your RV has complex circuits or you’re unsure about grounding, hiring a licensed electrician is advisable for safety.
Q4: What size inverter do I need for my RV?
Calculate your total starting watts—the highest load is typically the air conditioner (1,500–2,000W starting). Add 20% headroom. For most RVs, a 2,500–3,500W inverter suffices. If you run multiple AC units or large appliances, consider a 5,000W unit.
Q5: Will an inverter damage my generator?
No, if properly sized. The inverter actually reduces strain on the generator by allowing it to run at lower RPMs during light loads. Just ensure the inverter’s input voltage range matches your generator’s output.
Q6: How do I maintain the inverter system?
Keep the inverter clean and dust-free. Check battery connections monthly for corrosion. Test the transfer switch’s automatic operation every three months. For generator maintenance, refer to RV Generator Oil Change: Step-by-Step Maintenance Guide and RV Generator Spark Plug Replacement: Step-by-Step Maintenance Guide. Always monitor for carbon monoxide; you can learn more at RV Generator Carbon Monoxide Safety: Detection and Prevention.