Why Should I Install an RV Generator Transfer Switch?
An RV generator transfer switch is a critical component that automatically or manually shifts your RV’s electrical load between shore power and generator power. Without it, you risk backfeeding electricity that can damage your generator or even electrocute a utility worker. This guide covers the full installation process, from planning to testing, using US-based wiring standards and pricing in USD.
Before you begin, ensure you have a basic understanding of RV electrical systems. If you’re unfamiliar with generator maintenance, consider reading our RV Generator Oil Change: Step-by-Step Maintenance Guide first.
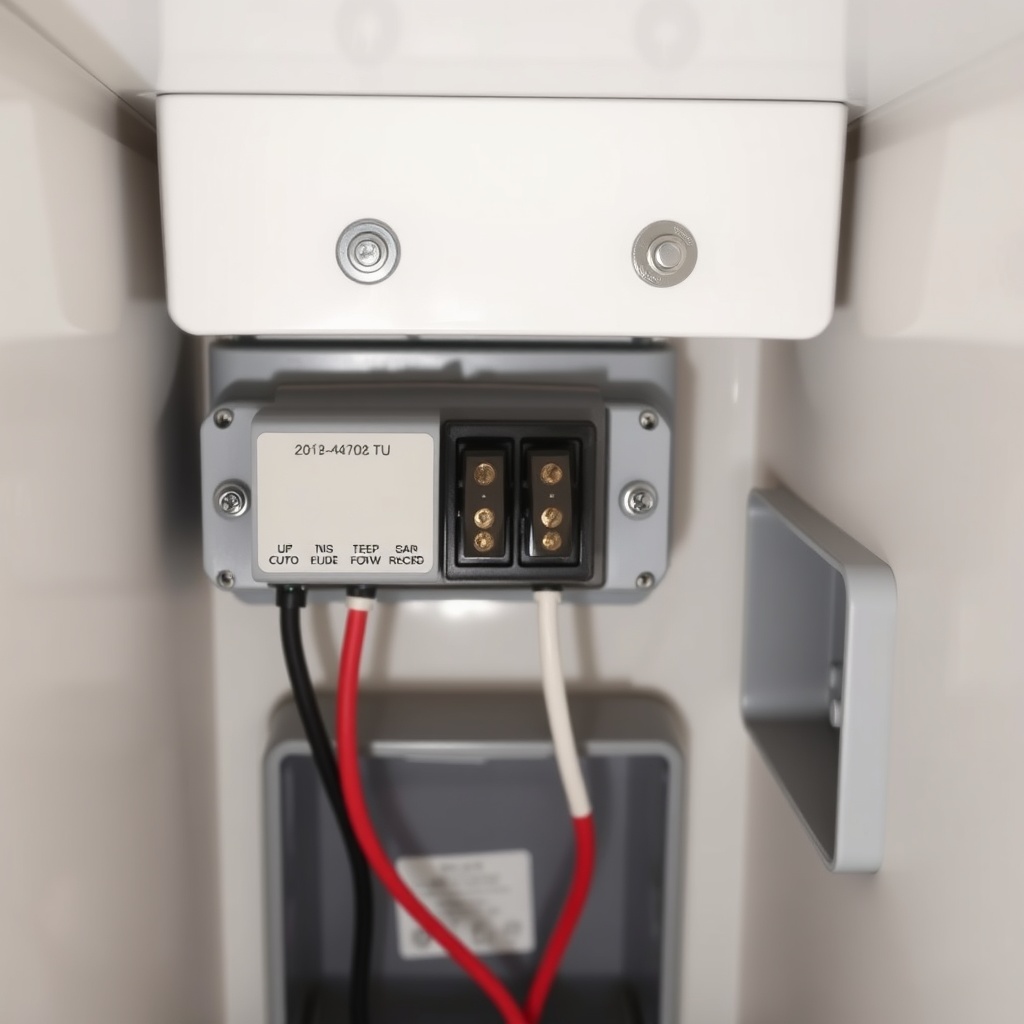
What Tools and Materials Do I Need for the Installation?
Gather the following items before starting. Prices reflect typical 2025 costs for an RV rated up to 50 amps.
| Item | Purpose | Estimated Cost (USD) |
|---|---|---|
| Automatic transfer switch (30 or 50 amp) | Core device | $120–$250 |
| 10/3 or 6/3 copper wire (length depends on run) | Power conductors | $1.50–$3.00 per foot |
| Wire strippers, crimpers, screwdrivers | Hand tools | $50 (set) |
| Multimeter | Verify voltages | $25–$60 |
| Conduit and fittings (if required by local code) | Physical protection | $0.50–$1.00 per foot |
| Electrical tape, cable ties, strain reliefs | Finishing | $15 (assorted) |
If you’re also planning to integrate a battery charger, review our DIY RV Generator Battery Charger Setup: Step-by-Step Installation Guide after completing the transfer switch.
How Do I Choose Between a Manual and Automatic Transfer Switch?
Manual switches cost $60–$120 and require you to physically turn a lever to select the power source. Automatic transfer switches (ATS) cost $120–$250 and sense the generator start-up, switching within seconds. For modern RVs with multiple appliances, an ATS is strongly recommended because it prevents accidental backfeeding and allows remote monitoring.
An ATS also coordinates with the generator’s start sequence. If you experience voltage issues later, our RV Generator Voltage Drop: Troubleshooting and Solutions guide can help diagnose them.
What Is the Step-by-Step Wiring Process for a 30-Amp System?
Step 1: Disconnect All Power Sources
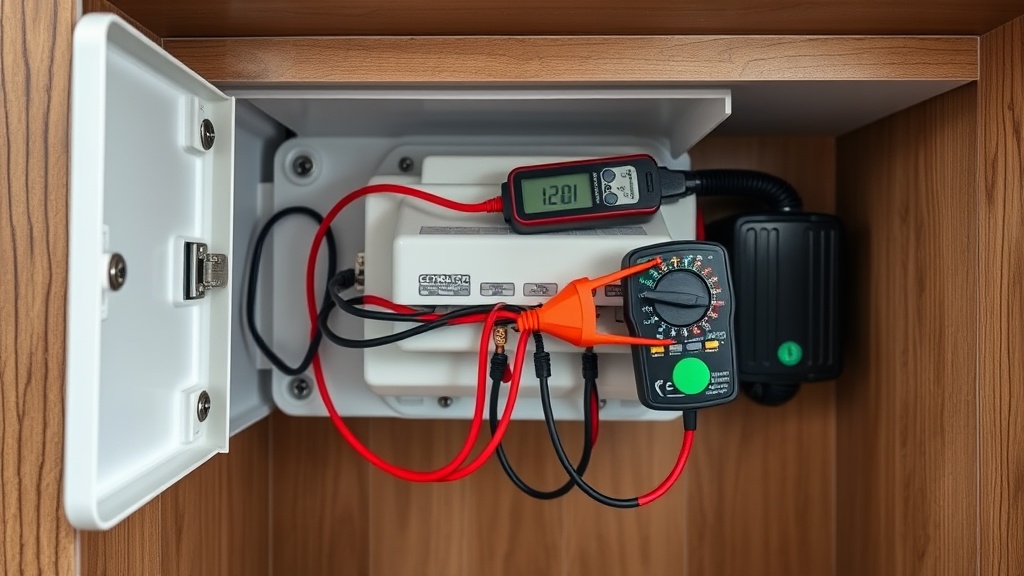
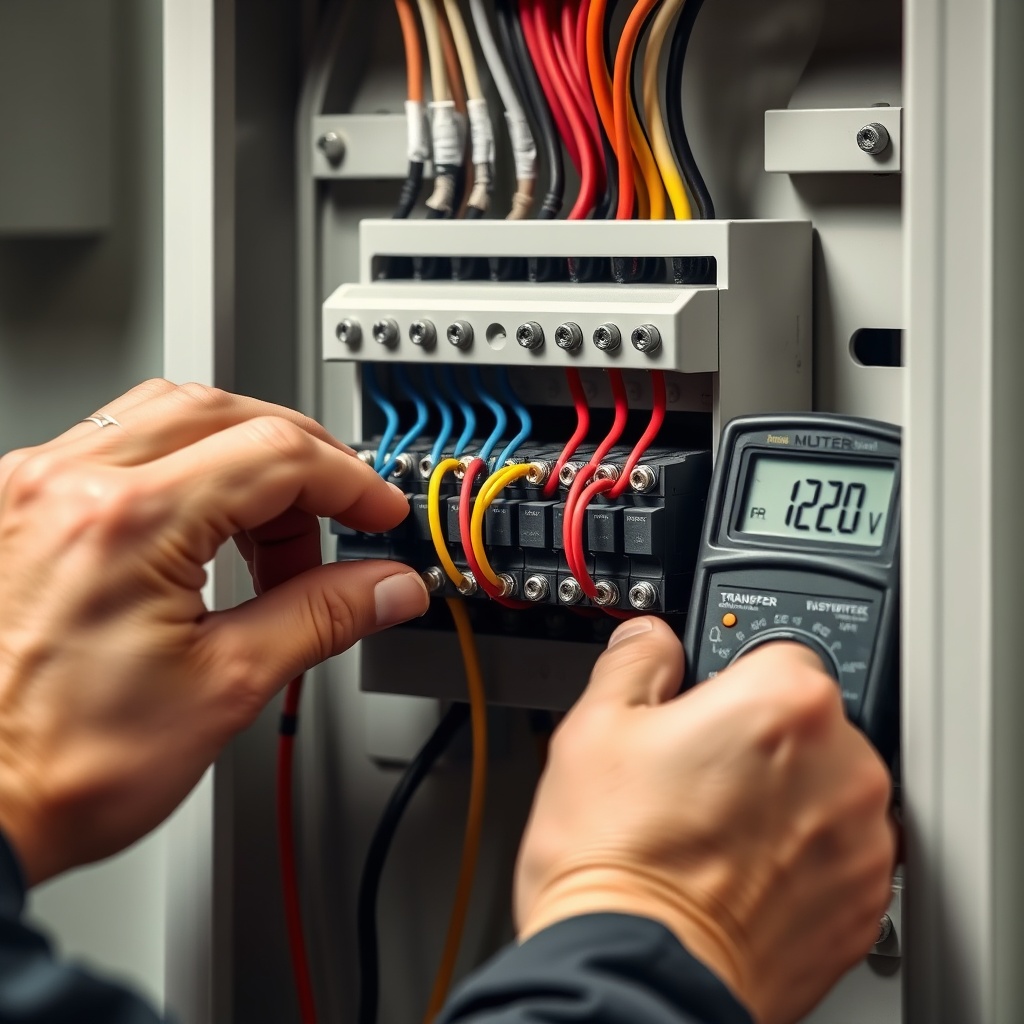
Unplug from shore power, turn off the generator, and disconnect the RV’s battery negative terminal. Verify with a multimeter that no voltage is present at the transfer switch location.
Step 2: Mount the Transfer Switch
Choose a clean, dry area near the generator compartment, away from exhaust and fuel lines. Use stainless steel screws and ensure the enclosure is grounded per manufacturer instructions.
Step 3: Run Generator Power Wires
Route the 10/3 wire (for 30 amp) from the generator’s output terminal to the transfer switch’s “Generator” input terminals: black to Gterminal, white to neutral, green to ground. Use strain reliefs where the wire enters the box.
Step 4: Connect Shore Power Wires
Run the shore power cord into the transfer switch’s “Shore” input terminals. Same color coding applies. Tighten screws to 15–20 in-lb.
Step 5: Wire the Load Output
The “Load” terminal connects to your RV’s main breaker panel. Black (hot) to the panel’s hot bus, white to neutral bus, green to ground bus.
Step 6: Test the System
Reconnect battery negative. Start your generator while plugged into shore power—the ATS should remain on shore. Switch off shore power; after a 10–30 second delay, the ATS transfers to generator. Use a multimeter to confirm 120V at the panel.
If you plan to refine your generator’s power quality, see our RV Generator Inverter Installation: Step-by-Step Guide for Clean Power.
What Are Common Mistakes During Transfer Switch Installation?
Here are frequent issues RV owners encounter:
- Incorrect wire gauge: Using 12 AWG on a 50-amp circuit causes overheating. Always follow breaker ratings.
- Ground loops: Connecting the generator’s ground to the RV’s neutral creates shared current paths. Use a separate ground bar.
- Skipping the delay: Fast-switching ATS models can create voltage spikes on sensitive electronics. Most include a 5–10 second delay, but verify.
- Overloaded neutral: In a 240V system, a shared neutral between legs can exceed capacity. Use dedicated neutrals if required.
- No arc fault protection: Older RVs lack this; adding a GFCI breaker at the panel improves safety.
How Do I Maintain the Transfer Switch After Installation?
Inspect the transfer switch annually. Check for loose terminal screws (torque to spec), corrosion on contacts, and signs of moisture inside the enclosure. Use a contact cleaner (like CRC 05103) to clean the switch mechanism if it feels stiff. Also verify that the generator’s voltage regulator is calibrated—our RV Generator Voltage Regulator Replacement: Step-by-Step Guide can help with that.
If the switch fails to transfer, test the control voltage (often 12V DC) coming from the generator’s start signal. A weak battery or corroded connection can prevent the ATS from engaging.
What Do RV Owners Say About Transfer Switch Installations?
Experienced RVers on forums like iRV2 and Facebook groups often share these insights:
- “An automatic transfer switch is worth the extra cost—it saved me from killing my generator when I plugged in both sources.”
- “I hired a mobile tech, but after watching videos, I realized the wiring is straightforward. Next time I’ll do it myself.”
- “I didn’t twist the wire ends before tightening them, and the connection arced inside the box. Always twist then screw.”
- “My 50-amp switch arrived missing a grounding lug. I bought one at a local electrical supply for $3.”
- “Test the switch without the load connected first—it’s much safer.”
Frequently Asked Questions
1. Can I install a transfer switch if I have no electrical experience?
It’s not recommended unless you study basic AC wiring, understand color codes, and use a multimeter. Many owners hire a licensed electrician for $200–$400.
2. What size transfer switch do I need for a 50-amp RV?
Use a 50-amp rated unit that handles 240V (L1, L2, neutral, ground). A 30-amp switch will overheat if you pull more than 30 amps.
3. Does the transfer switch require its own breaker?
No, but the generator’s output breaker and the RV’s main breaker provide overcurrent protection. Some states require a disconnect within sight of the generator.
4. Can a transfer switch be used for a portable generator?
Yes, but you need a manual transfer switch with an interlock kit to prevent backfeeding. Automatic switches are designed for permanently installed RV generators.
5. How long does a typical installation take?
About 3–5 hours for a first-timer, including routing wires and testing. Plans for an advanced automatic system can take 6+ hours.
6. Do I need a carbon monoxide detector when using a transfer switch?
Absolutely—the generator still produces CO. See our RV Generator Carbon Monoxide Safety: Detection and Prevention guide for installation locations and alarm types.