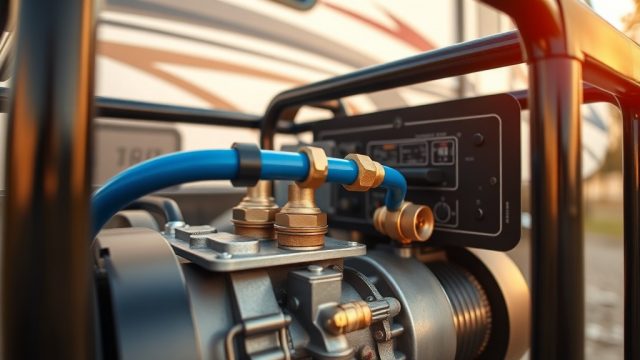
Why Should an RV Owner Install a Generator Inverter?
When relying on an RV generator for off-grid adventures, the quality of electricity supplied to sensitive electronics matters immensely. Standard RV generators, particularly older models or those without advanced voltage regulation, can produce “dirty” power with fluctuations in voltage and frequency. This inconsistent output can damage or destroy sensitive appliances like laptop chargers, microwaves, CPAP machines, and modern televisions. Installing a dedicated generator inverter—often paired with a pure sine wave inverter/charger—converts the generator’s raw AC output into stable, clean sine-wave power, protecting your gear and extending its lifespan. For RV owners who boondock frequently or use sensitive medical equipment, this upgrade is not a luxury but a necessity.
However, an inverter installation is not a simple plug-and-play project. It requires careful planning, proper wiring, and an understanding of your RV’s electrical system. This guide walks through every critical step, from choosing the right inverter to testing the final setup. Before starting, ensure you have a solid foundation in RV Generator Carbon Monoxide Safety: Detection and Prevention—running a generator without proper ventilation is deadly.
What Tools and Materials Are Needed for Inverter Installation?
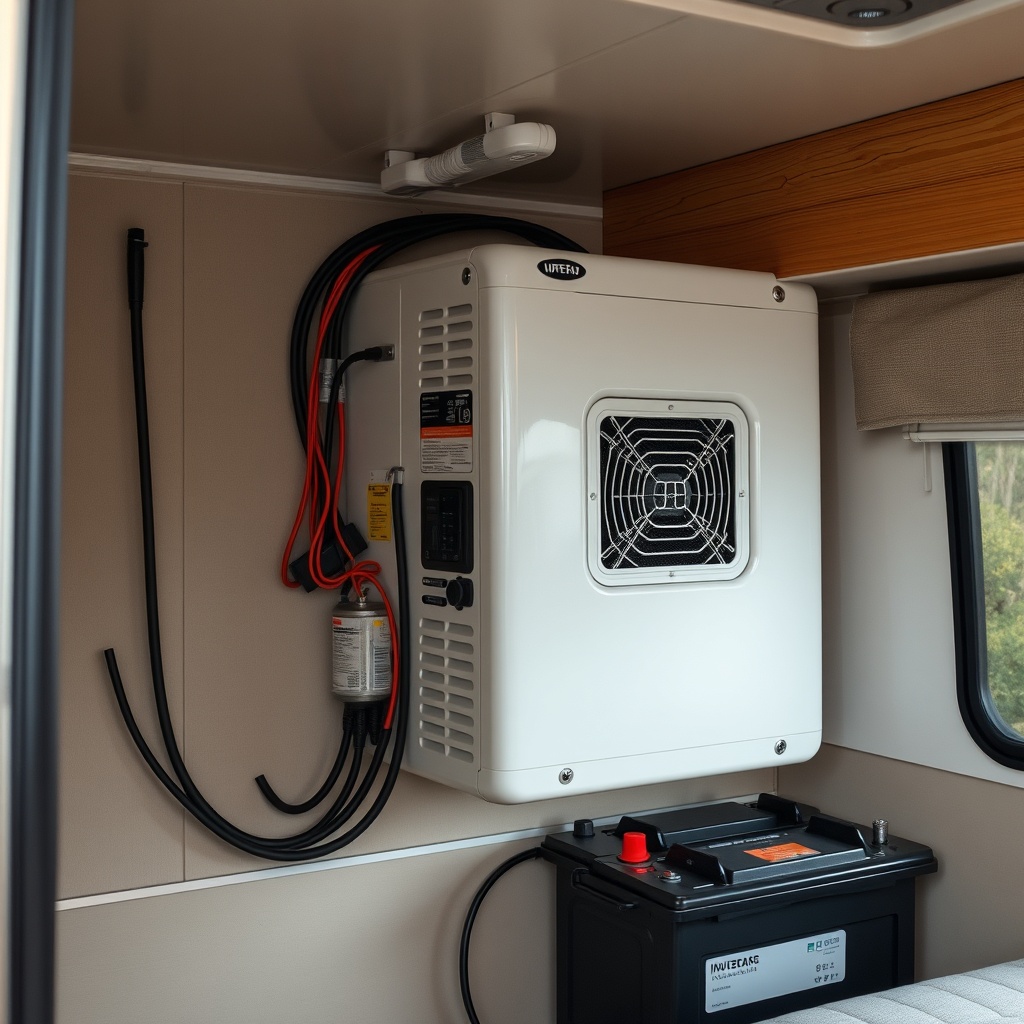
Gathering the correct tools and materials before starting prevents frustrating mid-project trips to the hardware store. For a typical RV generator inverter installation (rated up to 3,000 watts), you will require:
- Pure sine wave inverter/charger (rated for continuous output exceeding your generator’s capacity; e.g., a 2,000W inverter for a 1,800W generator)
- Heavy-duty battery cables (4 AWG or 2 AWG depending on distance—longer runs demand thicker cable to prevent voltage drop)
- Marine-grade fuse or circuit breaker (rated at 150% of inverter capacity; for a 2,000W inverter at 12V, a 250A breaker is typical)
- Transfer switch (automatic or manual, rated for generator and inverter current)
- AC and DC disconnect switches
- Wire strippers, crimpers, multimeter, and voltage tester
- Mounting hardware, cable ties, and conduit
- Battery monitor (optional but recommended)
Invest in quality components from reputable brands like Victron Energy, Xantrex, or Magnum Energy. Using cheap inverters can introduce harmonic distortion that defeats the purpose of clean power. For 2025 pricing, expect to spend between £600 and £1,400 (approximately $760–$1,770 USD) for a complete 2,000W pure sine wave inverter/charger kit, excluding batteries.
How Do You Plan the Inverter Location and Wiring Path?
Location is critical for safety and performance. Mount the inverter as close as possible to the battery bank to minimise DC cable length—excessive cable runs cause voltage drop and inefficiency. The inverter must be in a dry, ventilated area away from exhaust manifolds, fuel lines, and generator heat sources. Common locations include an exterior compartment near the battery, under a dinette seat with ventilation, or in a dedicated electrical bay. Ensure the inverter has at least 6 inches of clearance on all sides for cooling air circulation.
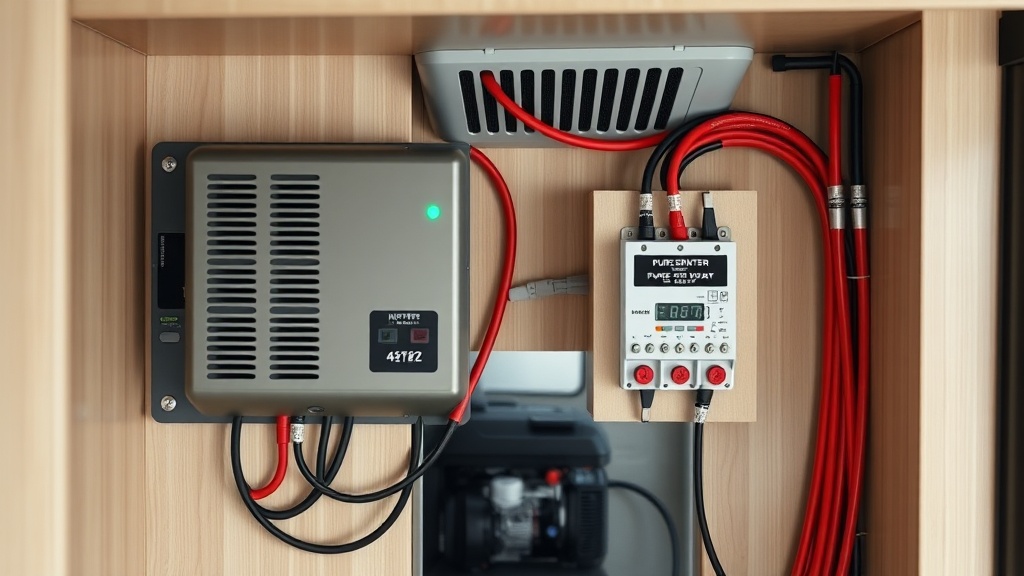
Plan the wiring path with a schematic. You will run:
- DC side: From battery positive terminal through a fuse/breaker to inverter DC input, and battery negative to inverter negative. Use quality lugs and heat shrink.
- AC input side: From generator output through a transfer switch to inverter AC input.
- AC output side: From inverter AC output to the RV main panel (or a sub-panel for dedicated circuits).
For RVs with complex electrical systems, consider consulting a professional if you are not comfortable with high-amperage DC wiring. A mistake here can cause fire or electrocution.
What Are the Step-by-Step Installation Steps?
Step 1: Disconnect All Power Sources
Before touching any wires, disconnect shore power, turn off the generator, and disconnect the RV battery bank. Use a voltage tester to confirm zero voltage at all points you will work on.
Step 2: Mount the Inverter
Use heavy-duty brackets or a mounting plate rated for the inverter’s weight (a 2,000W unit weighs roughly 20–30 lb). Secure it firmly to avoid vibration damage during travel.
Step 3: Run DC Cables
Measure and cut battery cables to exact length. Attach ring terminals and crimp securely (use a hydraulic crimper for best results). Connect positive cable to battery positive terminal through the fuse/breaker first, then to inverter positive terminal. Connect negative cable last to avoid short circuits.
Step 4: Wire the AC Side
Install the transfer switch between generator and inverter. Wire generator 120V output to transfer switch line input, then transfer switch load output to inverter AC input. On the inverter AC output side, connect to the RV main panel or sub-panel. Use appropriate torque on terminal screws (typically 14–18 in-lb for AC terminals).
Step 5: Grounding
Ground the inverter chassis to the RV chassis ground and ensure the ground bond is solid. Refer to RV Generator Voltage Drop: Troubleshooting and Solutions for grounding best practices.
Step 6: Test System
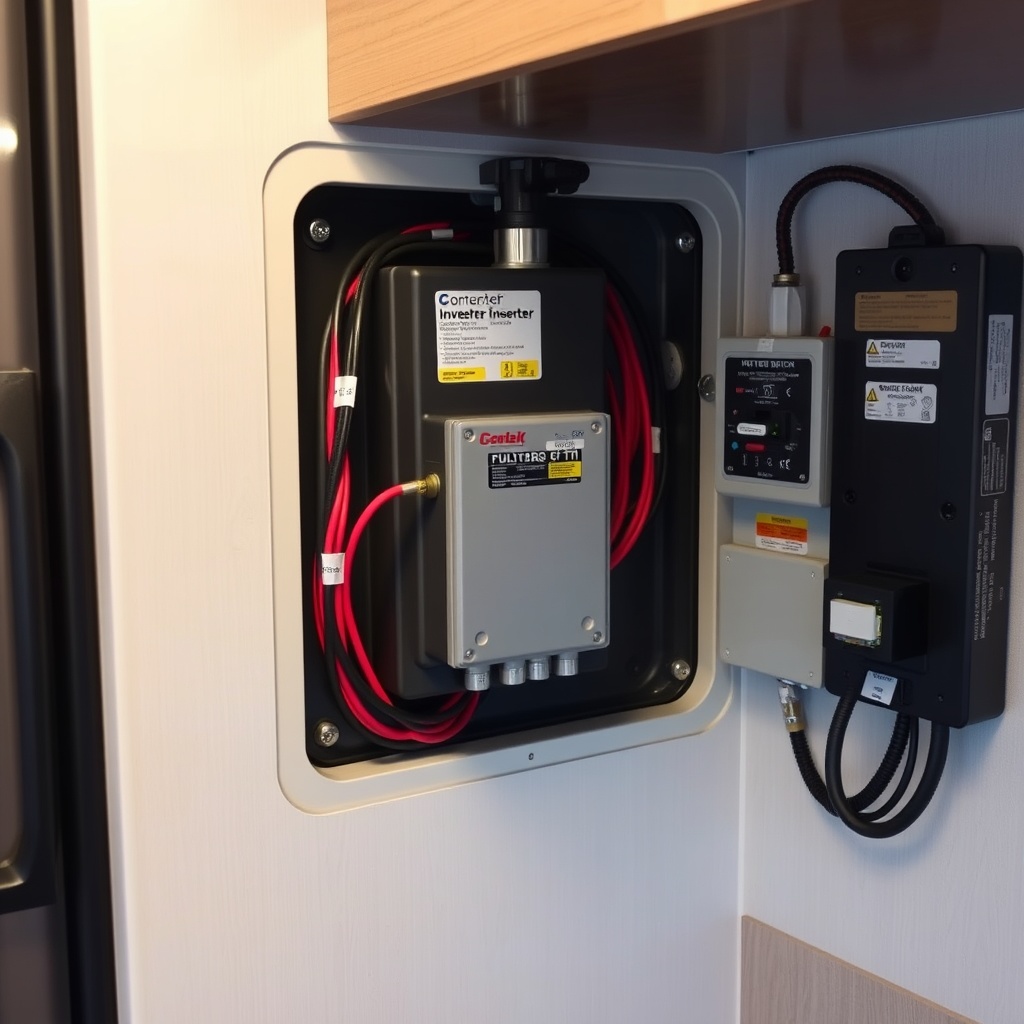
Reconnect battery (negative first), then turn on generator. Verify inverter powers up and shows normal status (often a green LED). Use a multimeter at an outlet to confirm voltage is 120V ±5% and frequency is near 60 Hz.
How Do You Ensure Proper Voltage and Frequency Stability After Installation?
Even with a high-quality inverter, voltage and frequency must be checked under load. A 200W light bulb or space heater provides a test load. Measure AC output voltage with a true RMS multimeter—it should read between 115V and 125V. Frequency should be 60 Hz ±0.5 Hz. If voltage drops significantly (more than 5V under half load), check for:
- Undersized DC cables causing voltage drop
- Loose connections on battery terminals or inverter input
- Insufficient battery capacity (batteries cannot deliver enough current)
Symptom of frequency instability (lights flickering, motors humming unevenly) often indicates the inverter is overloaded or the generator’s output is too distorted. In such cases, refer to RV Generator Frequency Stability: Troubleshooting and Solutions for advanced diagnosis. If the inverter incorporates a transfer switch, ensure it transitions smoothly between generator and inverter power without a noticeable flicker.
What Do Owners Say About Their Inverter Installations?
After installing generator inverters on their RVs, owners report significant improvements in power quality. A forum user on a popular RV forum wrote: “My previous generator would make my TV’s internal power supply buzz. After adding a Victron MultiPlus, everything runs silent and I can even charge my laptop directly without a surge protector.” Another owner noted: “Installation took a full weekend, but the peace of mind is worth it. I measured ripple noise dropping from 8% to 0.5% THD.”
Challenges mentioned include finding space for the inverter in compact motorhomes and running thick DC cables. Many recommend oversizing the inverter by 20% to handle surge loads from AC units or microwaves. For specific battery charging integration, see DIY RV Generator Battery Charger Setup: Step-by-Step Installation Guide.
The following table summarises owner-reported inverter performance improvements:
| Parameter | Before Inverter | After Inverter |
|---|---|---|
| Total Harmonic Distortion (THD) | 8%–15% | 1%–3% |
| Voltage Stability (no load to full load) | ±10V | ±2V |
| Frequency Drift | Up to 3 Hz | <0.2 Hz |
| Appliance Noise (refrigerator) | Audible buzzing | Silent operation |
Frequently Asked Questions
1. Can I install a generator inverter myself?
Yes, if you have basic electrical skills and understand DC and AC wiring. However, if you are unfamiliar with high-current DC systems (100A+), hire a certified RV technician. Improper grounding or undersized wires can cause fire.
2. How much does a generator inverter installation cost?
For a typical 2,000W system (inverter, cables, fuses, transfer switch, and miscellaneous), expect to spend £500 to £1,200 in parts. Professional installation adds £300–£800 labour, making total costs £800–£2,000 depending on complexity.
3. Will an inverter improve generator fuel efficiency?
Not directly. The inverter does not affect engine fuel consumption. However, by cleaning the power, it allows sensitive equipment to run at lower generator loads, potentially reducing runtime for battery charging—indirectly saving fuel.
4. Do I need an automatic transfer switch?
For seamless switching between generator and inverter power, yes. Manual switches are cheaper but require you to flip a switch when connecting/disconnecting generator power. Automatic transfer switches prevent back-feeding and are recommended for permanent installations.
5. What size inverter do I need for my RV generator?
Select an inverter with continuous power rating at least 25% higher than your generator’s maximum continuous output. For a 2,500W generator, choose a 3,000W inverter. This headroom handles surge loads from motor starts.
6. How do I maintain the inverter after installation?
Keep cooling vents clear of dust and debris. Check DC terminal torque every six months. Inspect cables for chafing or corrosion. If the inverter runs hot, ensure adequate ventilation and consider installing a cooling fan.