
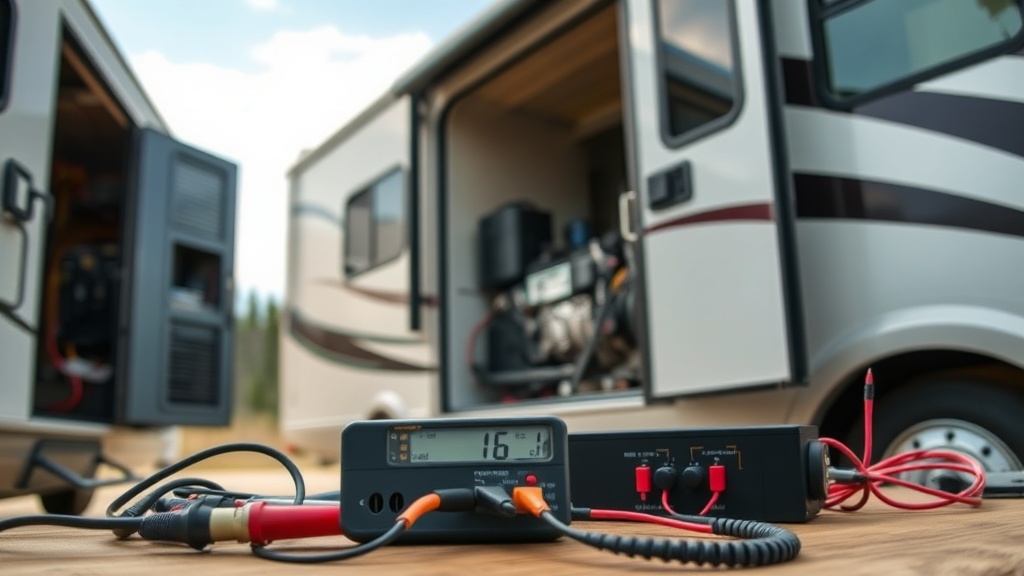
Why Would My RV Generator Need a Voltage Regulator Replacement?
An RV generator is the heart of your mobile power system, supplying electricity to your appliances and comforts while off-grid. However, the voltage regulator—a critical component that maintains stable output—can fail over time due to heat, vibration, or age. When this happens, you might notice flickering lights, erratic appliance performance, or even sudden shutdowns. Replacing the voltage regulator is a manageable DIY task that can save you hundreds of pounds in service costs, provided you follow the correct steps. This guide will walk you through the process, from diagnosis to installation, ensuring your generator runs smoothly and safely.
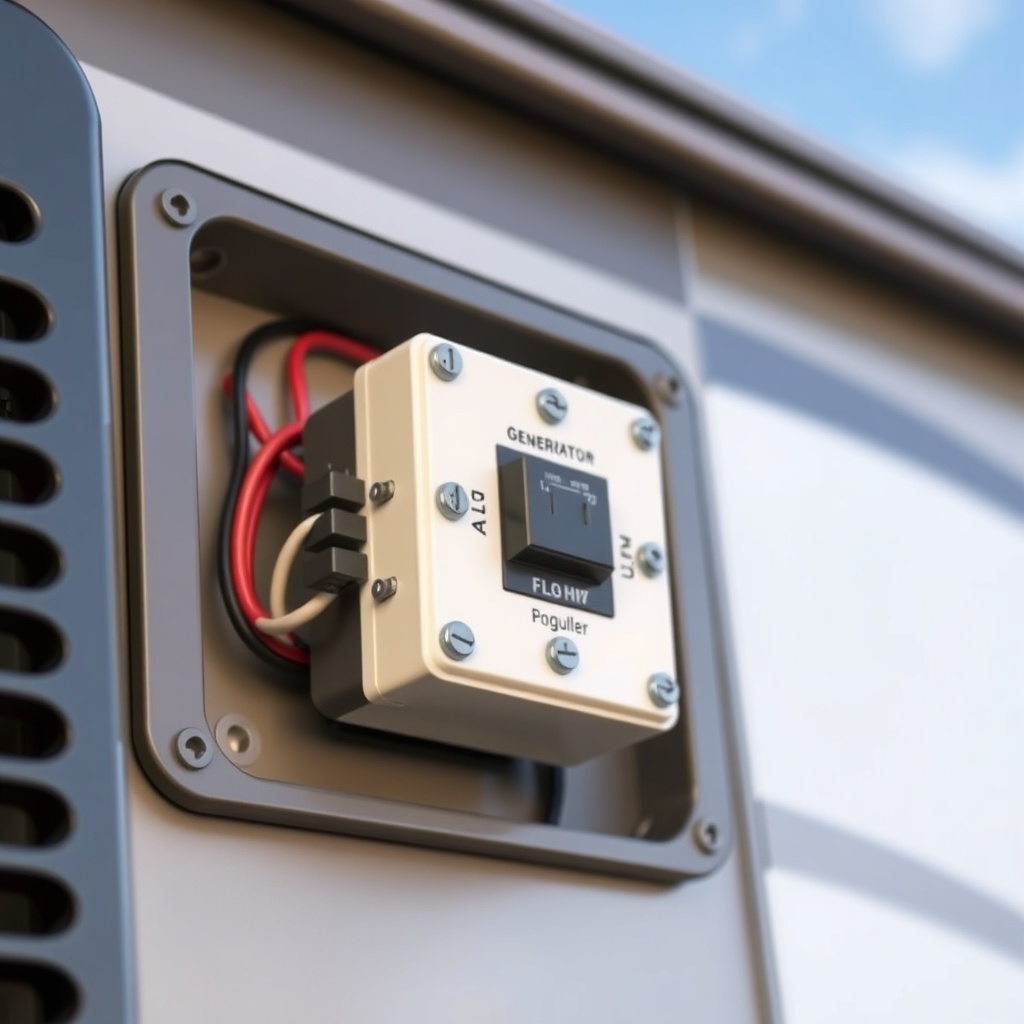
How Do I Diagnose a Faulty Voltage Regulator in My RV Generator?
Before you replace the voltage regulator, you need to confirm it’s the culprit. Common symptoms include:
- Output voltage that fluctuates widely (e.g., from 100V to 130V AC) under load.
- The generator starts but produces no power despite the engine running.
- Excessive dimming of lights when you plug in a high-draw appliance like an air conditioner.
- The generator trips circuit breakers repeatedly without any obvious overload.
To diagnose, use a digital multimeter set to AC voltage. Start the generator and measure output at a standard 240V receptacle (UK standard). A healthy regulator should deliver between 220V and 250V AC with no load (depending on the model). If readings are outside this range or fluctuate, the regulator is likely failing. Also check the excitation voltage—typically 12V DC to the field winding—as a low reading can point to regulator issues. For more on overall maintenance, see our RV Generator Maintenance Checklist: Keep Your Power On the Road.
Bear in mind that a faulty battery charger or wiring can mimic regulator problems. Ensure you’ve ruled out loose connections, corroded terminals, or a dying battery before ordering parts. The regulator itself is usually a small, metal-cased module near the control box, often mounted on the generator housing.
| Symptom | Possible Cause | Severity (1-5) |
|---|---|---|
| Voltage drops under load | Failed regulator or worn brushes | 4 |
| No AC output at all | Dead regulator or broken field winding | 5 |
| Lights flicker randomly | Loose connections or regulator failure | 3 |
| Generator shuts down after few minutes | Overvoltage protection tripping (regulator fault) | 5 |
What Tools and Parts Do I Need for the Replacement?
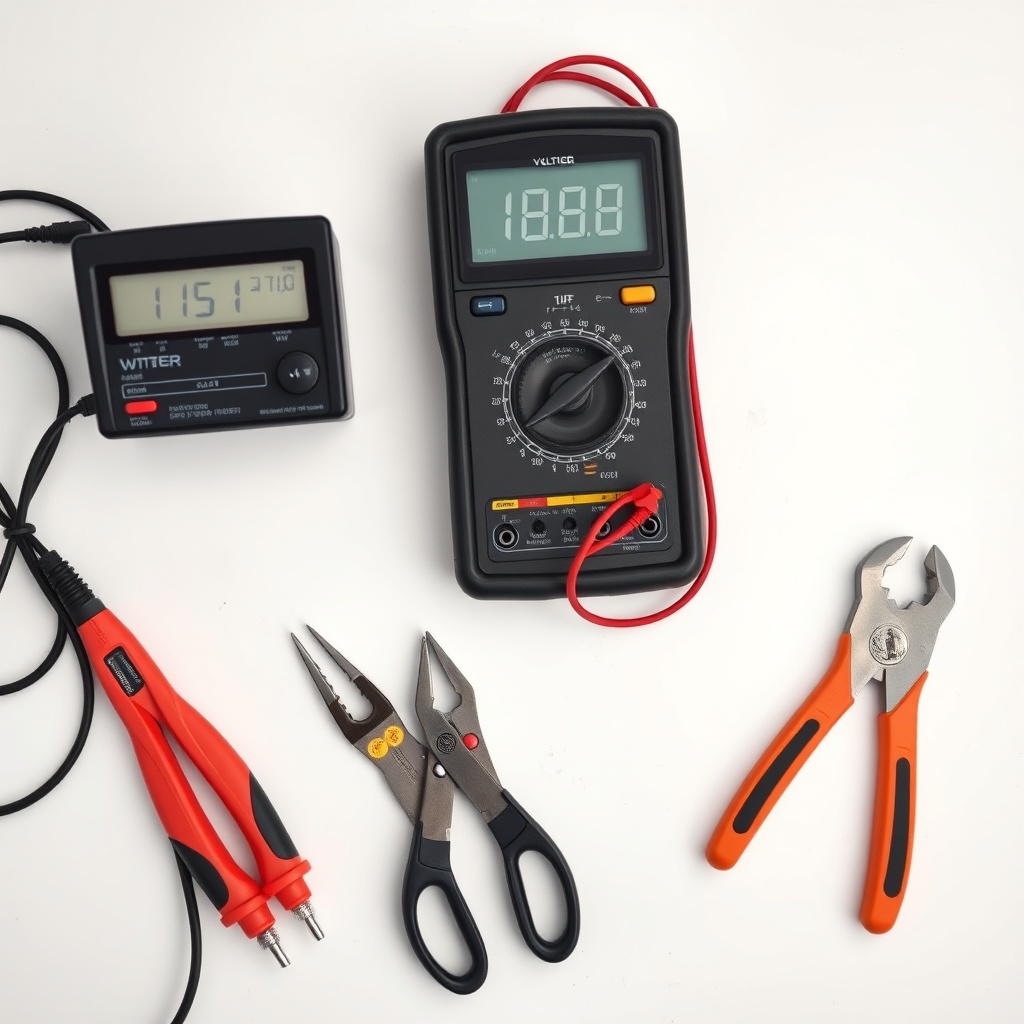
Gathering the right tools and parts is essential for a smooth replacement. Here’s what you’ll need:
- New voltage regulator – Ensure it matches your generator’s make and model (e.g., for Onan, Honda, or Cummins units). Expect to spend £50–£150 for a quality aftermarket or OEM part.
- Digital multimeter for testing.
- Screwdrivers (Phillips and flathead) and a small socket set (typically 8mm and 10mm sockets).
- Torque wrench (for critical bolts – around 10-15 Nm).
- Wire strippers and crimpers if you need to replace terminals.
- Heat shrink tubing and electrical tape for insulation.
- Safety gloves and glasses to protect from sparks and debris.
- Work light for illuminating the generator compartment.
You might also benefit from a service manual specific to your generator. If you’re working on a battery system that interacts with the generator, refer to our DIY RV Generator Battery Charger Setup: Step-by-Step Installation Guide for wiring nuances.
Before buying, note the part number from the old regulator (often printed on a sticker). Some replacements are universal but require cutting and splicing wires, while others are plug-and-play. If possible, bring the old part to a dealer or compare specs online.
What Is the Step-by-Step Process to Replace the Voltage Regulator?
Follow these steps carefully. Always disconnect the battery negative terminal first to prevent accidental shorts or shocks.
Step 1: Prepare the Generator
Turn off the generator and let it cool for 15 minutes. Disconnect the RV from shore power as well. Remove the generator cover or access panel—usually held by 4 to 6 screws. Locate the voltage regulator (often near the brush assembly or in the control box).
Step 2: Remove the Old Regulator
Take a photo of the wiring for reference. Unscrew the regulator from its mounting bracket (2–3 bolts). Carefully disconnect all wires—label them with tape if needed. For models with spade connectors, gently pull off using pliers. Remove the regulator and set aside.
Step 3: Inspect Wiring and Connectors
Check the harness for burnt or melted insulation. If you see damage, replace the affected wires with same-gauge (typically 18 AWG for control circuits). Clean terminals with a wire brush. For a thorough electrical check, see our guide on RV Generator Spark Plug Replacement: Step-by-Step Maintenance Guide – good spark ensures the engine runs reliably while the regulator stabilizes output.
Step 4: Install the New Regulator
Mount the new regulator in the same orientation. Connect wires following your photo or the service manual. Polarity matters: B+ (battery positive) and B- (ground) must be correct. If the regulator has a field control wire (F+), connect it to the brush assembly. Tighten all screws snugly but avoid overtightening.
Step 5: Test the Installation
Reconnect the battery. Start the generator and let it run for 2 minutes at no load. Measure output voltage at a 240V socket – should be stable within 10V of rated. Apply a moderate load (e.g., a 1,500W heater) and monitor voltage drop – it should stay above 220V. If voltage still flickers, recheck connections or the brush condition.
Step 6: Reassemble and Final Check
Replace the cover, secure all fasteners. Run the generator under load for 15 minutes while cycling on/off several appliances. Check for unusual noises or heat. If successful, you’ve saved a trip to the mechanic. For ongoing care, follow our RV Generator Oil Change: Step-by-Step Maintenance Guide.
What Are Common Mistakes to Avoid During Replacement?
Even experienced DIYers can slip up. Avoid these pitfalls:
- Not disconnecting the battery: This can cause a short that damages the new regulator instantly. Always remove the negative terminal first.
- Forgetting to match polarity: Swapping B+ and B- can fry the regulator within seconds. Double-check your wiring diagram.
- Using wrong torque: Over-tightening mounting screws can crack the regulator’s housing or strip threads. Use a torque wrench set to manufacturer specs (usually 8-12 Nm).
- Skipping the visual inspection: A burnt wire or loose connector can cause a new regulator to fail. Inspect all components before assembly.
- Not running a full load test: A unit that works at idle may fail under load. Always test with your RV’s highest-draw appliance, like the air conditioner.
Additionally, ensure you don’t confuse the voltage regulator with the AVR (automatic voltage regulator) on some models. Some generators combine both in one unit; consult your manual.
What Do Owners Say About Replacing the Voltage Regulator Themselves?
Many RV owners who have tackled this job report a mix of satisfaction and challenges. Here’s a summary from online forums and owner groups:
- John from Kent: “I replaced the regulator on my Onan 4KW after losing power at a campsite. The hardest part was finding the exact part number—once I did, the swap took 45 minutes. Saved over £200 in labour.”
- Sarah from Cornwall: “I made the mistake of not disconnecting the battery first. A small spark killed my first replacement. Learned the hard way—now I always triple-check polarity.”
- Mike from Scotland: “I followed a video tutorial but the wiring on my Honda was different. Ended up buying a service manual. The job is doable, but patience is key—especially with cramped compartments.”
- Linda from Wales: “My regulator failed twice in 3 years. After replacing it, I also added a surge protector for the generator. So far so good. I wish I’d done it sooner.”
- Tom from Manchester: “I’m not very handy, but the step-by-step guide online helped. I used a multimeter to confirm the old one was bad. The new part cost £85 and the job took a Saturday morning. Would recommend it to others.”
The consensus: This is a rewarding DIY project if you take your time, use the right tools, and secure proper documentation. For noise-related maintenance after replacing the regulator, check our RV Generator Silent Operation Tips: How to Reduce Noise at Campgrounds.
Frequently Asked Questions About RV Generator Voltage Regulator Replacement
1. How much does a voltage regulator replacement cost at a shop?
Professional replacement typically costs £200–£400 including parts and labour. DIY replacement runs about £50–£150 for the part, plus £20 for tools if you don’t have them.
2. Can a bad voltage regulator damage my RV appliances?
Yes. Unstable voltage can shorten the lifespan of refrigerators, air conditioners, and electronics. A failing regulator may cause overvoltage spikes that can fry control boards. Replace it promptly.
3. How long does the replacement take?
For an experienced DIYer, 45 minutes to 1.5 hours. For a beginner, allow 2–3 hours including testing. This includes removing panels, swapping the part, and running diagnostics.
4. Will any universal voltage regulator work on my RV generator?
Not always. Universal regulators often require rewiring and may not match your generator’s field voltage (e.g., 12V vs 24V systems). Always check specifications or use an OEM-recommended part for safety.
5. What should I do if voltage still fluctuates after replacement?
First, check all connections for tightness. Then inspect the brush assembly—worn brushes can mimic regulator failure. Also verify the capacitor (if present) and the main stator winding. If still faulty, seek professional diagnosis.
6. Is it safe to run the generator while I work on the regulator?
Absolutely not. Always shut down the generator and disconnect the battery before touching any electrical components. Live work risks electric shock or fire.