Why Install a Dedicated Battery Charger for Your RV Generator?
Your RV generator is a lifeline for boondocking and off-grid adventures, but its battery charging system is often an afterthought. Most factory-installed converters provide a trickle charge that can leave your batteries undercharged and your generator cranking slowly before a big trip. A dedicated battery charger setup ensures your generator starts reliably, extends battery life, and delivers full power to your appliances. This guide walks you through a step-by-step installation that even a moderately handy DIYer can complete in an afternoon.
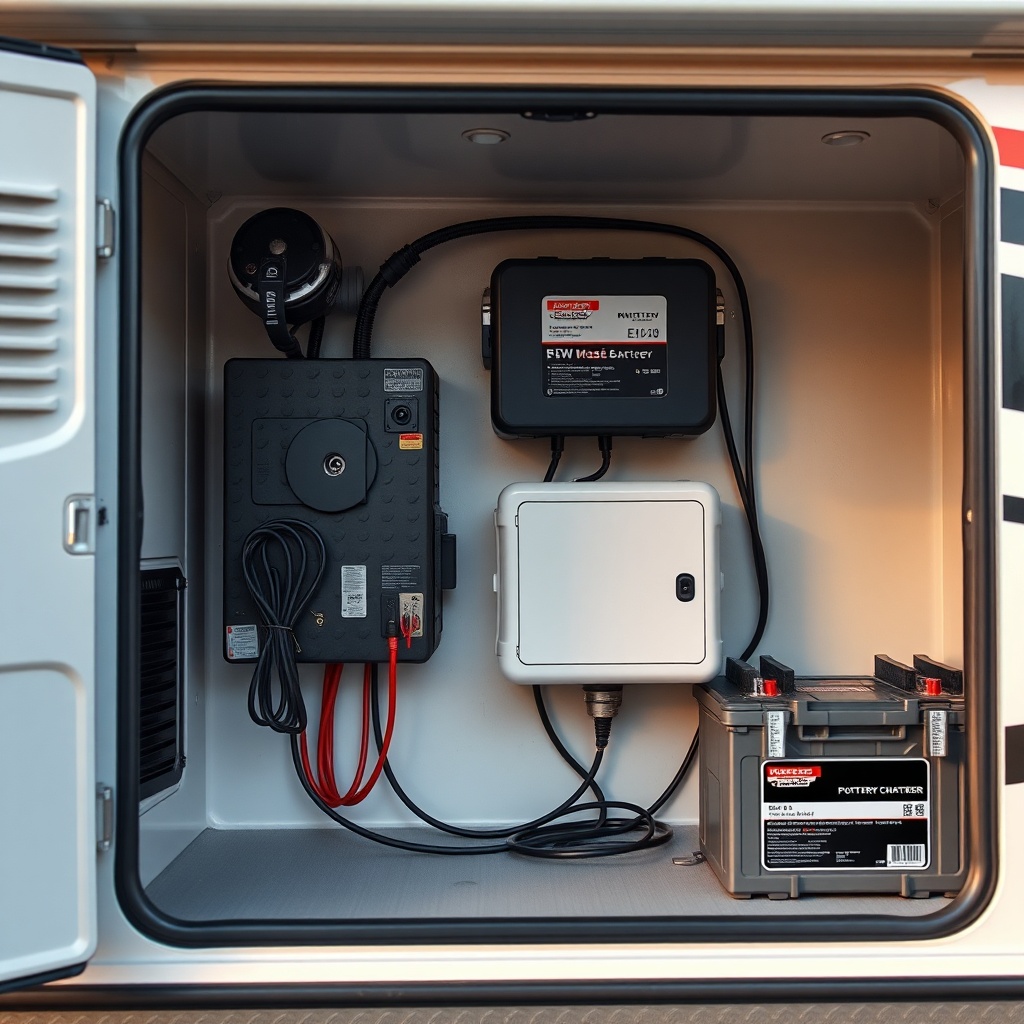
What Tools and Components Do You Need for the Setup?
Before you start, gather the right tools and parts. Using quality components ensures safety and longevity, especially for 12V DC systems in an RV that vibrates and bounces on the road.
- Battery charger (e.g., 20-amp multi-stage smart charger, around £110–180)
- Battery cables (4 AWG or thicker, marine-grade tinned copper)
- Fuse holder (ANL or MRBF style, 50–80 amp rating)
- Ring terminals and heat shrink tubing
- Wire strippers, crimpers, and a heat gun
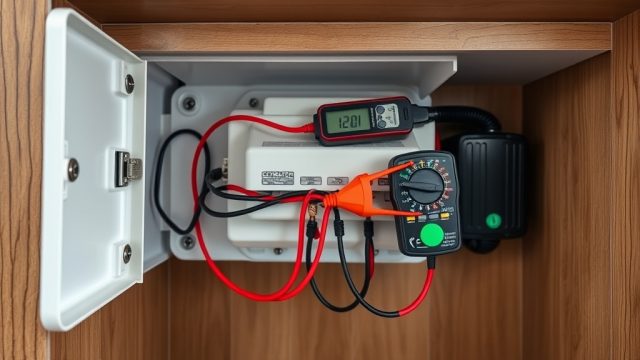
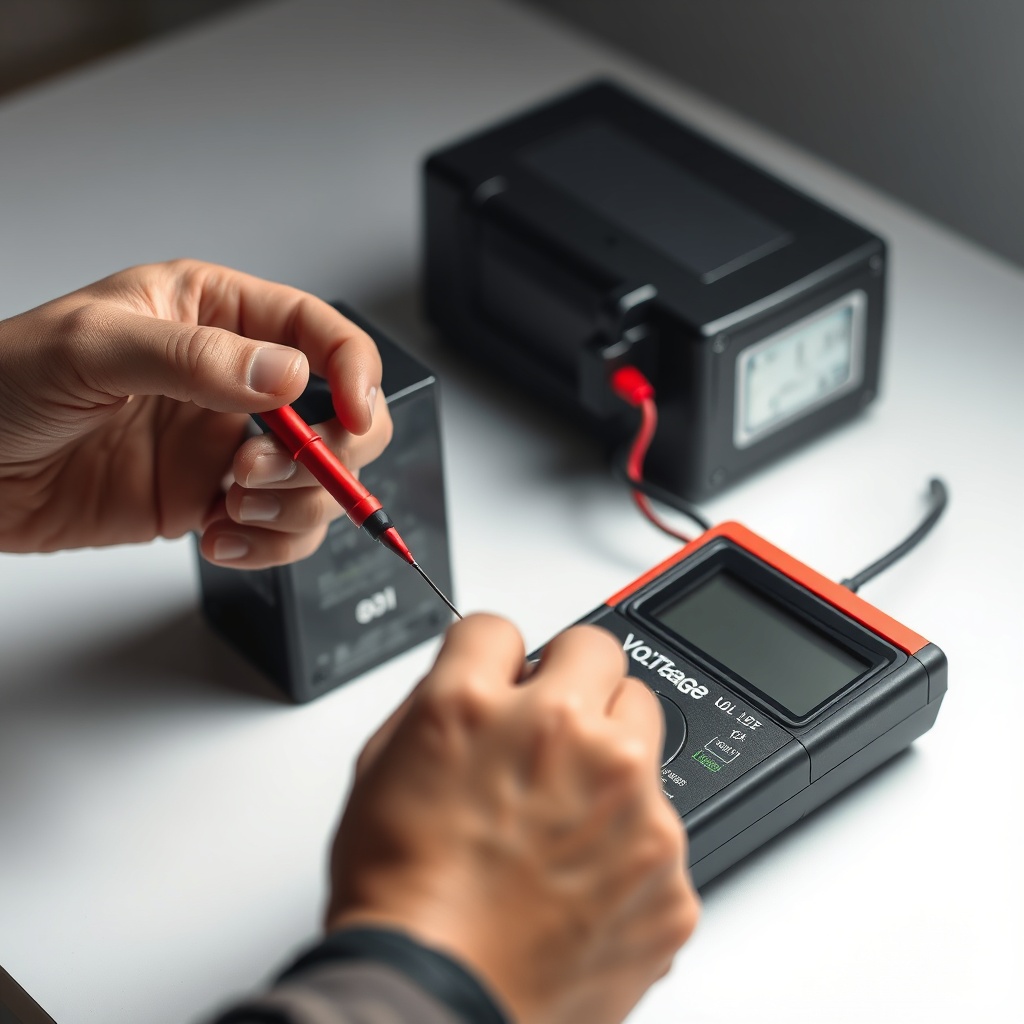
- Multimeter for voltage checks
- Drill and self-tapping screws for mounting
How Do You Choose the Right Charger for Your Generator Battery?
Not all battery chargers are equal. Your generator battery (usually a deep-cycle lead-acid or AGM) requires a multi-stage charger with a “float” mode to avoid overcharging. Here’s a quick comparison table to help you decide:
| Charger Type | Best For | Output (Amps) | Price Range | Key Feature |
|---|---|---|---|---|
| Basic trickle charger | Storage only | 1–5A | £25–50 | Very slow charge |
| Multi-stage smart charger | Daily use, AGM/Flooded | 15–30A | £90–200 | Auto shut-off, desulfation |
| Lithium-compatible charger | LiFePO4 batteries | 20–40A | £150–300 | Custom voltage profiles |
For most RVers, a 20-amp multi-stage charger strikes the best balance of speed and battery health. Avoid automotive “quick chargers” that can boil your battery dry in hours.
Step-by-Step Installation: How to Wire the Charger to the Generator Battery
Follow these steps precisely. Always disconnect the negative battery terminal first to avoid short circuits.
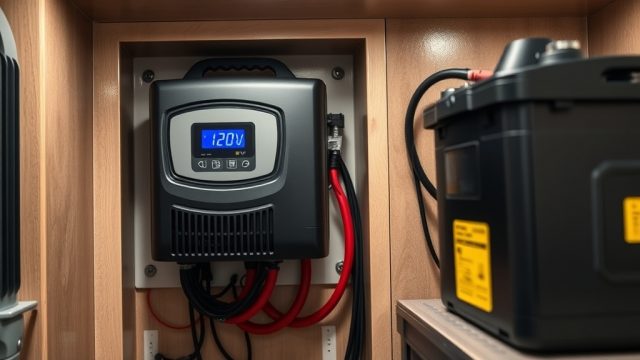
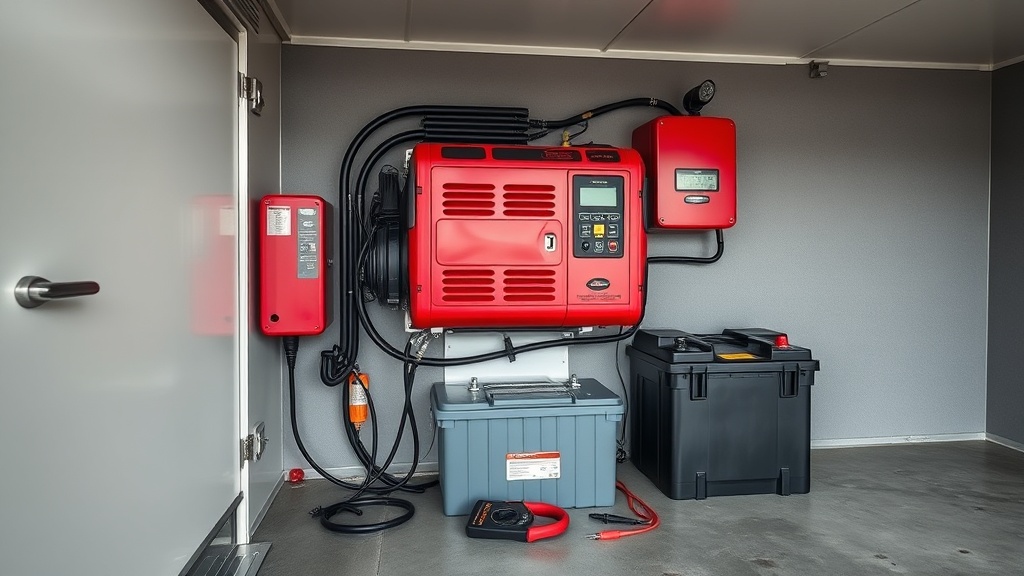
- Mount the charger: Secure it near the generator battery (or in a ventilated compartment) using rust-proof screws. Leave 3 inches of clearance for airflow.
- Install the fuse: Remove 12 inches from the positive cable. Crimp the fuse holder between the battery positive terminal and the charger positive output. Use a 60-amp ANL fuse for a 20-amp charger.
- Connect leads: Attach ring terminals to the charger wires (red to positive, black to negative). Crimp and heat shrink each connection. Torque to 10-12 ft-lbs.
- Wire the AC input: If your charger plugs into 120V AC, route the plug to a nearby outlet. For hardwired units, connect to a switched circuit from the generator control panel.
- Test before closing: Reconnect battery negative, plug in charger, and measure voltage at the battery terminals with a multimeter. Expect 13.6–14.4V in bulk mode.
- Secure cables: Use cable ties to keep wires away from moving engine parts, exhaust manifold, and sharp edges.
What Safety Precautions Must You Take for a DIY Installation?
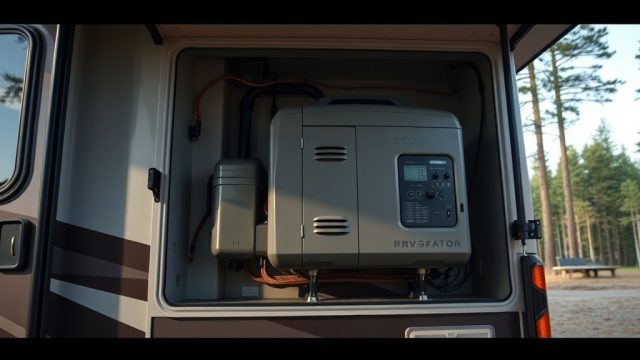
Working with 12V DC and 120V AC simultaneously demands caution. The generator compartment can contain flammable fuel vapours, so avoid sparks at all costs.
- Work in a well-ventilated area away from fuel tanks and propane lines.
- Use a spark-free wrench when disconnecting battery terminals.
- Verify polarity twice before connecting the charger; reverse polarity can destroy the charger instantly.
- Install a fuse as close to the battery positive terminal as possible—within 18 inches (0.46 m) is the rule.
- Don’t use extension cords for the charger AC input; plug directly into a GFCI-protected outlet.
What Owners Say About Their DIY Charger Installations
We scoured forums and Facebook groups for real feedback from RV owners who’ve installed their own generator battery chargers. Their experiences confirm that the effort pays off.
“My Onan 4000 would crank slow after a week of dry camping. I installed a 20A NOCO charger and now it fires right up every time. Best £120 I’ve spent.” — Jeff M., Class C owner
“I damaged my first battery by using a $30 trickle charger. After switching to a 4-stage charger, my AGM showed 14.2V consistently. The generator starts even in cold weather.” — Linda T., fifth-wheel dweller
“Be careful with the fuse placement. I originally put it 30 inches away, and a friend said it was a fire risk. I moved it to 8 inches from the battery. Peace of mind.” — Mike R., full-time RVer
Frequently Asked Questions
Q1: Can I use the RV’s existing converter to charge the generator battery?
A1: Yes, if your converter has a dedicated “generator battery” output, but most factory units only supply a low-current trickle. A dedicated smart charger delivers a faster, more regulated charge that extends battery life.
Q2: How long does it take to install a battery charger?
A2: A careful DIY installation takes 2–4 hours, including mounting, wiring, and testing. Most of the time is spent routing cables safely and securing connections.
Q3: Does the charger drain the generator battery when not in use?
A3: No. A quality smart charger enters a “standby” or “float” mode drawing less than 10 milliamps. It won’t drain your battery over weeks of storage.
Q4: What’s the best charger brand for an RV generator?
A4: We recommend NOCO, Victron Energy, or Battery Tender. These brands offer multi-stage charging and are rugged enough for RV vibrations. Prices start around £90.
Q5: Can this charger also power my 12V accessories?
A5: Not directly. A battery charger is designed to charge a battery, not run loads. Use a separate DC-DC converter or inverter for appliances.
Q6: Do I need a professional to install the charger?
A6: If you have basic electrical knowledge (know the difference between positive/negative, can use a multimeter safely), it’s a DIY project. If you’re unsure, hire a certified RV technician to avoid fire hazards.