Why Is My Dometic DM2672 Door Sagging and Causing Leaks?
Over time, the Dometic DM2672’s door can begin to sag, leading to poor sealing, temperature instability, and even water intrusion. This common repair issue stems from hinge wear, misaligned mounting points, or loose hardware. The fridge, often mounted in a cutout with minimal clearance, shifts slightly under road vibration, throwing off the door’s alignment. When the seal breaks, cold air escapes and warm, moist air enters, which can accelerate ammonia system strain and even cause frost buildup. Addressing hinge alignment promptly prevents further damage and saves you from costly service calls.
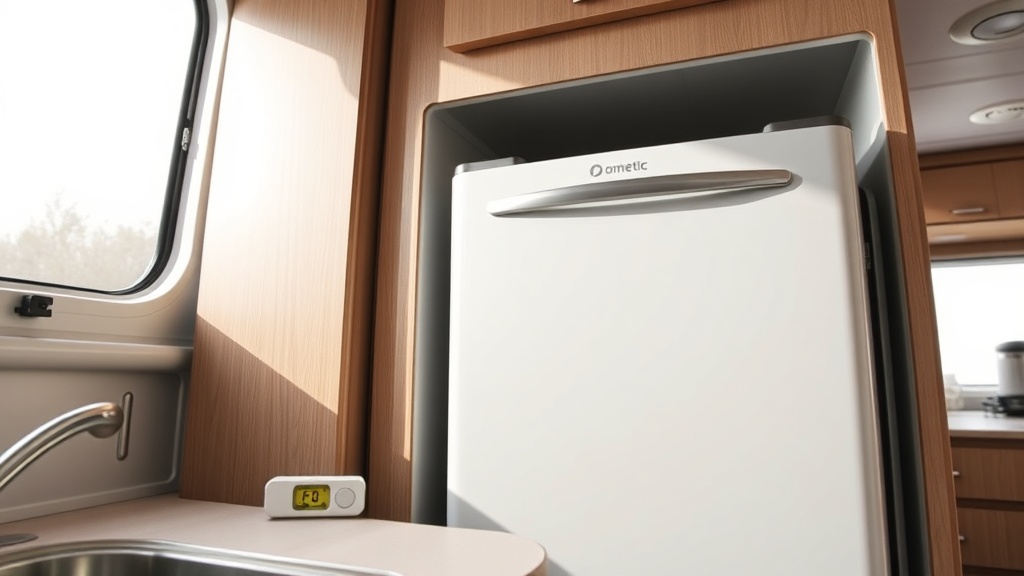
Before diving into repairs, check that the fridge is level both front-to-back and side-to-side. An unlevel RV fridge can cause the door to hang crookedly. Use a bubble level on the freezer floor to confirm. Once level, move to the hinge system itself.
How Do I Inspect the Dometic DM2672 Door Hinges for Wear?
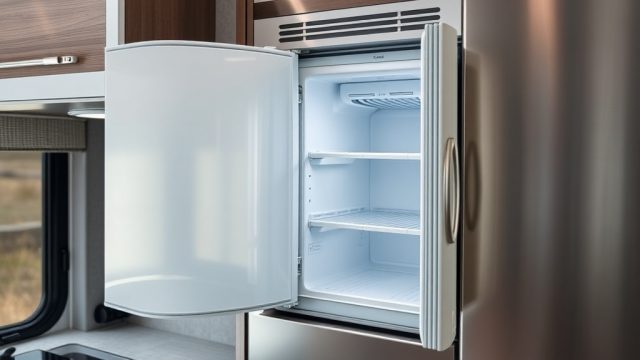
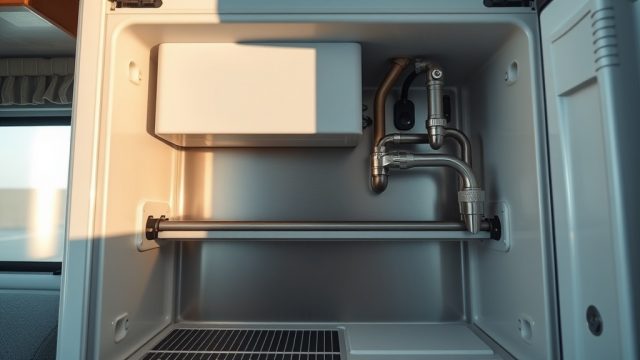
Begin by opening the door fully. Look at the upper and lower hinge brackets—these are typically plastic or metal plates bolted to the fridge cabinet and door. On the DM2672, the lower hinge often takes the brunt of the load. Examine for cracks, bending, or rust around the hinge pin. The pin itself should be snug; if it wobbles, the bushing inside the hinge bracket is likely worn. Also check the three or four screws that attach each hinge to the fridge body. Loose screws are a leading cause of sagging on this model.
Common wear points include the hinge pin hole becoming oval-shaped, the plastic bracket cracking near the screw holes, and the door-side hinge plate slipping downward. If the door seal has been rubbing against the cabinet opening, you’ll see scuff marks on the seal or the fridge frame—that confirms misalignment.
What Tools and Parts Do I Need for a Hinge Alignment Fix?
For a basic alignment, gather these tools:
- #2 Phillips screwdriver or a Torx T20 driver (depending on your model year)
- 10mm socket wrench (for the fridge mounting bolts if you need to shift the whole unit)
- Small bubble level
- Flathead screwdriver (to gently pry the door into position)
- Thread-locking compound (Loctite blue 242 recommended)
- Replacement hinge brackets or hinge pin kit (PN: 3851338002 for the lower hinge, ~£22.50 / €26 / $29)
If the screws on the door side are stripped, use slightly longer screws (M4 x 12mm, stainless steel). For severe sagging where the hinge bracket has cracked, replace both upper and lower hinges. A complete hinge set (PN: 3851338003) costs around £38 / €44 / $49.
| Issue | Severity | Common Fix | Estimated Cost (GBP) | Estimated Cost (EUR) | Estimated Cost (USD) |
|---|---|---|---|---|---|
| Loose hinge screws | Low | Tighten and apply thread locker | £0 | €0 | $0 |
| Worn hinge pin/bushing | Medium | Replace hinge pin kit | £22.50 | €26 | $29 |
| Cracked hinge bracket | High | Replace hinge set | £38 | €44 | $49 |
| Fridge cabinet misaligned | High | Re-level and shim fridge | £5-£15 for shims | €6-€17 | $7-$20 |
| Stripped screw holes | Medium | Use longer screws or epoxy fill | £3-£10 | €3.50-€12 | $4-$13 |
How Do I Realign the Dometic DM2672 Door Step by Step?
This procedure takes about 30 minutes and does not require removing the fridge. Work with the fridge turned off to avoid cooling loss while the door is open.
Step 1: Remove the door. Open the door fully. Using a Phillips or Torx driver, remove the two or three screws from the upper hinge bracket. Be careful—the door is heavy. Have a helper hold it or place a block under the door. Then remove the lower hinge screws. Lift the door off and set it on a padded surface.
Step 2: Inspect and clean the hinge areas. Wipe away any debris, corrosion, or old thread locker from the screw holes on both the fridge body and the door. If the holes are stripped, insert a wooden toothpick or a plastic drywall anchor to give the screw more bite—or use a slightly longer M4 screw.
Step 3: Check the fridge’s position. Use the bubble level to confirm the fridge itself is level side-to-side. If not, loosen the four mounting bolts (usually 10mm) at the top and bottom of the fridge cabinet. Shim the bottom of the fridge with plastic or metal shims, then retighten bolts. This is often the root cause of sagging.
Step 4: Align the door. Position the door on the lower hinge pin first. Then attach the upper hinge bracket loosely—just snug enough to hold the door. Close the door gently and check the gap between the door seal and the fridge opening. You want an even 2–3mm gap all around. If the door is too high, loosen the upper bracket screws and slide the bracket downward. If too low, use a shim under the lower hinge bracket. Retighten everything.
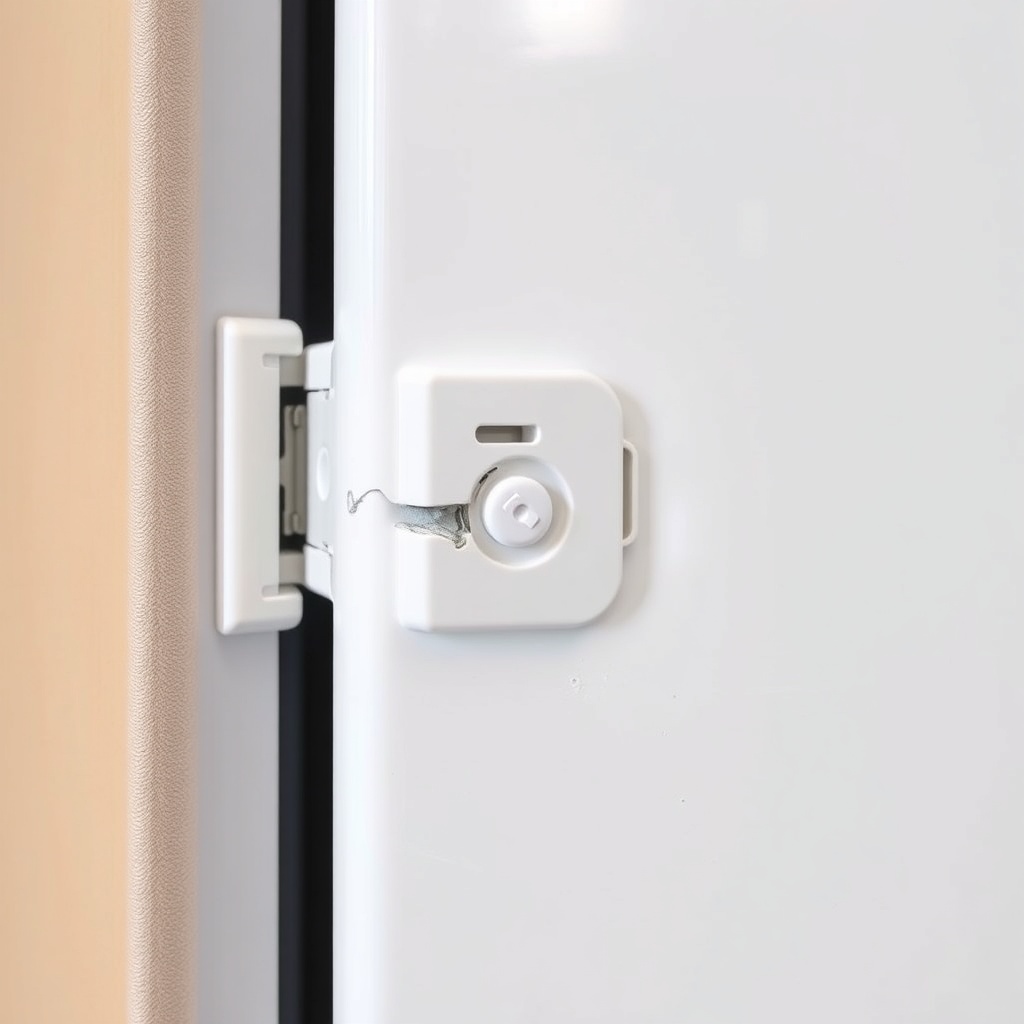
Step 5: Adjust the latch. With the door closed, examine the latch strike plate. If the door binds or doesn’t close easily, loosen the strike plate screws (located on the fridge frame) and shift it slightly inward or outward. Tighten and test the latch action. A properly aligned door should close with a gentle push and seal without forcing.
Step 6: Apply thread locker. Remove one screw at a time, add a drop of blue thread locker, and reinstall. This prevents the screws from vibrating loose on the road.
What If the Door Still Leaks After Alignment?
If the door aligns correctly but you still feel cold air escaping or notice condensation, the issue likely lies with the door seal itself. A compressed, cracked, or misaligned seal cannot create an airtight barrier even when the door is straight. Inspect the seal’s rubber gasket for hardening or splits. If it’s flat and no longer springs back, it’s time for a replacement.
Refer to our Dometic DM2672 Door Seal Replacement: Step-by-Step Guide for detailed instructions. Also check the Dometic DM2672 Door Latch Replacement: Easy Step-by-Step Guide if the latch mechanism doesn’t pull the door tight enough. A weak latch can mimic a sagging door issue.
Another overlooked cause is an out-of-square cabinet opening. Use a framing square to verify the opening where the fridge sits. If the cutout is racked, you may need to adjust the fridge mounting frame or install custom shims—beyond basic hinge work.
How Can I Prevent Future Door Sagging and Leaks?
Preventive maintenance pays off. After every long trip, check the door hinge screws for tightness. Keep the hinge pins lubricated with a silicone spray once a season—avoid WD-40 as it can degrade plastic hinges. When parked, ensure the RV is level. An unlevel position puts asymmetric stress on the door hinges, accelerating wear.
Also, avoid overloading the door shelves. The DM2672 door is designed to hold light items like condiments and drinks; excess weight strains the lower hinge. If you store heavy jars, move them inside the fridge body. Finally, inspect the door seal every three months for signs of compression set. Replacing a seal early avoids air leaks that force the cooling system to work overtime. For energy-saving strategies, see our Dometic DM2672 Energy Efficiency Tips: Save Power While Camping.
If you notice a persistent ammonia smell, that indicates a different problem entirely—review our Dometic DM2672 Ammonia Odor: Diagnosis and Safety Tips for safety first. And if the fridge runs warm despite a good door seal, the Dometic DM2672 Thermistor Calibration: How to Fix Temperature Issues guide may resolve it.
What Owners Say About the DM2672 Door Hinge Issues
Online RV forums and owner communities consistently highlight the door hinge alignment as the most frequent DIY repair on the Dometic DM2672. Many owners report that after a few thousand miles of travel, the lower hinge develops a distinct “wobble” and the door begins to sag by ¼ to ½ inch. One long-term RV owner on a UK-based forum noted, “I fixed my sagging door in 20 minutes by replacing the lower hinge pin and tightening the mounting bolts. Cost me £22.50 and zero headache.” Another owner in the US shared, “I ignored the sag for a year—then the seal tore. A £49 hinge set and a new seal later, it seals perfectly.”
The most common praise is that the fix is “surprisingly simple” and “doesn’t require removing the fridge.” However, a few owners warn that plastic hinge brackets can be brittle in cold weather, so they recommend warming the area with a hair dryer before removal. Overall, the consensus is that regular hinge inspection every six months prevents most leaks and saves energy. For full RV coolant system health, also review How to Maintain Your RV Air Conditioner for complementary climate control tips.
Frequently Asked Questions
1. How often should I check the door hinges on my Dometic DM2672?
Inspect them every 3–6 months or after any long trip. Look for loose screws, cracked brackets, or a sagging door.
2. Can I fix a sagging door without removing the refrigerator?
Yes, absolutely. All hinge work is done from the front. You only need to remove the door itself after unscrewing the hinge brackets.
3. What torque should I use for the hinge screws?
Tighten by hand until snug, then give a quarter turn more. Over-tightening can crack plastic brackets. Use a thread-locking compound to prevent loosening.
4. My door seal looks fine but still leaks air. What else could be wrong?
Check the fridge is level. If it’s tilted, the door won’t align properly. Also examine the latch strike plate—if it’s bent, the door won’t pull tight.
5. Is it normal for the door hinge pin to wear out quickly?
Some wear is normal over years of use, but rapid wear often indicates the fridge is not level. Correct the fridge position first, then replace the pin.
6. Where can I buy replacement hinge parts for the DM2672?
Dometic dealers, Amazon UK/EU/US, and RV parts suppliers carry them. Use part number 3851338002 for the lower hinge pin kit or 3851338003 for a full hinge set.