What Is the Dometic DM2672 Thermistor and Why Does Calibration Matter?
The Dometic DM2672 is a popular absorption refrigerator found in many RVs, known for its quiet operation and ability to run on propane, electric, or DC power. However, like any precision appliance, it relies on a thermistor—a temperature-sensing resistor—to maintain consistent cooling. Over time, the thermistor can drift out of calibration, causing the fridge to run too cold, freezing food, or too warm, risking spoilage. Calibrating the thermistor is a straightforward DIY task that restores accurate temperature control and extends the life of your refrigerator.
Many RV owners ignore temperature warnings until they notice freezer burn on ice cream or a warm milk carton. With basic tools and patience, you can correct these issues without calling a service technician. This guide covers the symptoms, calibration steps, and maintenance tips specific to the Dometic DM2672.
How Do I Know If My Dometic DM2672 Thermistor Needs Calibration?
Your fridge sends clear signals when the thermistor is out of whack. The most common complaint is inconsistent temperatures—one day the fridge is at 40°F (4°C), the next it’s at 32°F (0°C). Other signs include:
- Ice forming on the evaporator fins, even in mild weather.
- Excessive compressor or absorption unit cycling (clicking on and off every few minutes).
- Food spoiling faster than expected, especially dairy products.
- Digital display reading “LO” or “HI” frequently, indicating the controller is confused.
- If you’ve recently replaced the cooling unit or main board, thermistor calibration becomes essential as new components often have different resistances.
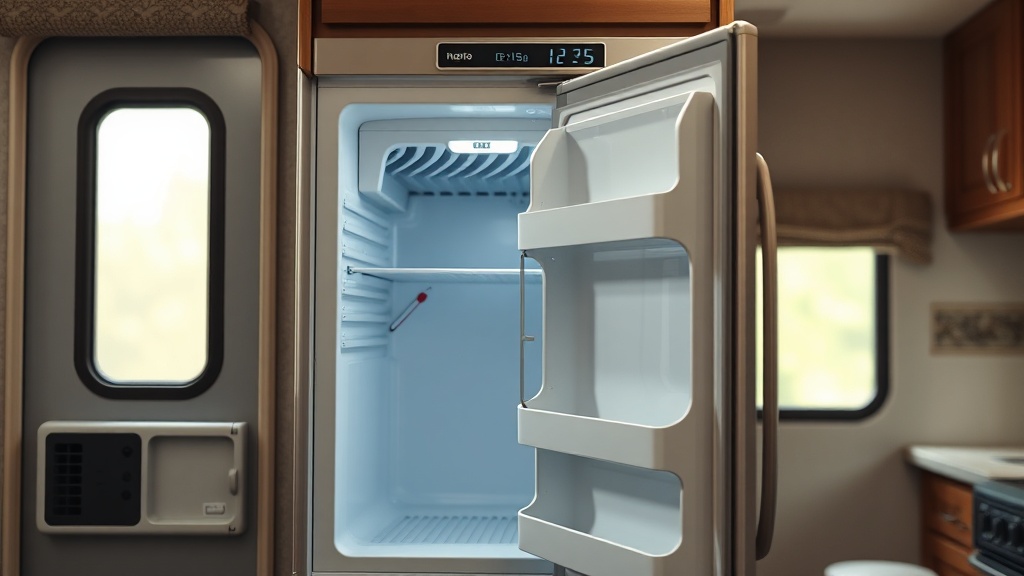
Take a baseline reading: place a calibrated thermometer in a glass of water inside the fridge (not the freezer) and check after 4 hours. The Dometic DM2672 should maintain 38–42°F (3–6°C) in the fresh food compartment. If the reading deviates by more than 5°F (3°C), calibration is needed.
Where Is the Thermistor Located on the Dometic DM2672 and How Do I Access It?
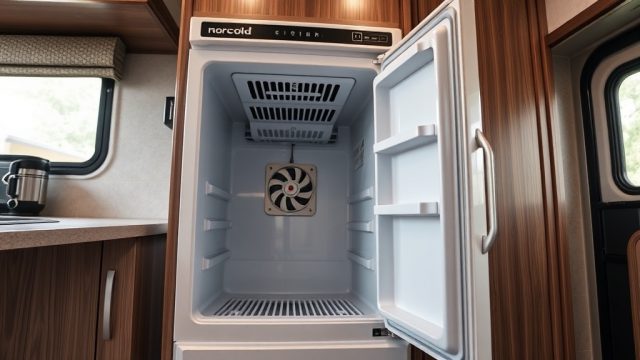
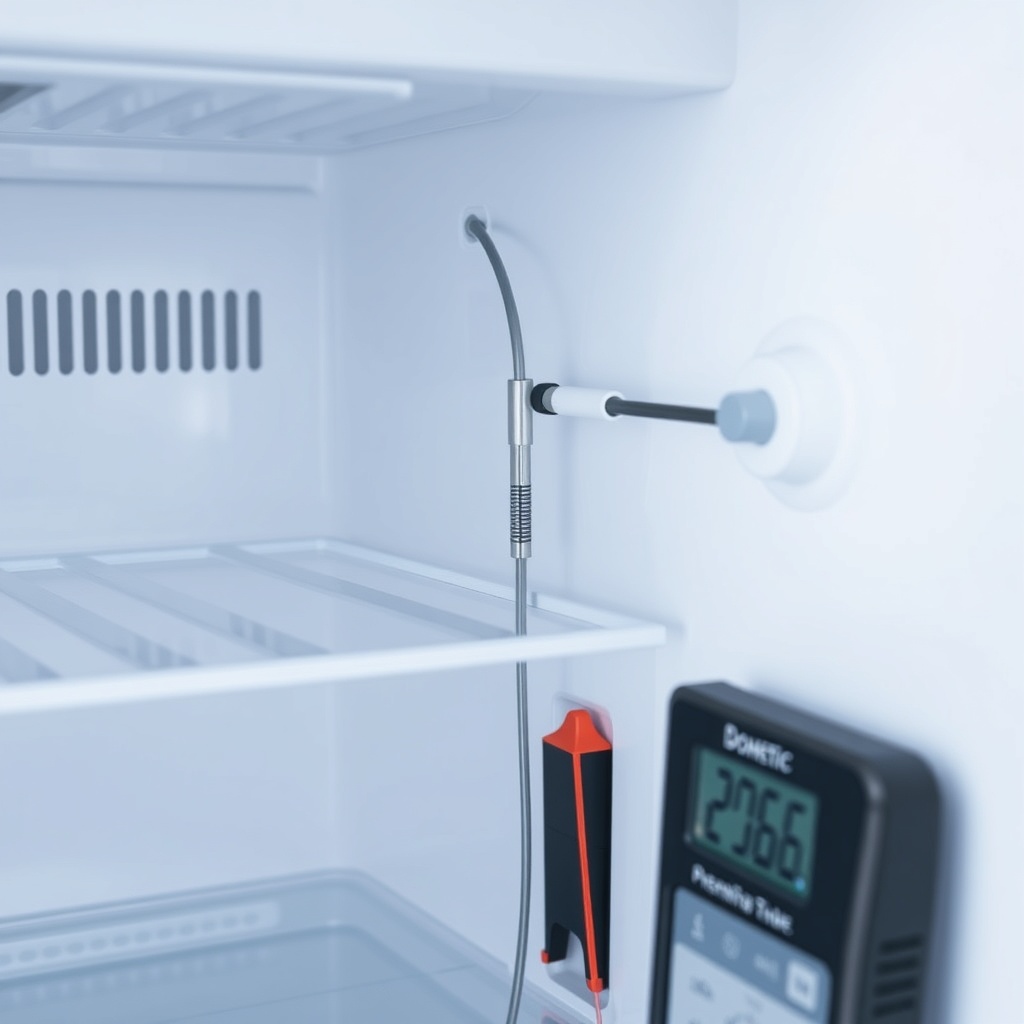
The thermistor on the DM2672 is a small, cylindrical sensor about the size of a pencil eraser, attached to one of the evaporator fins inside the fridge compartment. It’s usually clipped onto the fin near the top, left side. To access it:
- Unplug the RV from shore power or disconnect the battery if running on DC. Turn off the propane valve at the tank.
- Remove all food and shelves from the fresh food compartment.
- Locate the plastic cover over the evaporator fins—often a thin panel held by two screws or clips. Gently remove it.
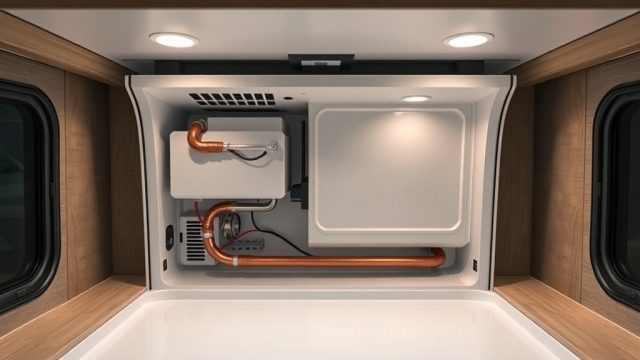
- The thermistor wire runs down the back wall and connects to the main control board behind the lower access panel (usually near the burner area outside or under the fridge).
- If the thermistor is stuck to the fin with a clip, carefully detach it. Avoid bending the fins.
You don’t need to remove the entire fridge for calibration; just accessing the sensor wire near the control board is sufficient. However, if you’re replacing the thermistor, you’ll likely need to snake the new wire through the same path.
What Tools Do I Need to Calibrate the Dometic DM2672 Thermistor?
Calibration is a no-cost procedure in most cases. You’ll need:
| Tool / Item | Purpose | Estimated Cost (GBP) |
|---|---|---|
| Digital multimeter (with resistance setting) | Measure thermistor resistance precisely | £20–£60 |
| Small flathead screwdriver | Adjust potentiometer on control board (if present) | £3–£8 |
| Calibrated refrigerator thermometer | Verify actual temperature inside fridge | £8–£18 |
| Needle-nose pliers | Handle small connectors | £5–£12 |
| Flashlight | See inside dark compartments | £10–£30 |
Most Dometic DM2672 models built after 2015 use a software-based calibration through the control board menu rather than a physical potentiometer. Check your fridge’s serial number or manual: if it has a small dial on the board, that’s the physical trim pot. If not, you’ll be entering a service code using the front panel buttons.
Step-by-Step: How to Calibrate the Dometic DM2672 Thermistor Manually
Follow these steps carefully. If you experience Dometic DM2672 temperature fluctuations, calibration is often the first fix.
Method A: For Models with a Physical Potentiometer
- Disconnect power completely. Wait 10 minutes for capacitors to discharge.
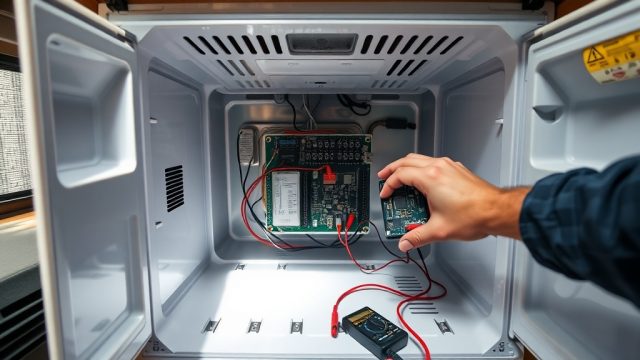
- Remove the lower access panel (outside the RV) or the control board cover inside the fridge cabinet.
- Locate the small blue or white square potentiometer near the 12VDC terminal block. It’s typically marked “CAL” or “TEMP”.
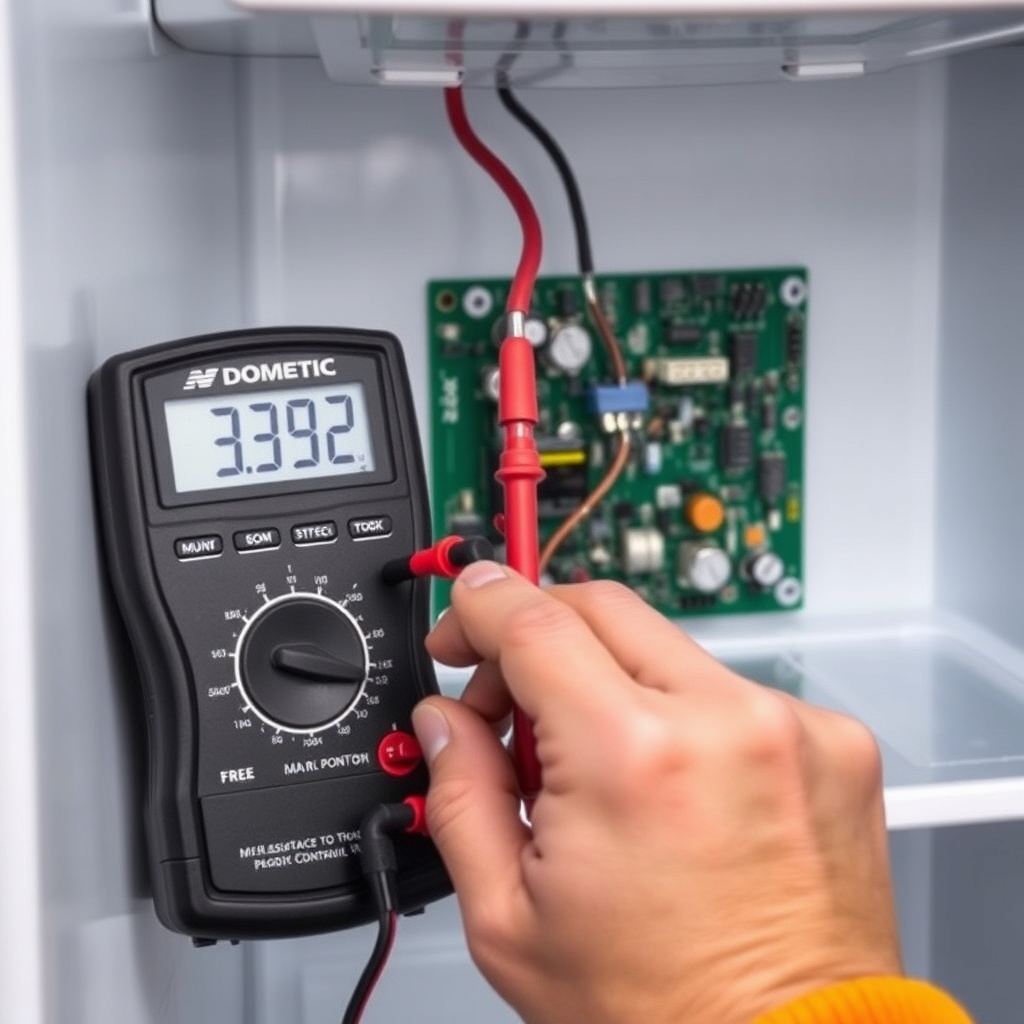
- Connect your multimeter leads to the thermistor wires (disconnect from board first). At 77°F (25°C), a healthy thermistor should read 10,000 ohms. If it’s off by more than 500 ohms, calibration is needed.
- Plug power back in but keep the fridge off. Turn the potentiometer slowly with a screwdriver: clockwise raises the temperature at which the fridge turns on (makes it colder), counterclockwise lowers it (warmer). Aim for a ¼ turn increments.
- Reattach thermistor to board, close up, and test with a thermometer after 2 hours.
Method B: For Digital Control Models (Most Common After 2015)
- Press and hold the “SET” and “MODE” buttons simultaneously for 5 seconds. The display will flash “C0”.
- Use the arrow buttons to select “C1” (temperature offset). Press SET to enter.
- The current offset value appears (default 0). Adjust in increments of 1°F. Positive numbers make the fridge think it’s warmer (so it runs colder), negative numbers make it think it’s colder (so it runs warmer).
- Start with +2°F if your fridge is 5°F too warm. Wait 24 hours and recheck.
- Press SET to save and exit.
If temperatures continue to swing wildly, check for air leaks around the door. A worn Dometic DM2672 door seal can confuse the thermistor by letting warm air in, making the sensor think the fridge is struggling.
Can I Replace the Dometic DM2672 Thermistor Myself?
Absolutely. Replacement is simpler than calibration. A new genuine Dometic thermistor costs around £18–£35 online. Aftermarket versions work but may have slightly different resistance curves; calibrate after installation. Steps:
- Order part number 3317407.021 or 3317407.023 (check your fridge’s sticker).
- Disconnect power and remove old thermistor from its clip on the evaporator fin.
- Unplug the connector from the control board. Note the wire routing.
- Insert the new thermistor in the same location, ensuring good contact with the fin. Use a dab of thermal paste (typically included) if desired.
- Reconnect to board and perform calibration as above.
If you notice a strong smell of ammonia during this process, stop immediately and follow Dometic DM2672 ammonia odor safety tips—this indicates a leak in the absorption system, which is a safety hazard and not related to thermistor issues.
What Do Owners Say About the Dometic DM2672 Thermistor Calibration?
Feedback from RV forums and owner groups is largely positive, with a few common threads. Many owners report that calibration solved “mystery” warm days after a season of perfect operation. A typical comment: “I was about to replace the whole cooling unit, but a 2-minute adjustment to the offset on the menu fixed it completely. Saved me £400.” Others note that after replacing the thermistor, they had to “train” the fridge by running it empty for 24 hours before loading food.
Some owners criticise the Dometic DM2672 for being sensitive to ambient temperature—if the RV is parked in direct sun, the thermistor can read the surrounding air rather than the fridge’s internal air. One user on an RV forum wrote: “I calibrated in spring, but by July the fridge was freezing everything. I had to recalibrate for summer conditions.” This is normal, as absorption refrigerators are more affected by outside temperatures than compressor models.
A common tip from experienced owners is to use a refrigerator fan kit to circulate air inside the fresh food compartment. This prevents hot spots and gives the thermistor a more accurate average temperature. Combined with proper calibration, many owners maintain steady 40°F (±2°F) readings even in 95°F outdoor heat.
Frequently Asked Questions
How often should I calibrate the Dometic DM2672 thermistor?
Annually is good practice, ideally at the start of camping season. Also calibrate after any control board replacement, cooling unit service, or if you notice temperature swings of more than 5°F (3°C). In extreme climates (desert or mountain), consider twice per year.
What resistance should the Dometic DM2672 thermistor read?
At 77°F (25°C), the thermistor should measure 10,000 ohms (±200 ohms). At 32°F (0°C), it should be around 32,600 ohms. If readings are off by more than 5%, replace the thermistor.
Can I use any replacement thermistor for the DM2672?
Only use a Dometic-approved or equivalent 10K NTC thermistor. Generic thermistors may have a different curve, leading to inaccurate readings even after calibration. Stick to part numbers 3317407.021 or 3317407.023.
Will poor airflow cause thermistor miscalibration?
Yes. If the fridge is packed too full, air cannot circulate past the thermistor, giving it a false reading. Leave gaps between items and do not block the evaporator fins. A properly maintained RV air conditioner also helps by keeping ambient temperature lower inside the coach.
Does recalibrating affect my Dometic DM2672’s energy use?
Indirectly, yes. A properly calibrated thermistor prevents the fridge from running longer than necessary, which saves power. For more tips, read about Dometic DM2672 energy efficiency tips to cut electricity and propane consumption.
Is it safe to operate the fridge during calibration?
No. Always turn off the fridge and disconnect power before touching the control board or thermistor wires. This prevents electric shock and avoids confusing the controller with partial readings.