Introduction to the Dometic DM2672 Door Seal Replacement
The Dometic DM2672 refrigerator is a staple in many RVs, known for its reliable absorption cooling and spacious 6.4 cubic foot capacity. Over time, the door seal (or gasket) can wear out, leading to cool air loss and increased energy consumption. Replacing this seal is a straightforward task that can restore your fridge’s efficiency and extend its lifespan.
In this guide, we’ll walk you through the entire process, from identifying a failing seal to installing the new one correctly. Whether you’re a seasoned RV owner or a weekend camper, these steps will save you money and keep your food fresh on the road. For broader fridge issues, check our article on Dometic DM2672 Temperature Fluctuations: Causes and Fixes.
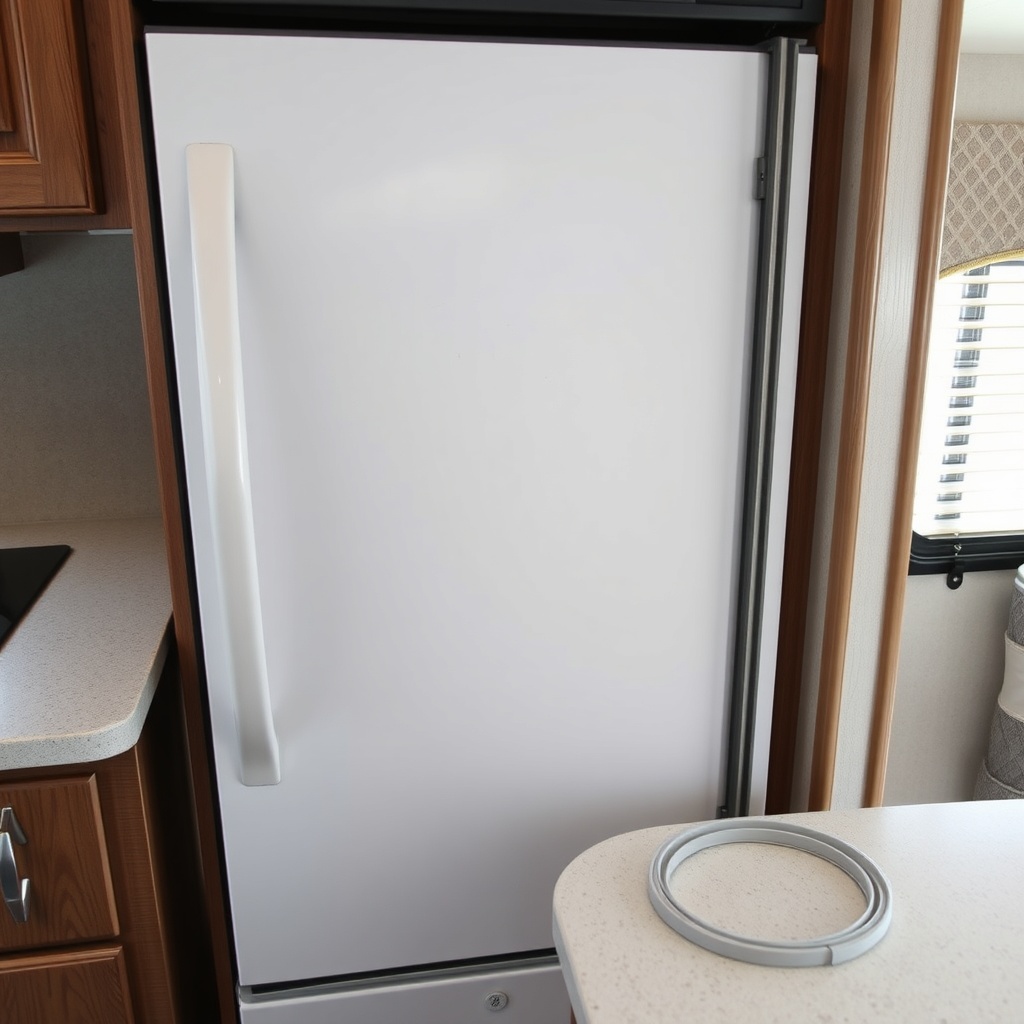
How Do I Know If My Dometic DM2672 Door Seal Needs Replacing?
Identifying a failing seal early can prevent bigger problems. Here are the telltale signs:
- Visible cracks or tears: Inspect the gasket carefully. Even small splits let warm air in.
- Frost buildup inside: Excess ice, especially near the door, indicates a poor seal.
- Condensation around the door: Moisture on the gasket or fridge exterior is a red flag.
- Warmer temperature inside: If your fridge struggles to stay cool, the seal may be the culprit.
- Dollar bill test: Close the door on a dollar bill. If it slides out easily with the door closed, the seal is weak.
If you notice any of these issues, replacing the seal is essential. A compromised gasket forces the cooling system to work harder, raising power draw. For energy-saving strategies, see our Dometic DM2672 Energy Efficiency Tips: Save Power While Camping guide.
What Tools and Parts Do I Need for the Door Seal Replacement?
Before starting, gather these items. Pricing is based on UK market averages as of late 2024.
| Item | Purpose | Estimated Cost (GBP) |
|---|---|---|
| Replacement door seal gasket (DM2672 compatible) | New seal for the fridge door | £35 – £55 |
| Phillips head screwdriver | Removing screws from the door trim | £5 – £10 (if not owned) |
| Flathead screwdriver or pry tool | Prying off the old gasket and trim | £3 – £8 |
| Rubbing alcohol and clean cloth | Cleaning the door channel | £2 – £4 |
| Heat gun or hairdryer | Softening the new seal for easy installation | £15 – £25 (optional) |
Total cost for the project: approximately £50 to £85. Compare that to a service call, which can run £150-250. It’s a cost-effective DIY fix.
Step-by-Step: How to Remove the Old Door Seal
Removing the old seal requires patience to avoid damaging the door. Follow these steps:
- Empty the door bins: Take out all food and shelves to reduce weight.
- Open the door fully: This gives you access to the hinge side.
- Locate the screws: The door seal is held by a plastic trim, usually with 6-8 Phillips screws around the perimeter.
- Remove the trim: Carefully unscrew and lift the trim off. Some models have clips that need prying.
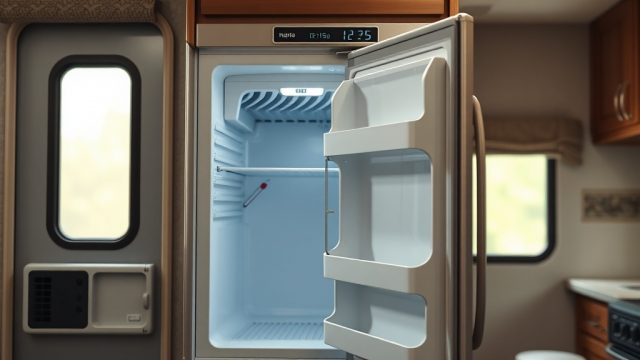
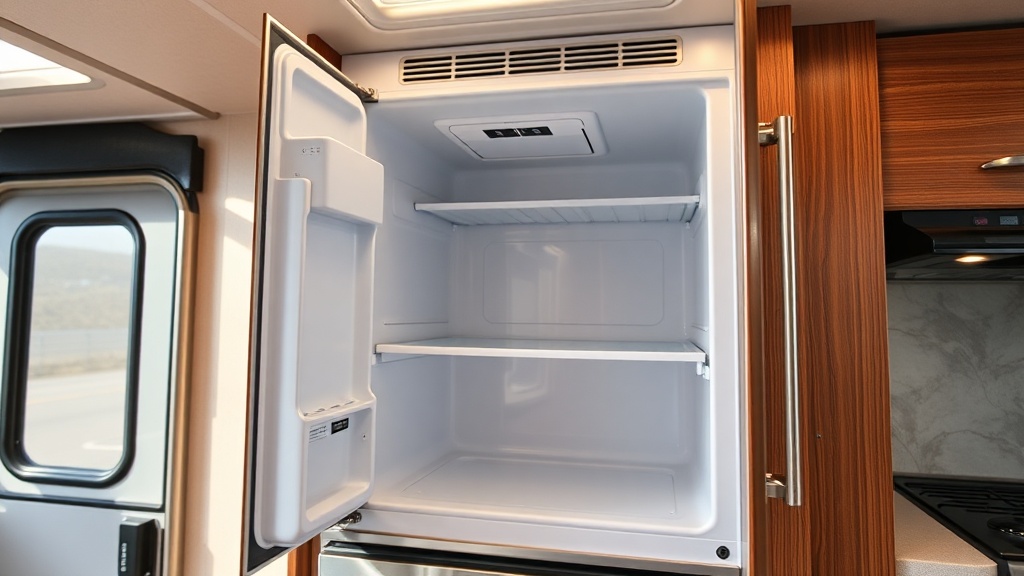
- Pull out the old gasket: Once trim is off, the gasket slides out of a channel. Note how it sits for installation.
- Clean the channel: Use rubbing alcohol to remove dirt, grease, and old adhesive residue.
If the trim is brittle, work slowly to avoid cracking. For more fridge-related maintenance, our guide on How to Maintain Your RV Air Conditioner complements this work.
How to Install the New Dometic DM2672 Door Seal Properly
Installing the new seal is the critical phase. Here’s the correct method:
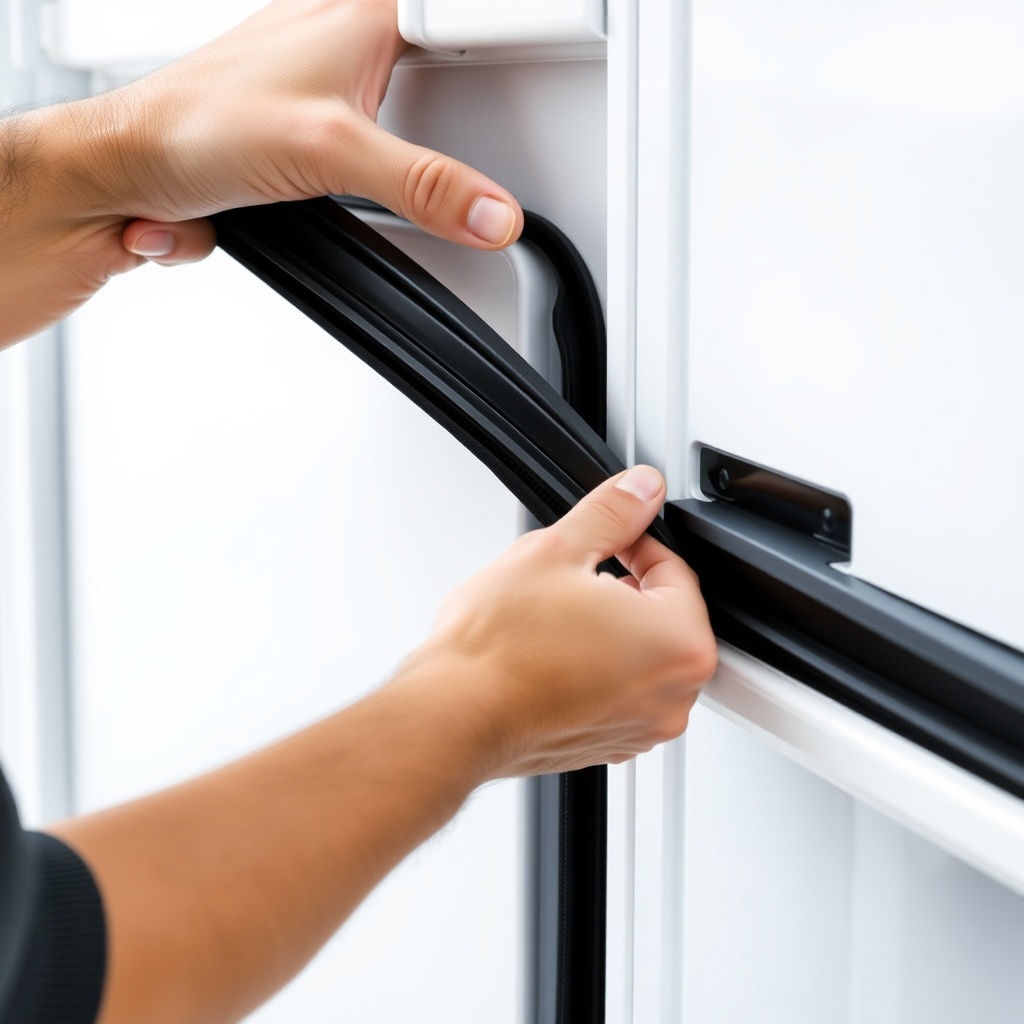
- Soften the new gasket: Use a heat gun on low setting (or a hairdryer) to warm the rubber. This makes it pliable and easier to fit.
- Align the seal: Start at the top of the door. Insert the sealing lip into the channel groove, pushing it in firmly.
- Work your way around: Gently push the gasket into the channel, working from top to bottom, then sides. Avoid stretching it.
- Reattach the trim: Place the plastic trim over the gasket, ensuring it presses the seal into place. Tighten screws evenly—do not overtighten, as it can warp the trim.
- Check alignment: Close the door and inspect the gap. The seal should sit flush against the fridge body.
- Test the seal: Perform the dollar bill test in several spots. If any area slips, adjust by loosening and repositioning the trim.
Proper installation ensures optimal cooling efficiency. For even better fridge performance, read Dometic DM2672 Energy Efficiency Tips: Save Power While Camping.
What Do Owners Say About the Dometic DM2672 Door Seal Replacement?
Feedback from the RV community highlights a few recurring themes:
- Cost savings: Many owners report saving £100-200 by doing the replacement themselves rather than hiring a technician.
- Easy to moderate difficulty: Most say the job takes 45 minutes to 1.5 hours, depending on experience.
- Seal quality: Original Dometic seals are preferred over generic ones, but aftermarket options work if properly aligned.
- Improved cooling: A common remark is that the fridge temperature becomes more stable after a seal change, often resolving prior fluctuation issues.
- Patience required: The trickiest part is getting the trim to snap back neatly without damaging clips.
One owner on a forum noted: “My DM2672 was running constantly. After a £45 seal replacement, it cycles normally. Best money I spent.” For deeper temperature issues, see Dometic DM2672 Temperature Fluctuations: Causes and Fixes.
Frequently Asked Questions
Q1: How often should I replace the door seal on my Dometic DM2672?
A: Most owners replace the seal every 3 to 5 years, depending on exposure to sun and extreme temperatures. Inspect it annually for cracks.
Q2: Can I use a generic gasket instead of a Dometic brand one?
A: Yes, but ensure it matches the DM2672 dimensions precisely. Generic seals may lack the correct lip profile, leading to poor fit. Dometic brand is recommended.
Q3: Will a faulty door seal affect my RV air conditioner?
A: Indirectly, yes. A leaky fridge seal makes the refrigerator run longer, adding heat to the RV interior. This can force your air conditioner to work harder, reducing efficiency. For AC care, see How to Maintain Your RV Air Conditioner.
Q4: Why does ice form near the door after seal replacement?
A: This usually means the seal isn’t seated correctly. Check for gaps at the hinge side or corners. Adjust trim screws and re-test with the dollar bill method.
Q5: How do I know the seal is the right fit for my DM2672 model?
A: The DM2672 uses a specific gasket part number (usually 385157399 or similar). Verify your fridge’s model sticker (inside the fridge, upper left corner) and order the matching part.
Q6: Can I reinstall a used seal from another fridge?
A: No. Used seals lose their shape and elasticity. Always use a new seal for best results.