Why Is My Norcold N8X Series Thermostat Failing?
Owners of the Norcold N8X series often discover that a faulty thermostat is the root cause of erratic cooling, temperature swings, or a refrigerator that simply won’t run. The thermostat, a small switch that controls power to the cooling system based on interior temperature, can wear out over time due to thermal cycling or exposure to moisture. This article provides a complete, step-by-step guide to replacing the thermostat on your Norcold N8X, helping you restore reliable performance without unnecessary expense.
Before diving into the replacement, it’s essential to confirm that the thermostat is indeed the culprit. A common symptom is the fridge running continuously without cycling off, or not cooling at all despite power being present. For a deeper look at other potential issues, see our guide on Norcold N8X Series Defrost Issues: Troubleshooting and Fixes.
What Tools and Parts Do I Need for the Replacement?
To replace the thermostat on your Norcold N8X series, you’ll need a few basic tools and the correct replacement part. The thermostat is typically a bimetallic switch that opens or closes a circuit based on temperature. For the N8X, the correct Part Number is 628822 (Norcold OEM) or an equivalent such as Dometic 3310776.009. Always use genuine Norcold or high-quality aftermarket parts to avoid compatibility issues.
Here’s a checklist of what you’ll need:
- Replacement thermostat: Norcold 628822 (approx. £35-£55) or Dometic equivalent (approx. £30-£50).
- Phillips-head screwdriver: #2 size for removing panels.
- Flat-head screwdriver: Small size for prying connectors.
- Multimeter: To test continuity of the old and new thermostat (optional but recommended).
- Nut driver or socket set: 1/4-inch or 5/16-inch for mounting screws.
- Wire connectors: Butt connectors or wire nuts if you need to splice wires.
- Electrical tape or heat shrink tubing: To insulate connections.
- Work gloves and safety glasses: For protection.
If you’re also dealing with a malfunctioning ice maker, check out our detailed guide on Norcold N8X Series Ice Maker Installation: A Complete Guide.
| Part | OEM Part Number | Typical Price (UK) | Typical Price (US) |
|---|---|---|---|
| Thermostat (OEM Norcold) | 628822 | £45.00 | $60.00 |
| Thermostat (Aftermarket Dometic) | 3310776.009 | £38.00 | $50.00 |
| Wire connector kit | N/A | £8.00 | $10.00 |
| Thermal paste (if required) | N/A | £5.00 | $7.00 |
How Do I Access the Thermostat on a Norcold N8X?
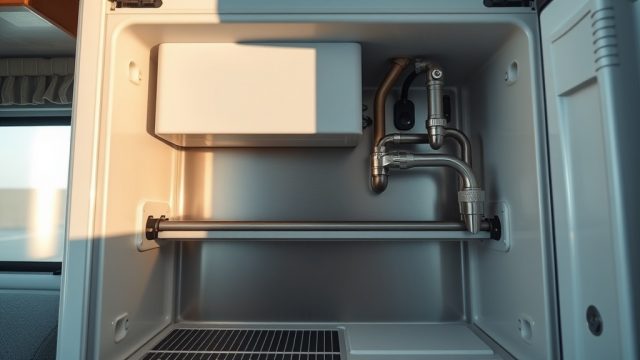
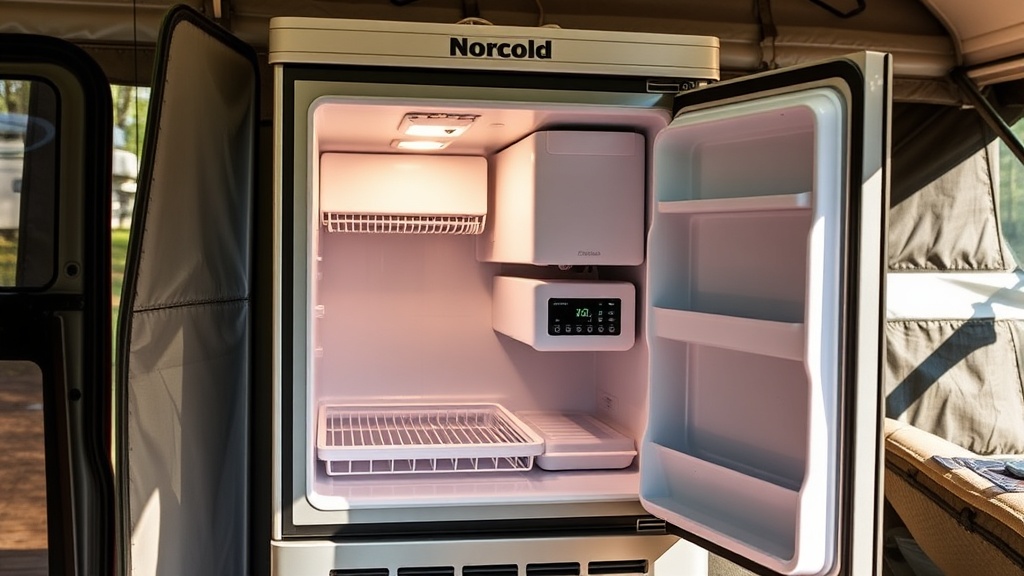
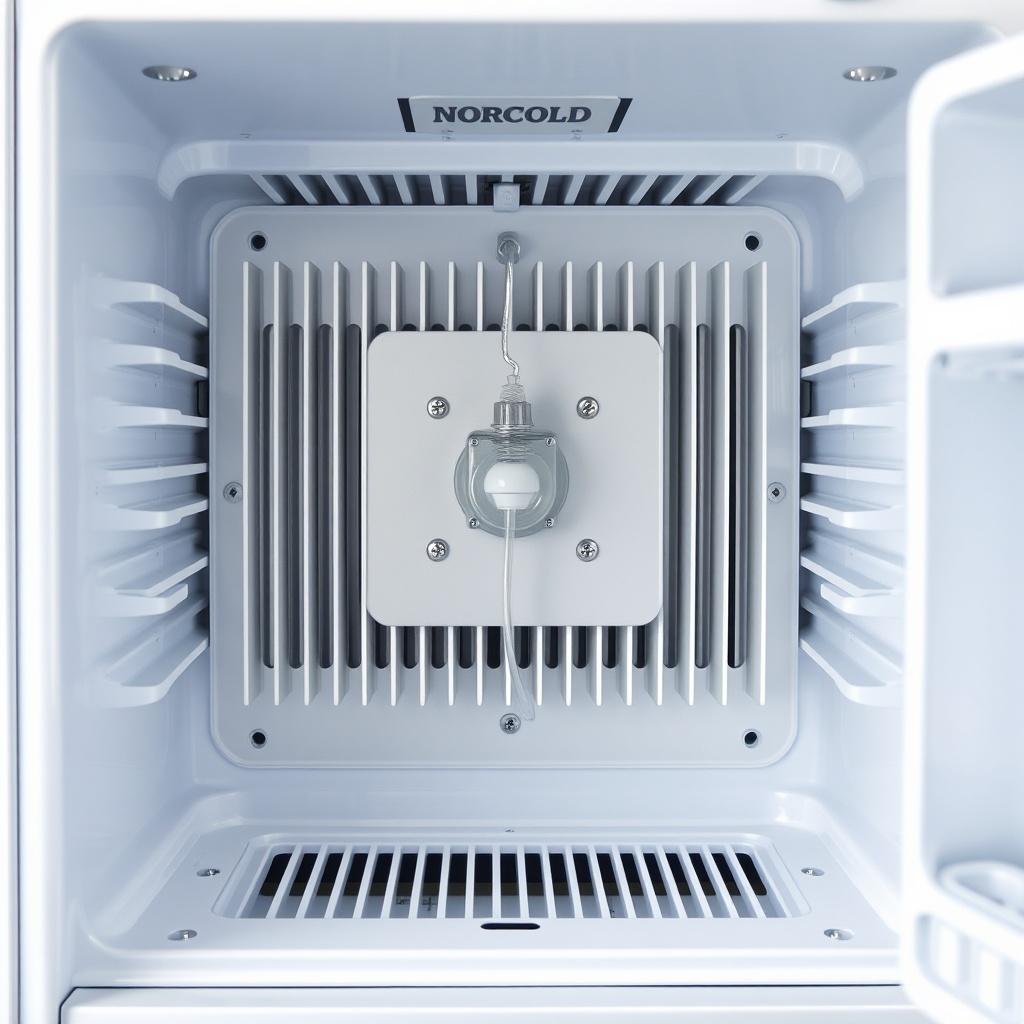
Accessing the thermostat on the Norcold N8X series requires removing several panels, but it’s a straightforward process. First, disconnect the refrigerator from both 12V DC and 120V AC power (or propane gas) to ensure safety. Then, locate the thermostat, which is usually mounted on the rear wall inside the refrigerator compartment or on the side of the evaporator plate.
Follow these steps:
- Step 1: Open the refrigerator door and remove all food and shelves. This gives you room to work.
- Step 2: Locate the thermostat sensor bulb (a small copper tube with a capillary). It’s typically clipped to the evaporator fins.
- Step 3: Remove the interior rear panel (often held by 4-6 screws). This exposes the evaporator and thermostat.
- Step 4: Carefully detach the thermostat bulb from its clip. Be gentle; the capillary tube is fragile and is filled with a temperature-sensitive gas.
- Step 5: Disconnect the wiring harness that attaches to the thermostat. Note the wire colours—typically red (power) and black (load) or blue/grey depending on the model.
- Step 6: Remove the mounting screws holding the thermostat body in place (usually two screws).
Pro tip: Take a photo of the wiring configuration before disconnecting to simplify reassembly. Also, inspect the capillary tube for kinks or cracks, as damage can cause false readings. If you see any damage, you’ll need a new thermostat.
How Do I Test the Old Thermostat?
Before discarding the old thermostat, you should test it with a multimeter to confirm it is faulty. A working thermostat should show continuity (closed circuit) when cold (below its set point) and open circuit when warm (above its set point). Here’s how:
- Set the multimeter to continuity (Ω) or resistance (ohms) mode.
- Touch one probe to each terminal on the thermostat’s wire connections. Ensure you’re making good contact.
- Place the thermostat sensor bulb in a cup of ice water (0°C/32°F). Wait 30 seconds. The meter should beep (or show near-zero resistance), indicating continuity.
- Remove the bulb from ice water and warm it with your hand or a hairdryer (use low heat). The thermostat should break continuity (open circuit) within a few minutes. If it stays closed or never opens, the thermostat is bad.
- If it opens and closes correctly, the issue might be elsewhere—check the control board or wiring.
If the thermostat fails the test, proceed with replacement. If it passes, explore other causes such as a faulty control board. For help with that, refer to our Norcold N8X Series Control Board Replacement: Step-by-Step Guide.
How Do I Install the New Thermostat?
Installing the new thermostat is the reverse of removal, but pay attention to proper placement and electrical connections. Follow these steps:
- Step 1: Place the new thermostat in the same orientation as the old one. Ensure the sensor bulb is securely clipped to the evaporator fin, with good metal-to-metal contact. Some thermostats require thermal paste for efficient heat transfer.
- Step 2: Connect the wiring. Match the wires by colour: typically red to the thermostat’s “L” terminal and black to “M” (or similar). Consult your manual. Use crimp connectors or wire nuts, and insulate with electrical tape or heat shrink.
- Step 3: Secure the thermostat body with the two mounting screws. Do not overtighten, as this can damage the housing.
- Step 4: Route the capillary tube carefully to avoid kinks. Leave some slack to prevent strain on connections.
- Step 5: Replace the interior rear panel and tighten the screws.
- Step 6: Reconnect the fridge to power (12V and 120V) and gas if applicable.
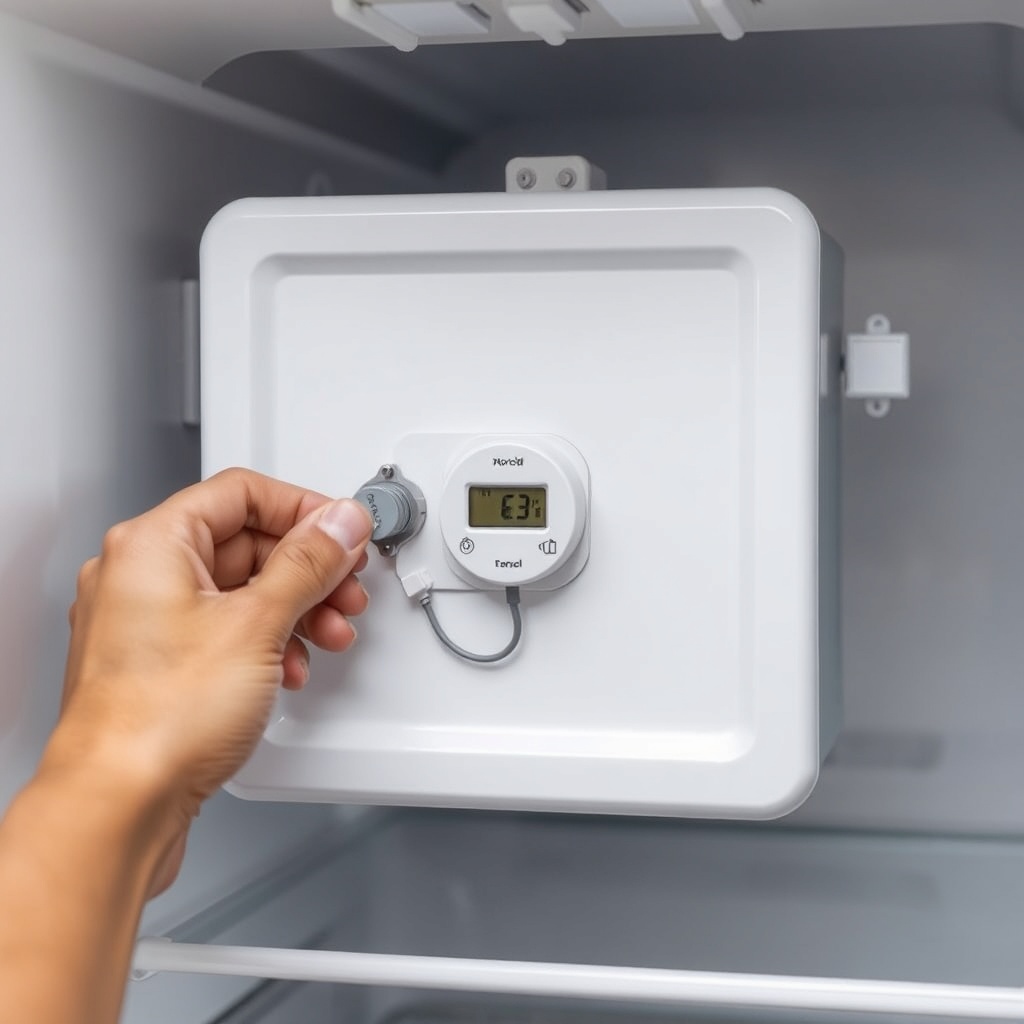
- Step 7: Set the thermostat dial to a medium setting (e.g., 4 or 5) and close the door. Monitor cooling for 6-12 hours.
After installation, check that the compressor runs and cycles off after reaching temperature. If the system doesn’t cool properly, the thermostat might be defective or installed incorrectly. Also ensure the condenser fan is operating; a faulty fan can affect cooling performance. For fan issues, see Norcold N8X Series Condenser Fan Replacement: Step-by-Step Guide.
What Settings Should I Use After Replacement?
After installing the new thermostat, it’s crucial to set the controls correctly to achieve optimal cooling without overworking the system. The Norcold N8X uses a 1-9 dial where higher numbers mean colder temperatures. Start with a mid-range setting (4-5) and adjust based on actual interior temperature.
Consider these points:
- Initial cooldown: Allow 6-12 hours for the fridge to stabilize after replacement. Do not fill with food immediately.
- Ideal temperature: The refrigerator compartment should be 35-38°F (1.7-3.3°C), and the freezer should be 0-5°F (-18 to -15°C).
- Adjustment: If the fridge runs too cold or too warm, turn the dial up or down by one notch, then wait 24 hours before readjusting.
- Ambient temperature consideration: In hot weather (above 90°F/32°C), you may need a higher setting (6-7) to compensate. In cold weather (below 40°F/4°C), a lower setting (3-4) may suffice.
- Energy consumption: For off-grid camping, balancing temperature with power draw is key. Our Norcold N8X vs Dometic DM2672: Power Consumption Comparison for Off-Grid Camping can help you optimise usage.
A common mistake is setting the dial to maximum (9) assuming it will cool faster. This forces the compressor to run continuously without cycling, leading to possible damage to the thermostat or compressor. Always let the system cycle naturally.
What Owners Say
Many Norcold N8X owners have successfully replaced their thermostats and report improved performance. On RV forums and product review sites, feedback is generally positive, with a few caveats. Here’s a summary of common owner experiences:
- Ease of replacement: Most owners rate the job as moderate difficulty, taking 1-2 hours for a DIY mechanic. The capillary tube is the most delicate part, with some users reporting damage if handled roughly.
- Cost savings: Replacing the thermostat yourself costs £35-£55, compared to £200-£350 for a professional repair. Many owners appreciate the savings.
- Thermostat longevity: After replacement, owners note that the new thermostat lasts 2-4 years under normal use. Some report that OEM parts last longer than aftermarket ones.
- Cooling consistency: Post-replacement, owners see more stable temperatures, with the fridge cycling on and off as expected. Erratic cooling is almost always resolved.
- Common frustration: Some owners complain that the thermostat dial markings are inaccurate; they need trial and error to find the correct setting for a given ambient temperature.
- Pairing with other repairs: Several owners mention that replacing the thermostat concurrently with the condenser fan solved persistent cooling issues. Check our Norcold N8X Series Condenser Fan Replacement: Step-by-Step Guide if you suspect fan problems.
One owner noted: “After replacing the thermostat, my N8X cooled perfectly for the next two seasons. The hardest part was getting the old one out without breaking the capillary tube—be patient.” Another reported: “I used a generic thermostat from Amazon, and it works fine, but I had to adjust the dial a full two clicks higher than the OEM part to get the same temperature.”
Frequently Asked Questions
1. How do I know if my Norcold N8X thermostat is bad?
Common signs include the refrigerator running continuously without cycling off, not cooling at all, or cycling on and off too frequently. A multimeter test can confirm if the thermostat is failing to open or close at the correct temperatures.
2. Can I replace the thermostat myself?
Yes, with basic hand tools and some mechanical aptitude. The job takes about 1-2 hours. Always disconnect power before starting. If you’re uncomfortable with electrical work, hire a professional RV technician.
3. Why does my new thermostat not maintain the set temperature?
Possible causes include incorrect sensor placement (the bulb must touch the evaporator fin securely), a defective new part, or an issue with the control board. Also check that the fridge is level and the door seals are intact.
4. Is there a risk of fire with a faulty thermostat?
Yes, a stuck thermostat can cause the compressor to run continuously, leading to overheating. While rare, it’s a safety risk. Prompt replacement is recommended. Always use proper wire connections and avoid overloading the circuit.
5. How much does a professional thermostat replacement cost?
Expect to pay £150-£300 (including labour and parts) for a professional replacement. DIY costs are around £35-£55 for the part alone.
6. Can I use any thermostat on the Norcold N8X?
No, you must use a compatible thermostat designed for the N8X series. Using a generic one may lead to incorrect temperature control or electrical issues. Stick with Norcold OEM or verified aftermarket parts such as the Dometic 3310776.009.