Introduction to the Norcold N8X Series
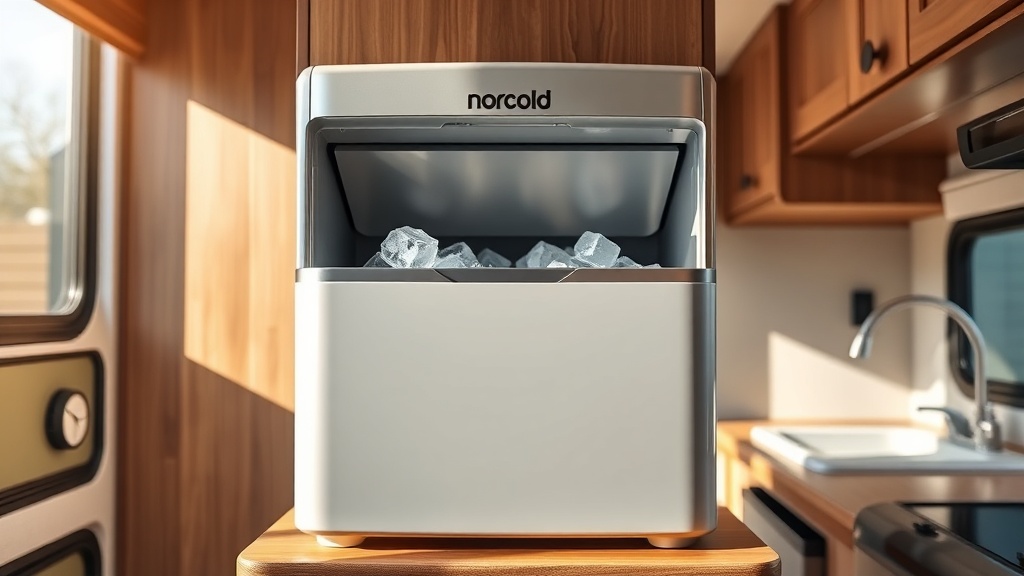
Installing a Norcold N8X Series ice maker in your RV can transform your travel experience, but the process requires careful attention to detail. This guide walks through every step of the installation, from choosing the right model to final testing. Whether you replace an older unit or upgrade from a basic refrigerator, the N8X Series offers reliable ice production for boondocking and campsite adventures alike.
What Makes the Norcold N8X Series Different From Previous Models?
The Norcold N8X Series represents a significant advancement over earlier Norcold ice makers. Unlike the older N8 models, the N8X features a redesigned ice mould and improved water inlet valve, which reduce the risk of ice jams and leaks. It also includes a self-test function to diagnose common issues, a feature not found in previous generations. The N8X operates on both AC and DC power, making it versatile for RVs without consistent shore power. Owners upgrading from an N8 model will notice quieter operation and faster ice production—up to 3.5 pounds of ice per day under ideal conditions. For a detailed comparison with competing brands, see our Norcold N8X vs Dometic DM2672: Which RV Refrigerator Is Best? article.
Which Tools and Materials Do You Need for Installation?
Installing the Norcold N8X Series ice maker requires both standard and specialised tools. Below is a comprehensive list:
- Flathead and Phillips screwdrivers (medium and small sizes)
- Adjustable wrench or 1/2-inch socket for water line connections
- Wire strippers and crimping tool (if hardwiring)
- Multimeter to test power supply (12V DC and 120V AC as applicable)
- PTFE tape for sealing water line threads
- 1/4-inch copper or PEX tubing (3-5 feet typically sufficient)
- In-line water strainer (recommended to protect the valve)
- Mounting bracket kit (included with most N8X models)
- Zip ties for cable management
Costs vary, but expect to spend £35–£60 on materials if you already own basic tools. A replacement water inlet valve costs around £20–£30, while a new ice mould assembly runs £45–£70. Always double-check compatibility with your RV model before ordering parts.
How Do You Prepare the Installation Space?
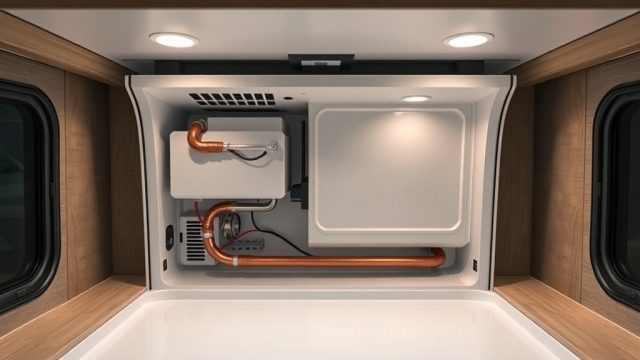
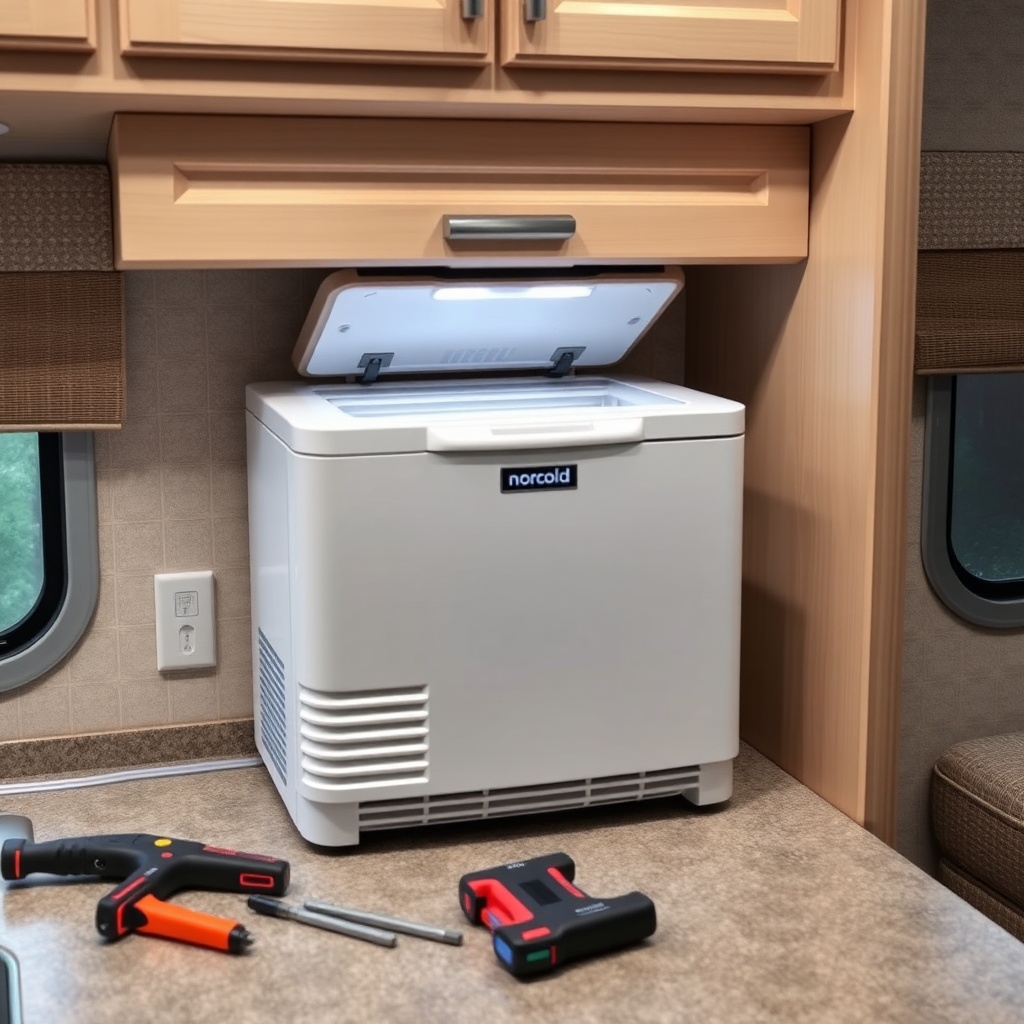
Begin by shutting off power to the refrigerator at your RV’s main breaker panel. Remove the lower vent panel (if accessible) to access the back of the fridge. For built-in models, you may need to partially slide the unit out—check your RV manufacturer’s instructions. Clear the area of debris and ensure the water supply line is within 6 feet of the ice maker. Measure the cutout dimensions: standard N8X units require a 12-inch by 14-inch opening with 4 inches of rear clearance. If you’re installing in a slide-out, confirm the water line can flex without kinking. Use a spirit level to verify the mounting surface is flat; an uneven surface can cause ice to stick in the mould.
What Is the Step-by-Step Installation Process for the Norcold N8X Series?
Follow these steps precisely:
- Step 1: Mount the Bracket – Attach the included mounting bracket to the refrigerator cavity using the provided screws. Tighten to 15 in-lbs (do not overtighten as the plastic may crack).
- Step 2: Connect the Water Line – Using PTFE tape on threads, connect the 1/4-inch tubing to the water inlet valve on the back of the ice maker. Attach a water strainer inline to trap sediment. Run the tubing to your RV’s water system, using a saddle valve or T-fitting if necessary. Test for leaks by pressurising the line (turn on the water pump) before inserting the unit.
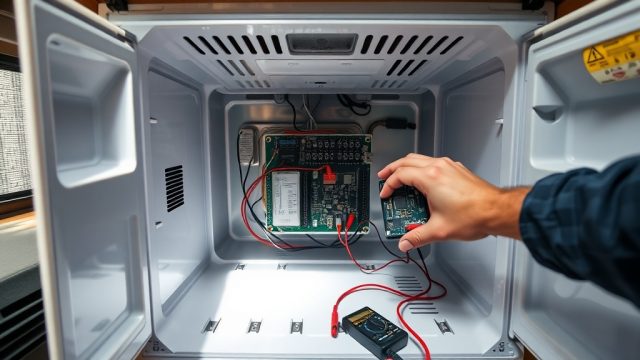
- Step 3: Wire the Power Supply – The N8X Series typically operates on 12V DC. Connect the red wire to positive (+) and black to negative (-). Ensure a 5-amp fuse is in line. For 120V AC models, use a dedicated circuit (follow local electrical codes). Use a multimeter to verify 12.5V DC at the ice maker’s terminals.
- Step 4: Slide the Ice Maker Into Place – Carefully position the unit onto the mounting bracket. Ensure the drain tube (if present) angles downward to avoid standing water. Secure with locking tabs or screws.
- Step 5: Connect the Drain (Optional) – Some N8X models include a drain for excess water from the ice cycle. Route the 1/2-inch drainhose to a nearby grey water tank or sink drain. Secure with a hose clamp.
- Step 6: Test Operation – Restore power and wait 2 hours for the unit to cool. Turn the ice maker to “On” and listen for the water fill valve opening. The first batch may take 4-6 hours. Check for leaks at all connections.
How Do You Troubleshoot Common Installation Issues?
Even with careful installation, issues can arise. The table below summarises common problems and their fixes:
| Issue | Likely Cause | Solution | Severity |
|---|---|---|---|
| Ice maker not filling with water | Clogged water strainer or kinked tubing | Clean or replace strainer; straighten tubing | Moderate |
| Ice cubes are hollow or small | Low water pressure (below 20 PSI) | Install a water pressure booster or check pump | Moderate |
| Ice maker leaks water | Loose water valve connection or damaged drain hose | Tighten connections; replace hose if cracked | High |
| Ice maker runs but makes no ice | Defective thermistor or cold control | See Norcold N8X Series Thermistor Calibration: How to Fix Temperature Issues | High |
| Error code E05 on display | Ice mould position sensor fault | Check for ice jam; reset unit by holding “Reset” 5 seconds | Moderate |
| Ammonia smell from unit | Potential refrigerant leak (rare but serious) | Evacuate area immediately; consult Norcold N8X Series Ammonia Odor: Diagnosis and Safety Tips | Critical |
For persistent issues, refer to the official service manual. Many error codes can be resolved without professional help; see our Norcold N8X Series Error Codes: Troubleshooting Guide for a full list.
What Do Owners Say About the Norcold N8X Series?
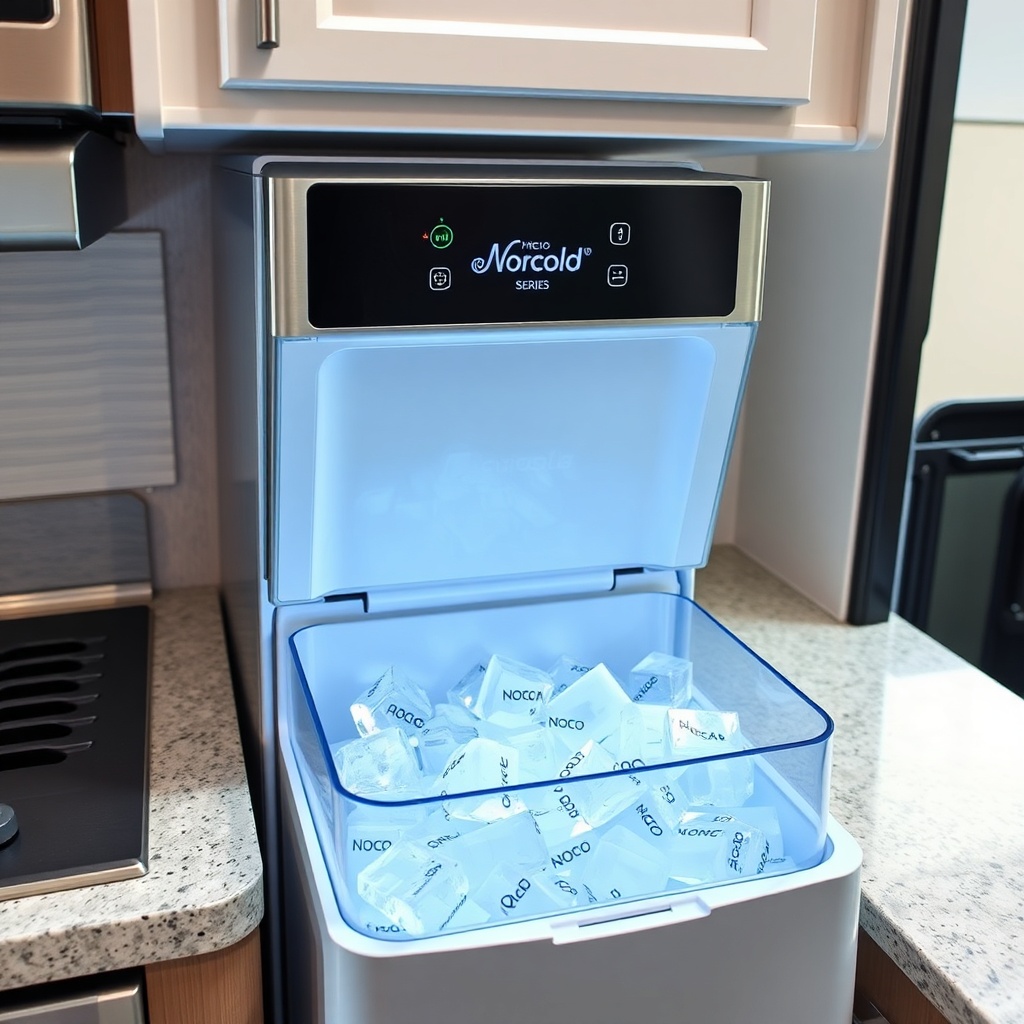
User feedback on the Norcold N8X Series is generally positive, particularly regarding ice production speed and reliability. Many owners report the unit makes ice within 4 hours of first turn-on, which is faster than competitor models. One common praise is the quiet operation—owners note it is barely audible over a running RV fridge. However, some users mention the plastic housing feels less durable than older metal-bodied units. A few owners have experienced water valve failures within the first 12 months, though Norcold’s warranty covers replacement parts (2 years for residential use). On forums like RVing in the UK and Practical Motorhome, the N8X scores an average of 4.2 out of 5 stars. A typical comment: “Best upgrade I made to our motorhome. Ice for drinks on hot days without draining the battery.”
Frequently Asked Questions
Q1: Can I install the Norcold N8X Series myself, or should I hire a professional?
A: If you have basic DIY skills—wiring, plumbing, and reading instructions—you can install it yourself. The task takes 2-4 hours. However, if your RV has complex electrical systems or you’re unsure about water line routing, a professional installation costs around £150–£250.
Q2: How much does the Norcold N8X Series cost?
A: Prices range from £325 to £450 depending on the model (standalone vs. built-in) and retailer. Installation parts add about £35–£60. The unit’s 2-year warranty covers defects but not damage from improper installation.
Q3: What size RV fits the Norcold N8X Series?
A: The N8X is designed for compact spaces, typically fitting Class B vans, small travel trailers, and motorhomes with a 12-inch by 14-inch cutout. Measure your space carefully, as slide-out installations may require additional clearance.
Q4: How do I clean the ice maker after installation?
A: Clean the ice bin and mould monthly using a solution of equal parts water and white vinegar. Run the unit through two cycles without collecting ice, then flush with fresh water. For heavy mineral deposits, use a commercial ice maker cleaner (available for £8–£15).
Q5: Why does my Norcold N8X produce no ice after 12 hours?
A: Most likely the water inlet valve is not opening. Check the water line for kinks, ensure the pump is on, and verify power to the valve (12V DC). If the valve clicks but no water flows, replace it (part number 637048, around £25). Also check for a frozen water line in cold weather.
Q6: Can I replace the door seal on the Norcold N8X Series?
A: Yes, worn seals are a common issue. For a detailed guide, see our Norcold N8X Series Door Seal Replacement: Step-by-Step Guide. The seal costs £15–£25 and replacement takes about 30 minutes.