Norcold N8X Series refrigerators are revered in the RV community for their impressive cooling capacity and reliable absorption-cycle operation. Yet, like any complex appliance, the control board can fail over time, preventing AC or DC operation and leaving your food at risk. This step-by-step guide will walk you through diagnosing a faulty board, removing the old unit, and installing a replacement—saving you a costly visit to a mobile tech.
When Should You Replace the Norcold N8X Control Board?
The control board is the brain of the Norcold N8X series, managing power distribution to the heating element, cooling unit, and the thermistor circuit. If your refrigerator refuses to run on AC (120V), DC (12V), or propane—while the unit still has good gas flow and the thermistor reads correctly—the board is often the culprit. Other telltale signs include:
- No LED indicator lights on the control panel.
- Erratic temperature swings despite a correctly calibrated thermistor.
- The cooling cycle runs but never reaches set temperature.
- A burnt smell or visible corrosion on the board itself.
If you notice any of these symptoms, gather a multimeter, a #2 Phillips screwdriver, and sometimes a ¼-inch nut driver before beginning.
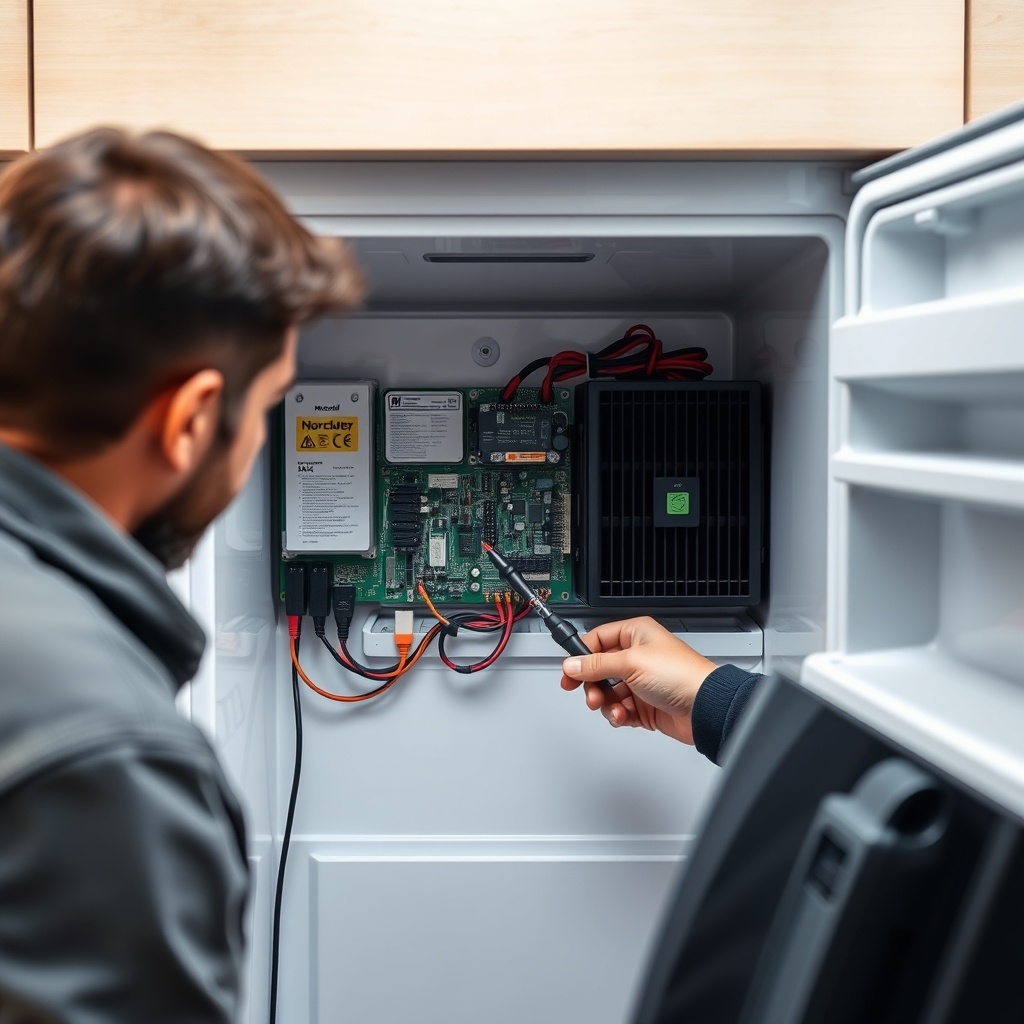
How Do You Safely Power Down the Refrigerator for Board Access?
Safety first: the Norcold N8X series uses 120V alternating current, 12V direct current, and propane gas. Follow these steps to avoid shock or gas exposure:
- Disconnect shore power and unplug the RV from the grid.
- Turn off the propane supply at the tank or manifold valve.
- Set the refrigerator to OFF using the main control panel.
- Remove the lower vent cover (outside access) and the interior refrigerator access panel to expose the back of the unit.
- Use a non-contact voltage tester to confirm all wires are de-energised before touching anything.
After confirming zero voltage, you can safely remove the control board cover—typically held by four Phillips screws on a metal shielding plate.
How Do You Access the Norcold N8X Control Board?
The control board sits inside a metal box located on the lower rear of the refrigerator, behind the exterior vent panel. To reach it:
- Pull the refrigerator slightly forward if it’s a slide-in model; many N8X units have enough slack in gas and wiring lines to allow a 15cm outward movement.
- Locate the black plastic or metal control box on the bottom right of the rear chassis.
- Remove the retaining screws (two or four, depending on your specific model variant).
- Gently lift the cover, being careful not to yank any attached wiring harness.
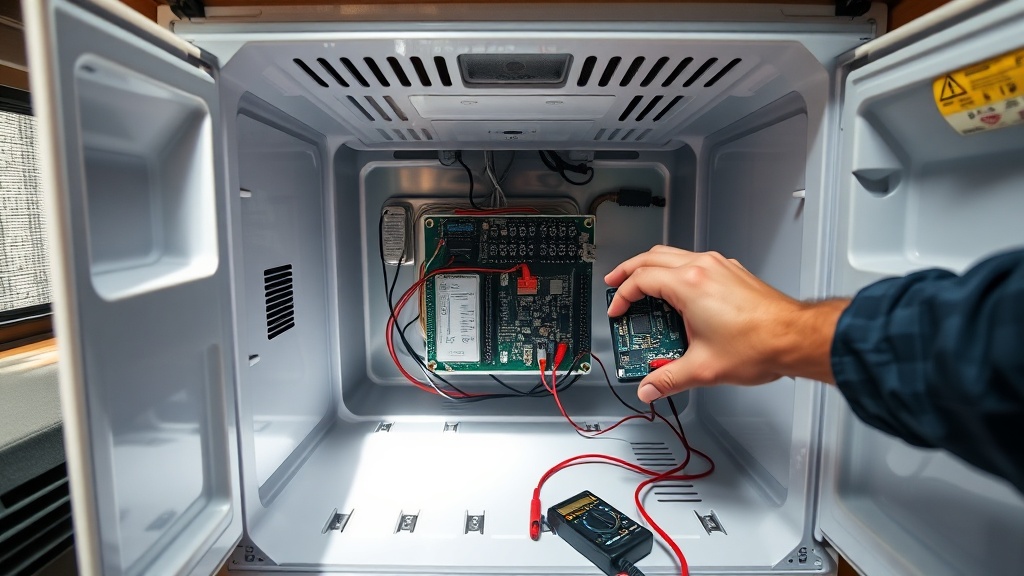
Once open, you’ll see the main circuit board with blade connectors, a 120V relay, and a 12V power supply module.
What Are the Step-by-Step Instructions for Replacing the Control Board?
Follow this sequence carefully to avoid damaging the new board:
- Document wiring – Use a phone camera to photograph the existing board’s connector positions. Label each wire with masking tape and a marker.
- Remove the old board – Unplug all spade connectors by pulling straight off (no twisting). Lift the board off its mounting pegs or unscrew it from standoffs.
- Inspect the harness – Examine each wire for burnt or melted insulation, particularly the 120V circuit. Replace damaged wiring before installing the new board.
- Install the new board – Place it onto the same pegs or screw holes. Reconnect each wire to its matching terminal. Tighten any screw terminals to 0.5 N·m (4.4 lb·in) if specified.
- Secure the metal shields – Replace the control box cover, then the interior access panel and exterior vent cover.
- Restore power – Turn on 12V and shore power, then the propane supply. Test the unit on each energy mode.
If you see an error code like “E1” or “E2” on the display after replacement, first verify all connectors are fully seated. For persistent temperature issues, a Norcold N8X Series Thermistor Calibration may be necessary after the board swap.
What Are the Costs and Specifications of a Replacement Control Board?
Replacement control boards for the Norcold N8X series are widely available. Prices vary by location and warranty, but the table below gives typical UK and EU pricing (including VAT where applicable):
| Part Number | Compatibility | Price (EUR) | Price (GBP) | Warranty | Availability |
|---|---|---|---|---|---|
| 634078 | N8X all models 2021–2024 | €145 | £125 | 2 years | In stock, ships 2–4 days |
| 634079 (Amphenol) | N8XF, N8XIM, N8XL | €159 | £139 | 2 years | Limited, check backorder |
| 634080 (long harness) | N8X with ice maker | €189 | £165 | 2 years | Special order, 7–10 days |
Prices in EUR and GBP reflect typical retail from authorised Norcold dealers in the UK and EU. Always verify the part number against your specific model plate (located inside the refrigerator door frame) before ordering.
What Owners Say About the Norcold N8X Control Board Replacement
Experienced RV owners consistently mention three key points: the replacement is straightforward but patience is required, the new board usually resolves all ‘no-power’ or erratic behaviour issues, and that double-checking the wiring diagram prevents short circuits. One long-term full-timer on a UK caravan forum noted: “Swapping the board on my N8X took about 40 minutes. The hardest part was squeezing my hands behind the unit. After the swap, the fridge ran flawlessly on 240V for weeks.” Another owner with a motorhome reported that the new board solved a flickering LED issue that had been causing false error codes.
However, a small minority encountered problems when the replacement board did not match the exact firmware revision of their refrigerator. To avoid this, verify that the board’s software version (printed on the sticker) matches the original. If in doubt, consult your dealer or refer to a Norcold N8X Series Ammonia Odor Diagnosis guide to distinguish board failure from a gas leak issue.
Frequently Asked Questions About the Norcold N8X Control Board
Q1: Can I replace the control board myself, or must I hire a professional?
A: If you are comfortable with basic 12V and 120V wiring and have a multimeter and appropriate safety gear, this is a DIY-friendly job. However, if you are unsure of live-voltage safety or the propane system, pay a qualified RV technician to handle the swap.
Q2: How much does a Norcold N8X control board replacement cost with labour?
A: The board itself costs between £125 and £165 (EUR €145 to €189). Labour from a mobile RV tech in the UK or EU runs around £60–£100 per hour, with a 1–2 hour job total. Expect final costs of £185–£365.
Q3: What tools do I need for the replacement?
A: A #2 Phillips screwdriver, a ¼-inch nut driver (for some cover bolts), wire strippers, a multimeter, a non-contact voltage tester, and masking tape for labelling. A headlamp or small torch helps in tight spaces.
Q4: How do I know if the board is truly faulty versus the condenser fan or thermistor?
A: If the refrigerator runs on propane but not on AC or DC, or if the display shows no LEDs at all, the board is a primary suspect. For a unit that cools intermittently with incorrect temperature readings, check the thermistor first. A failing condenser fan can also cause poor cooling but will usually still show some panel activity.
Q5: What if the new board still shows error code “E1”?
A: Error “E1” usually indicates a flame-sensing circuit fault. Ensure the thermocouple and gas igniter are clean and properly positioned. Also verify the ground wire from the board to the chassis is tight. If the error persists, the board itself may have a defective flame-relay circuit—request an exchange under warranty.
Q6: Can I upgrade to a newer Norcold controller while replacing the board?
A: Some owners install a universal control board from third-party suppliers (like Amphenol or Dinosaur Electronics) that offer improved energy management such as automatic changeover. However, verify compatibility with your N8X’s display panel and the thermistor’s resistance curve. The OEM Norcold board remains the safest bet for guaranteed performance and warranty support.